Outlook Email Integration
Connect Chatislav to Microsoft 365 / Exchange Online mailboxes so your team can use the AI agent from Outlook and manage mailbox behavior, audit activity, and workspace safety controls from Chatislav.
Prerequisites
Before you start, make sure you have:
- A Microsoft 365 work or school mailbox hosted on Exchange Online
- Permission to sign in to that mailbox with Microsoft
- A Chatislav account with at least one AI agent created
- Plan access: Outlook must be enabled for your Chatislav workspace. It is available for Enterprise workspaces or workspaces where Outlook access has been enabled.
Important notes:
- Chatislav connects Outlook mailboxes through Microsoft sign-in. You do not paste mailbox passwords or create manual webhooks in the dashboard.
- The current Outlook dashboard UI uses Manual only mailbox mode. Connected mailboxes are used from Outlook add-in actions.
- Some safety controls mention auto-replies because they protect guarded send behavior when it is enabled for a workspace. If you are only using manual add-in actions, keep approval required enabled unless your Chatislav team tells you otherwise.
Step 1: Open the Outlook Integration
- Log in to your Chatislav dashboard.
- Select the AI agent you want to connect to Outlook.
- In the left sidebar, click "Integrations".
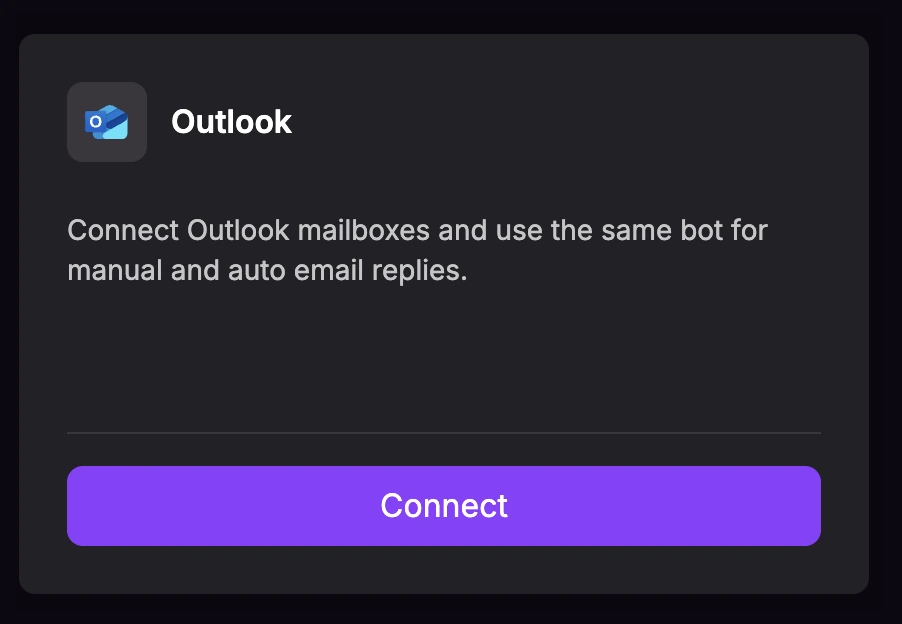
- Find the "Outlook" card and click "Connect".
Step 2: Add a Microsoft 365 Mailbox
The Outlook Integration modal opens on the Mailboxes tab.
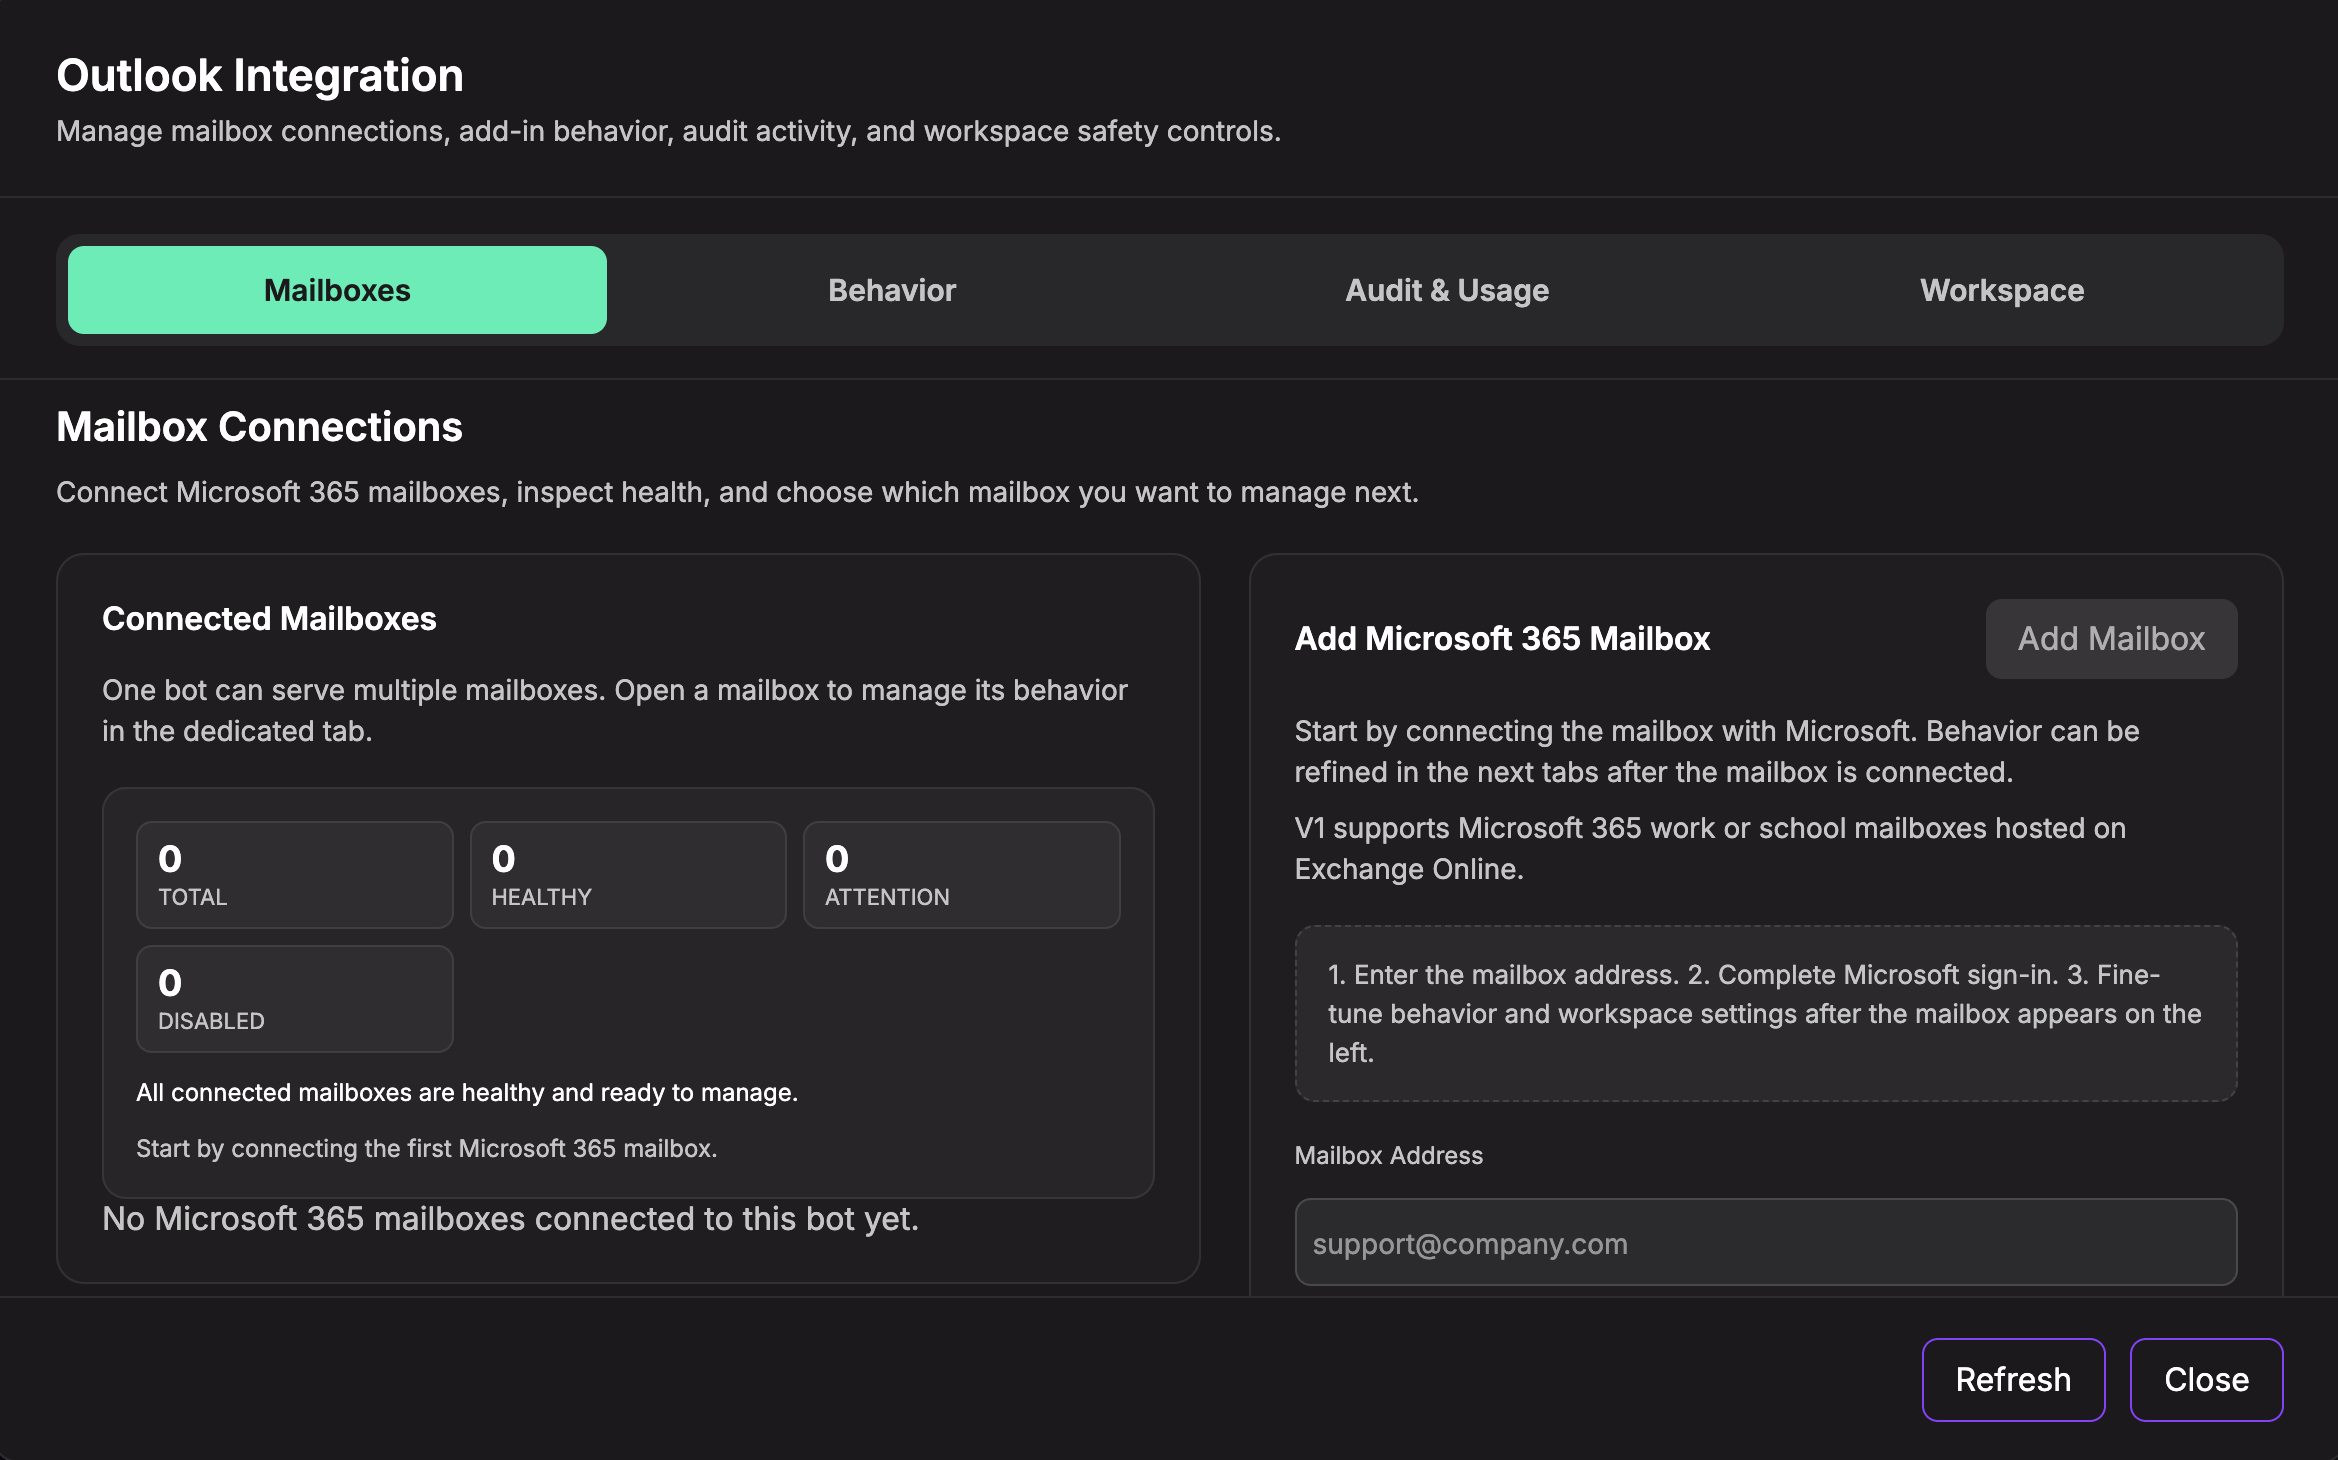
- In Mailbox Address, enter the Microsoft 365 mailbox you want Chatislav to connect, for example
support@company.com. - Leave Default Mode After Connect as Manual only.
- Keep the Default Confidence Threshold near
0.75unless you want generated drafts to be more or less conservative. - Keep Approval required for auto-send enabled unless your setup is approved for automatic sending.
- Click "Add Mailbox".
- Complete the Microsoft sign-in popup and approve the requested access.
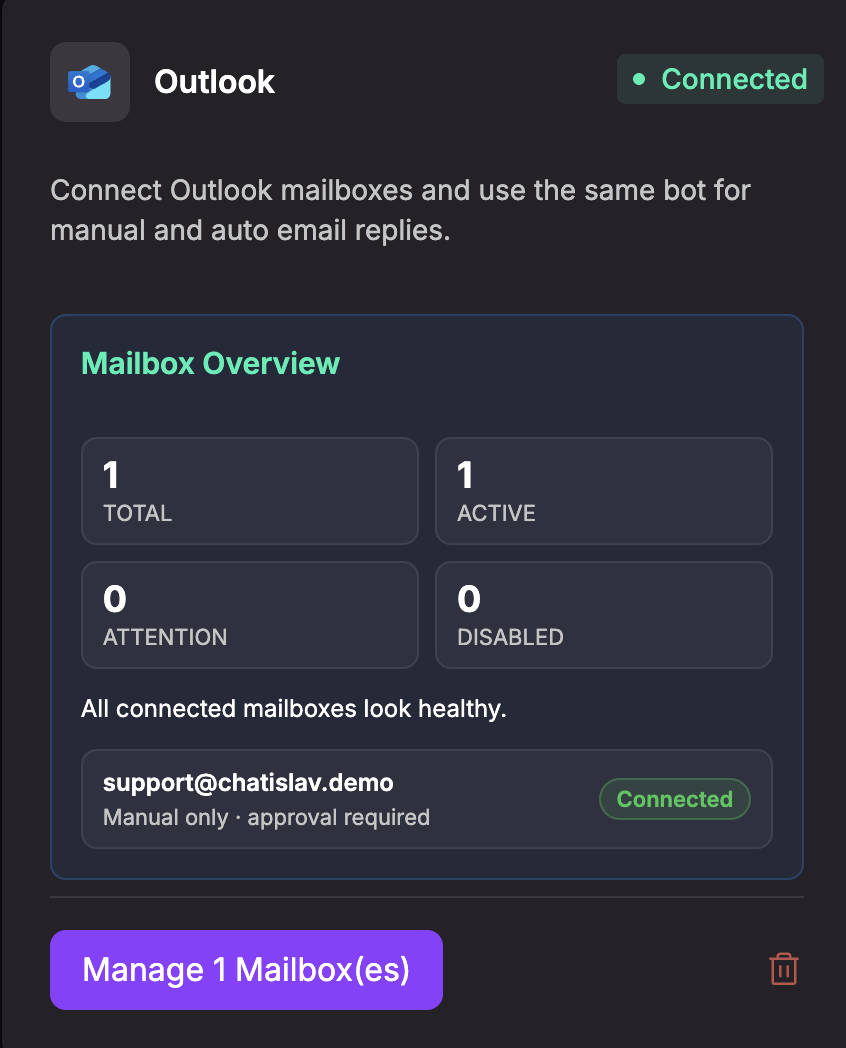
After the Microsoft sign-in succeeds, the Outlook card shows Connected and displays a mailbox overview.
Step 3: Manage Connected Mailboxes
Click "Manage Mailbox(es)" on the Outlook card to reopen the management modal.
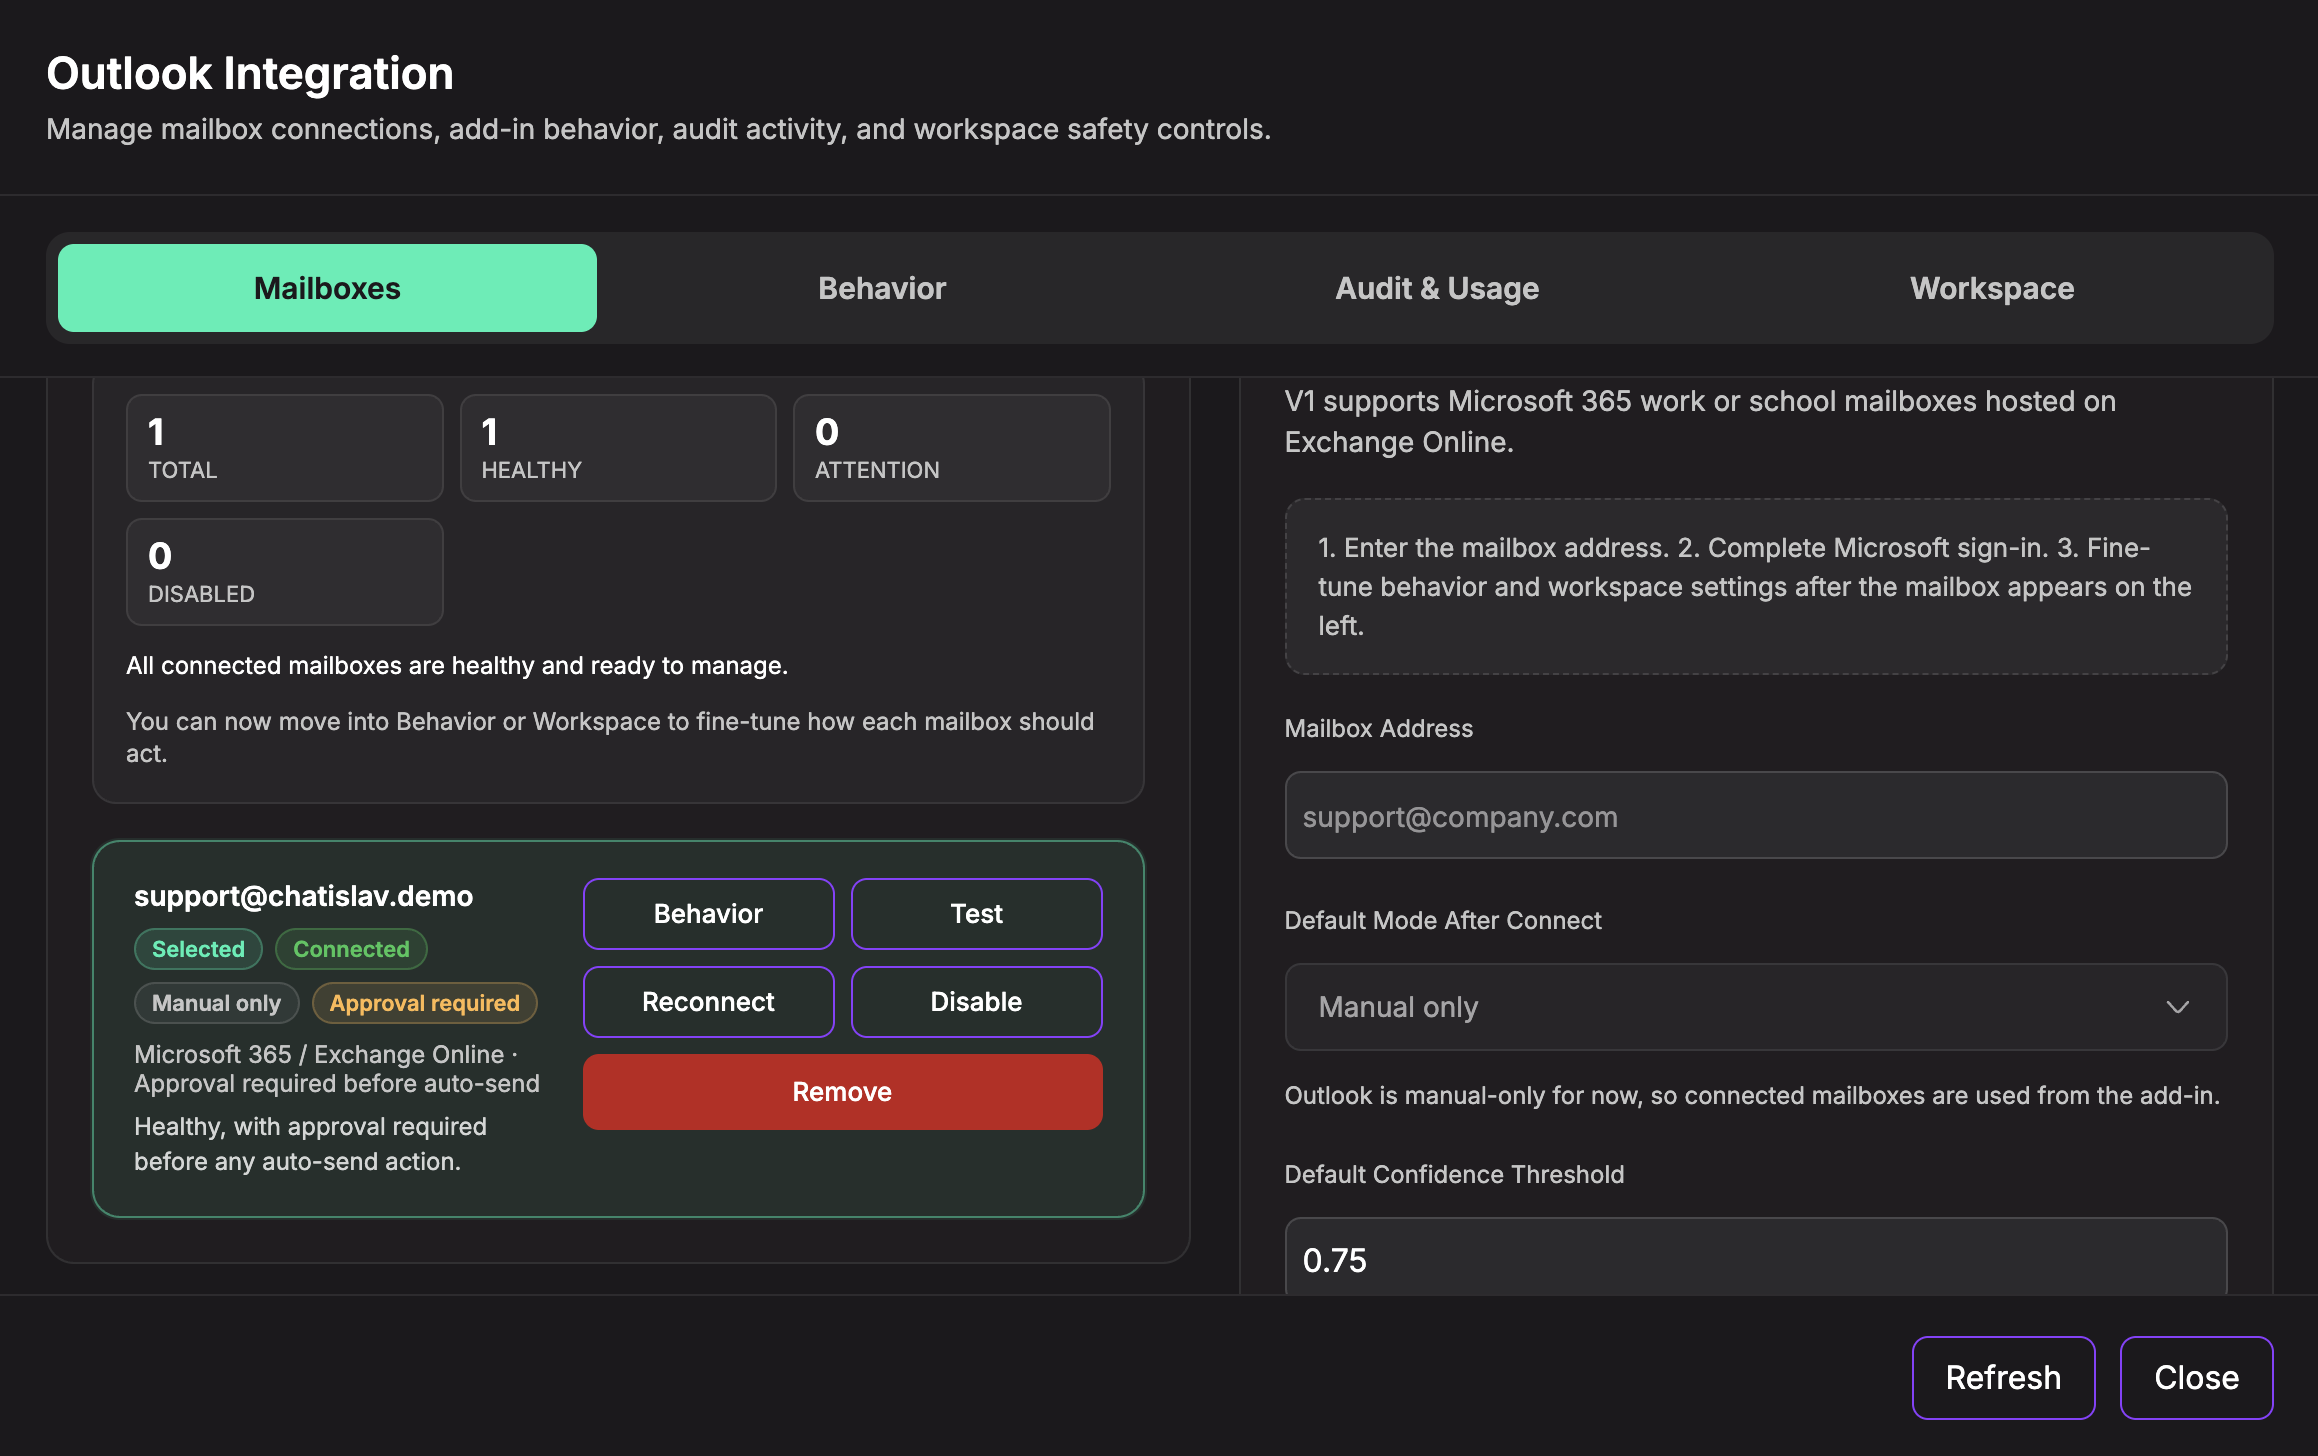
On the Mailboxes tab you can:
- Review total, healthy, attention, and disabled mailbox counts
- Open Behavior settings for a mailbox
- Test the Microsoft connection
- Reconnect the mailbox with Microsoft if access needs attention
- Disable a mailbox without removing the connection
- Remove a mailbox from Outlook routing
- Add another Microsoft 365 mailbox for the same AI agent
Use Disable when you want to pause one mailbox temporarily. Use Remove only when the mailbox should no longer be connected to this agent.
Step 4: Configure Mailbox Behavior
Open the Behavior tab for a selected mailbox.
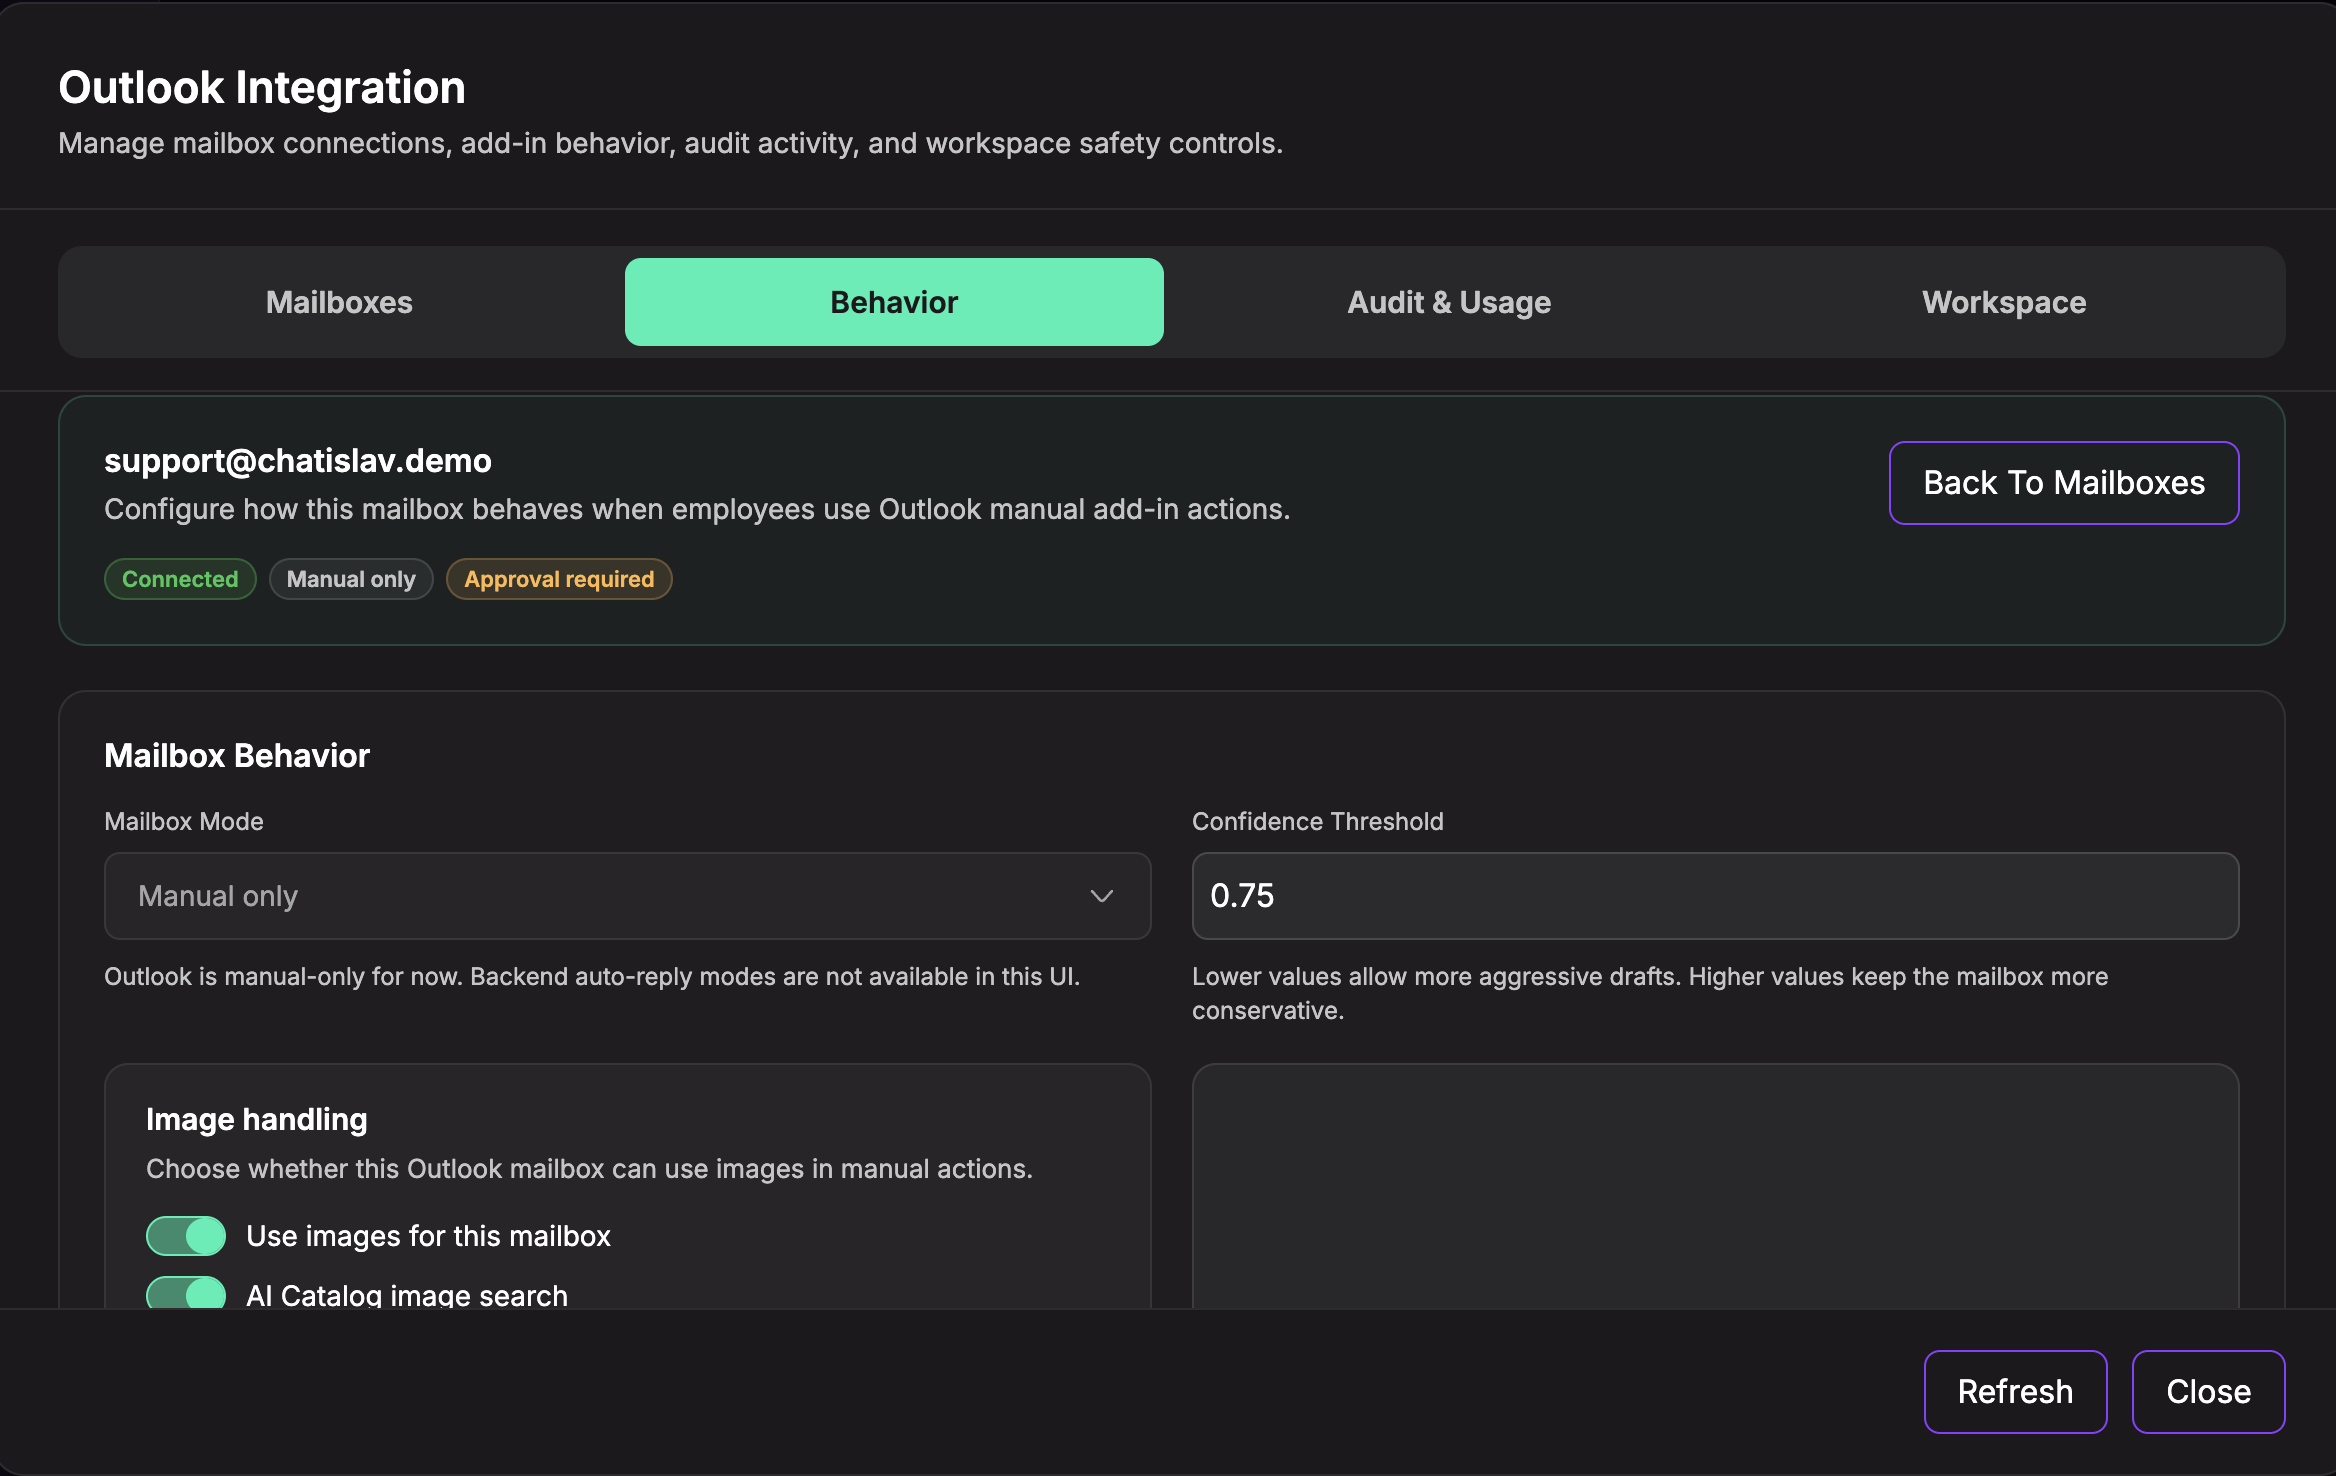
Behavior settings control how that mailbox is used from Outlook:
- Mailbox Mode - currently Manual only in the dashboard. The mailbox is used from Outlook add-in manual actions.
- Confidence Threshold - lower values allow more aggressive generated drafts; higher values keep output more conservative.
- Image handling - allows the mailbox to use images in Outlook actions.
- AI Catalog image search - lets Outlook actions use an email image for AI Catalog image search when image search is available.
- Image summary - lets Outlook actions use image understanding for selected email images.
- Multimodal image scope - controls whether image understanding looks only at the latest message or recent conversation messages.
- Approval required before auto-send - keeps generated sends gated by human approval.
- Mailbox enabled - controls whether the mailbox can be used by Outlook actions.
Click "Save Mailbox Behavior" after changing these settings.
Step 5: Review Audit & Usage
Use Audit & Usage to monitor recent Outlook activity.
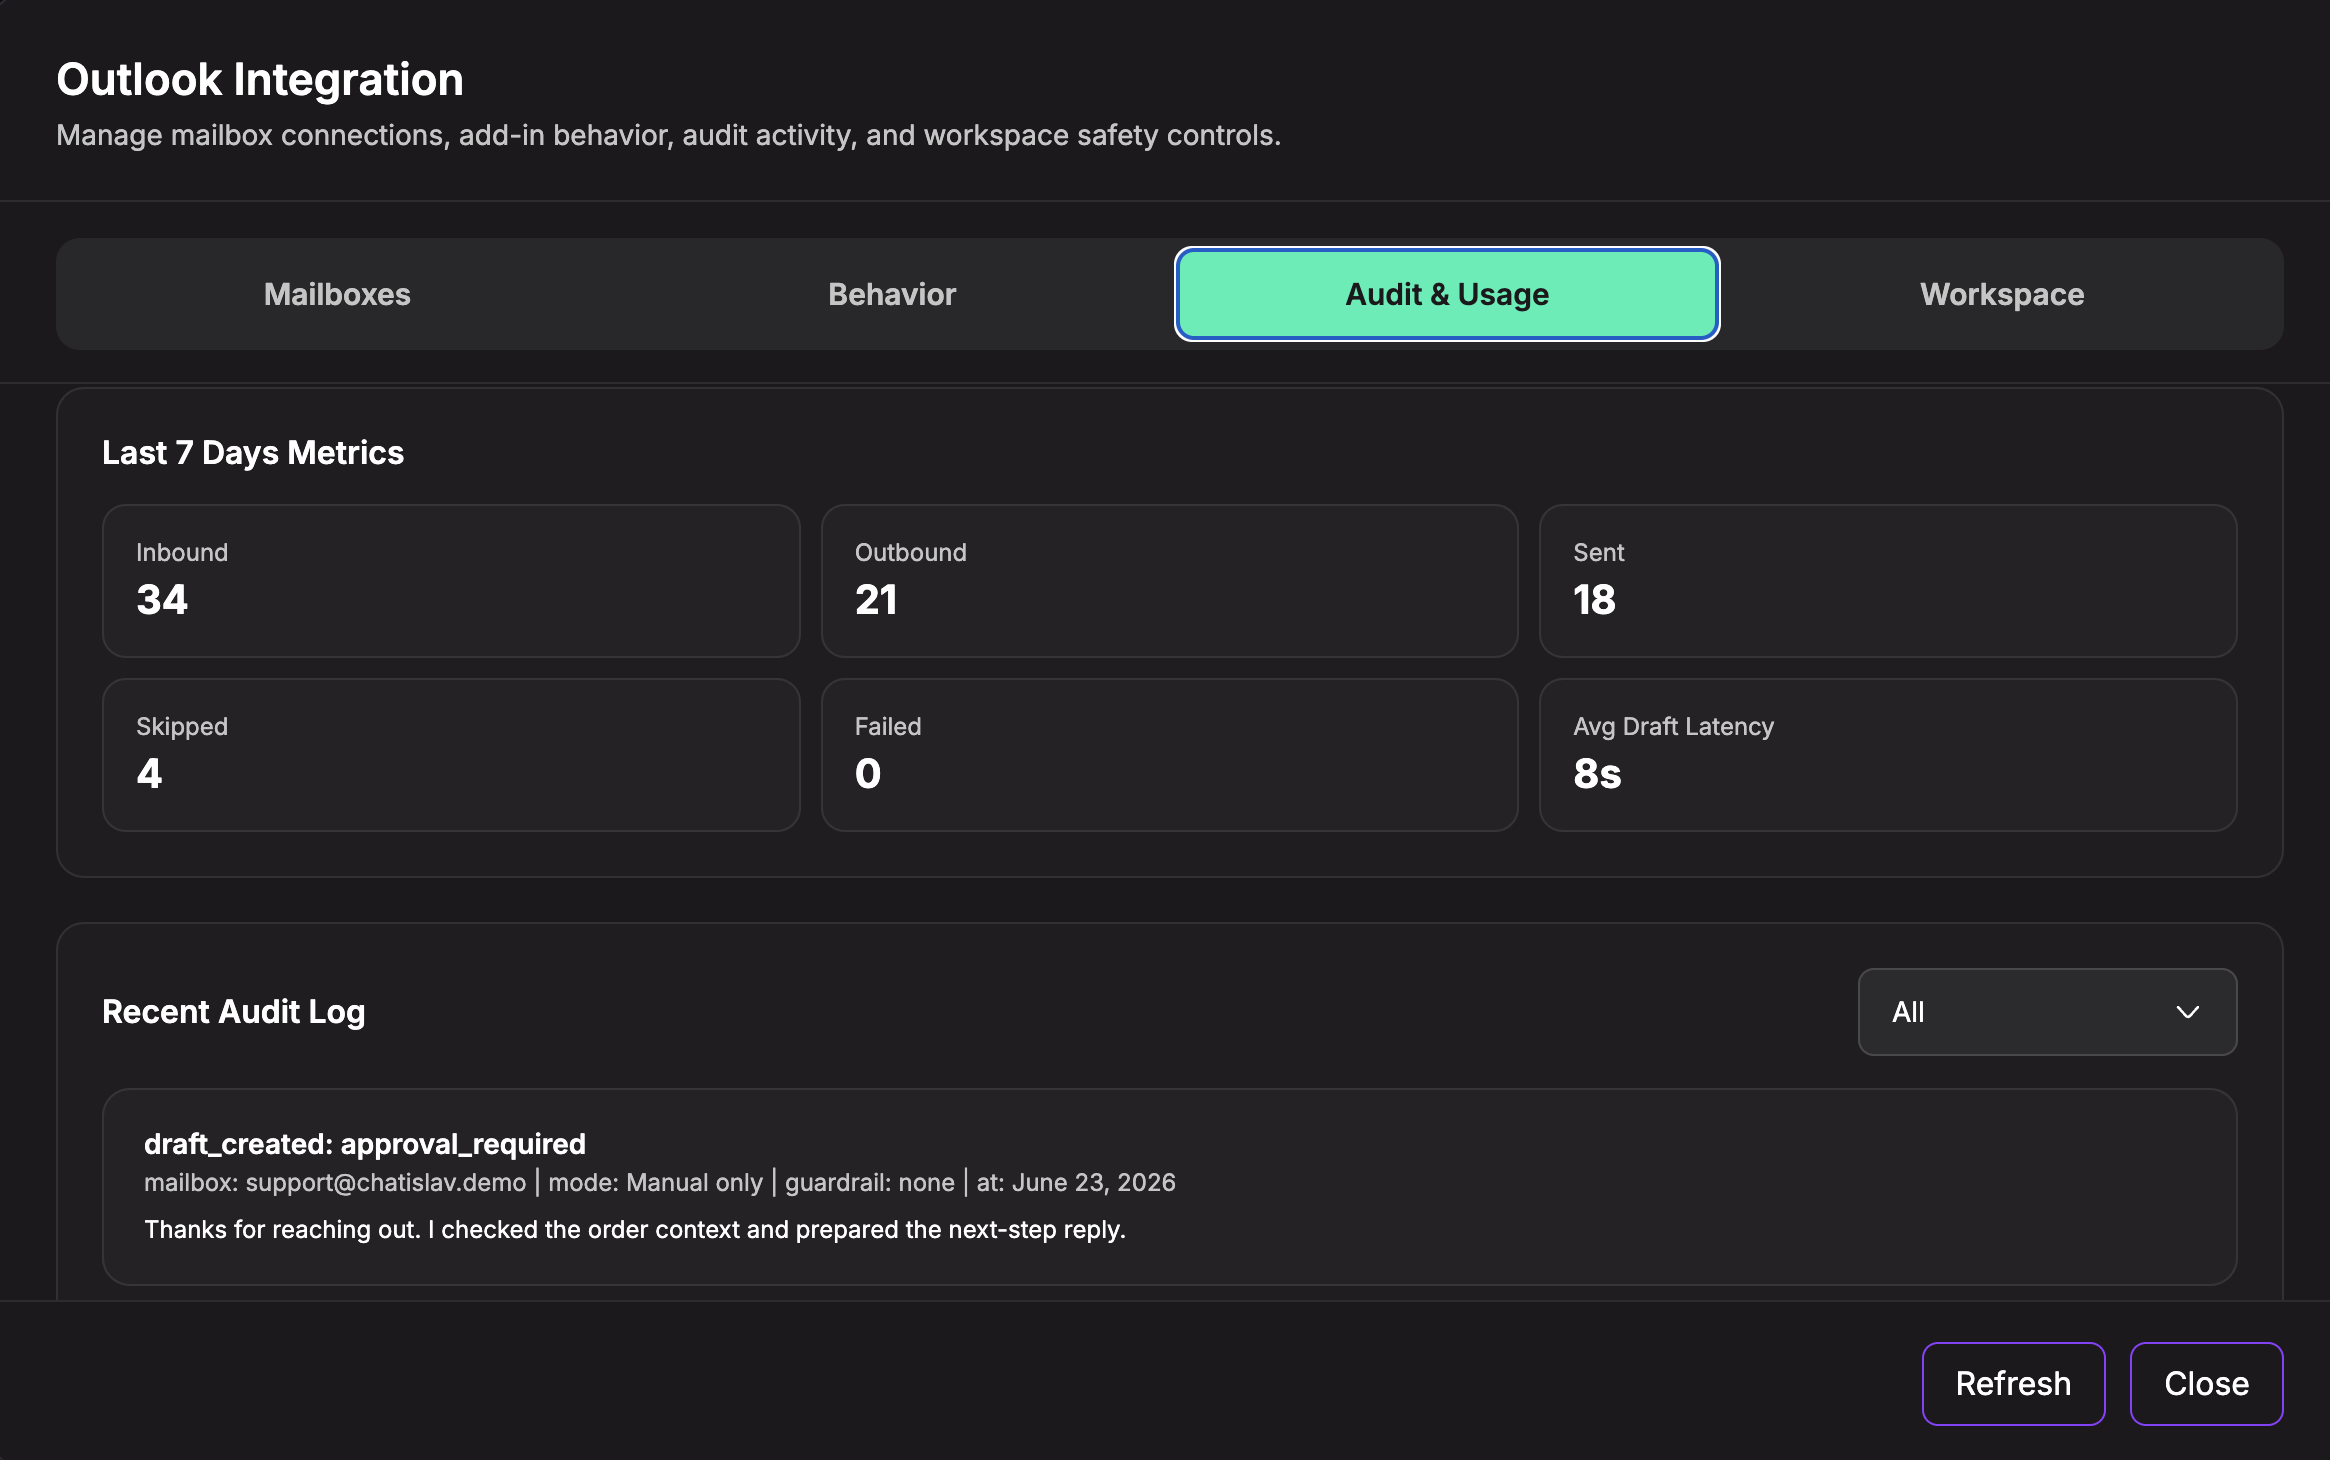
This tab shows:
- Last 7 Days Metrics: inbound, outbound, sent, skipped, failed, and average draft latency
- Recent Audit Log: recent Outlook events, mailbox, mode, guardrail status, date, and output preview
- Audit Filter: switch between all events, add-in events, and non-add-in events
Use this tab when you need to confirm whether Outlook actions are running, being skipped, or producing drafts as expected.
Step 6: Configure Workspace Safety and Styles
Use the Workspace tab for settings shared across Outlook mailboxes in the workspace.
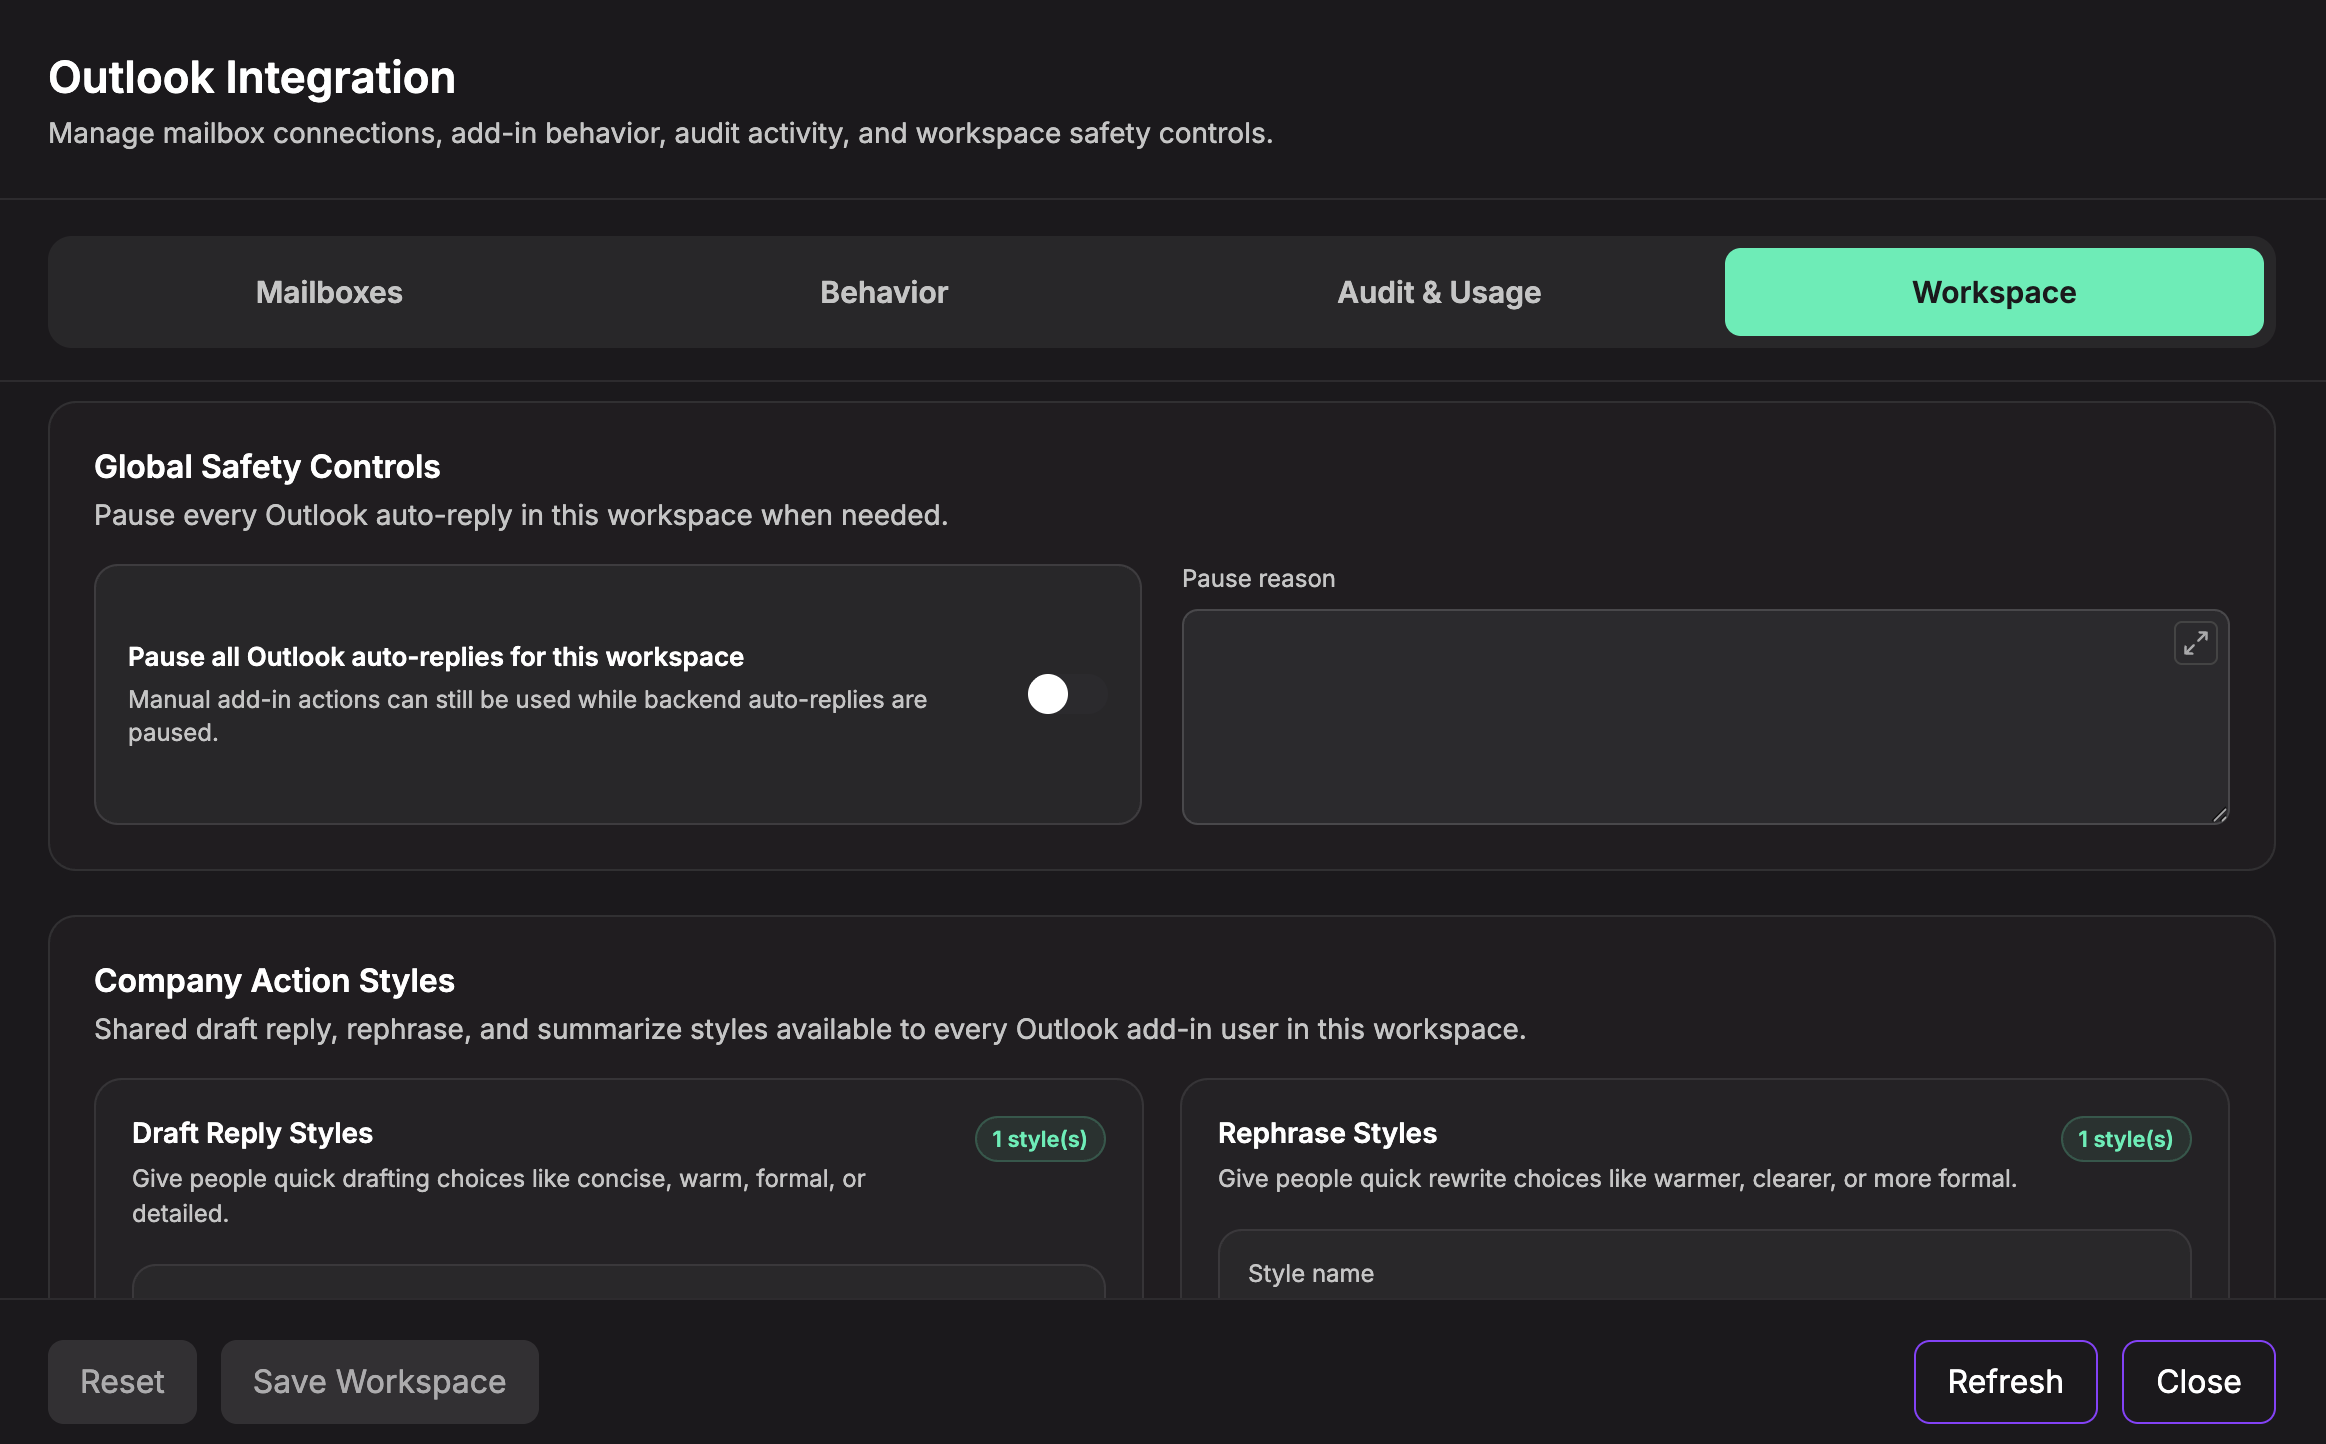
Workspace settings include:
- Pause all Outlook auto-replies for this workspace - pauses automatic Outlook reply behavior. Manual add-in actions can still be used while this is paused.
- Pause reason - optional internal note explaining why Outlook auto-replies are paused.
- Draft Reply Styles - shared drafting styles users can choose from in Outlook.
- Rephrase Styles - shared rewrite styles for improving an existing draft.
- Summarize Styles - shared summary styles for Outlook conversations.
Click "Save Workspace" after changing global safety settings or company action styles.
Step 7: Test the Setup
After the mailbox is connected:
- Open Outlook with the connected mailbox.
- Use your Chatislav Outlook add-in/manual action flow for a real or test email.
- Generate a draft, rewrite, or summary depending on the action you want to test.
- Return to Chatislav and check Audit & Usage to confirm the event was recorded.
- If the action does not work, open Mailboxes and use Test or Reconnect for that mailbox.
Troubleshooting
The Outlook card is locked
Outlook must be enabled for your workspace. If the card shows an Enterprise access message, contact your Chatislav administrator or Chatislav support.
The mailbox cannot be added
Check that:
- The mailbox is a Microsoft 365 work or school mailbox hosted on Exchange Online.
- You entered the mailbox address correctly.
- Your browser allows the Microsoft sign-in popup.
- The signed-in Microsoft account matches the mailbox you are connecting.
The mailbox needs attention
Open Manage Mailbox(es) and use Test or Reconnect on the affected mailbox. If the Microsoft account password, permissions, or tenant policy changed, reconnecting refreshes the mailbox access.
The add-in action does not use images
Open Behavior for the mailbox and check:
- Use images for this mailbox is enabled.
- AI Catalog image search is enabled if the action should search catalog data by image.
- Image summary is enabled if the action should understand email images directly.
- The email thread contains a usable image in the selected image scope.
After completing these steps, your Outlook mailbox is connected and ready for Chatislav Outlook actions.