Quick Start Guide
Use this guide to create a basic AI chatbot agent, add training data, customize its appearance, test it, and deploy it on a website.
Step 1: Create Your First AI Agent
From the dashboard, click Create New AI Agent. You can start from the main dashboard action or from the left sidebar.
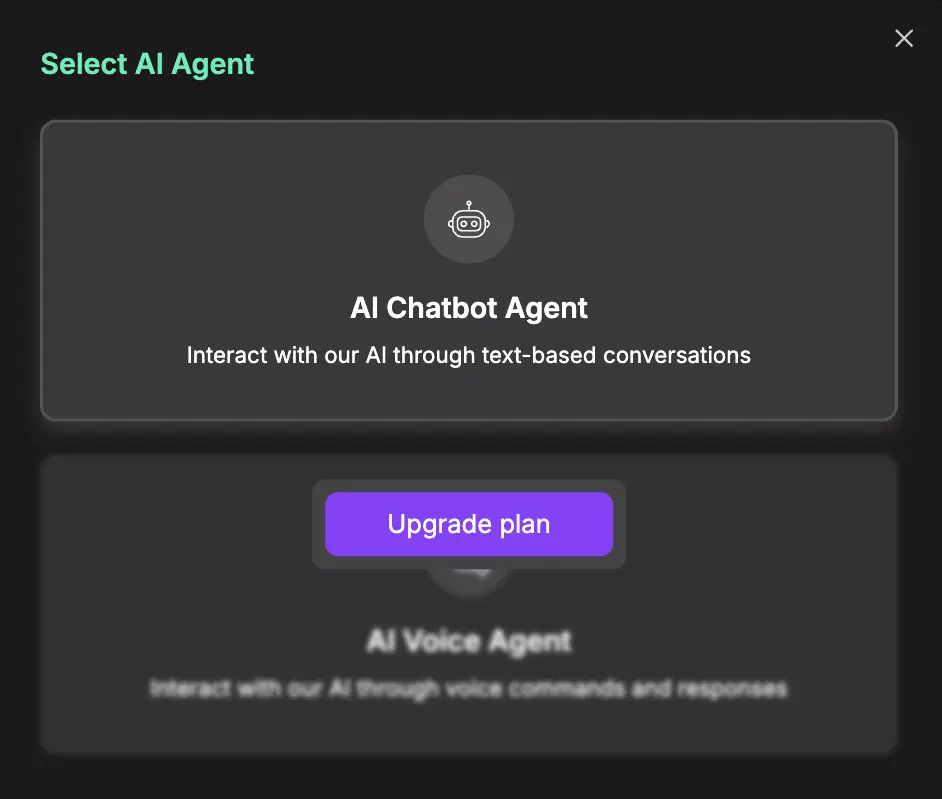
Choose the agent type available on your plan. For a standard website chatbot, create an AI Chatbot Agent.
Step 2: Name the Agent
Give the agent a clear name that matches its purpose, such as customer support, product recommendations, or hotel concierge.
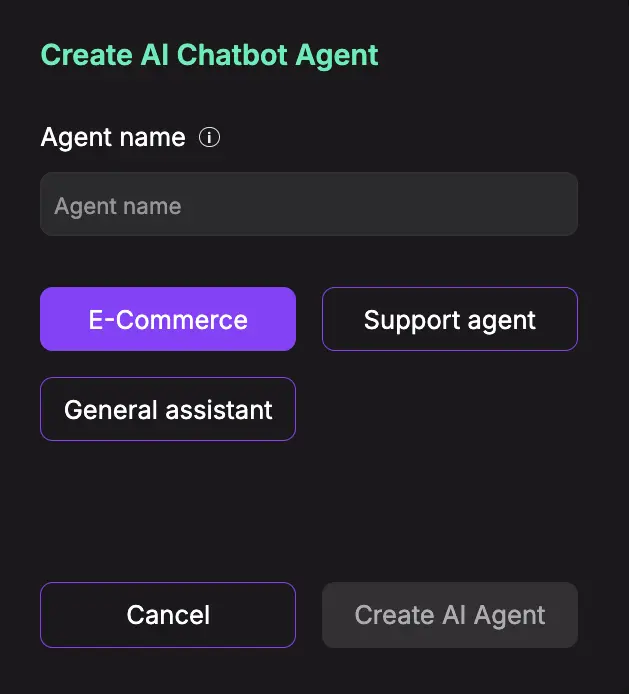
Select the agent role during setup. The role helps Chatislav prepare the agent for the right type of conversation.
Step 3: Add Training Data
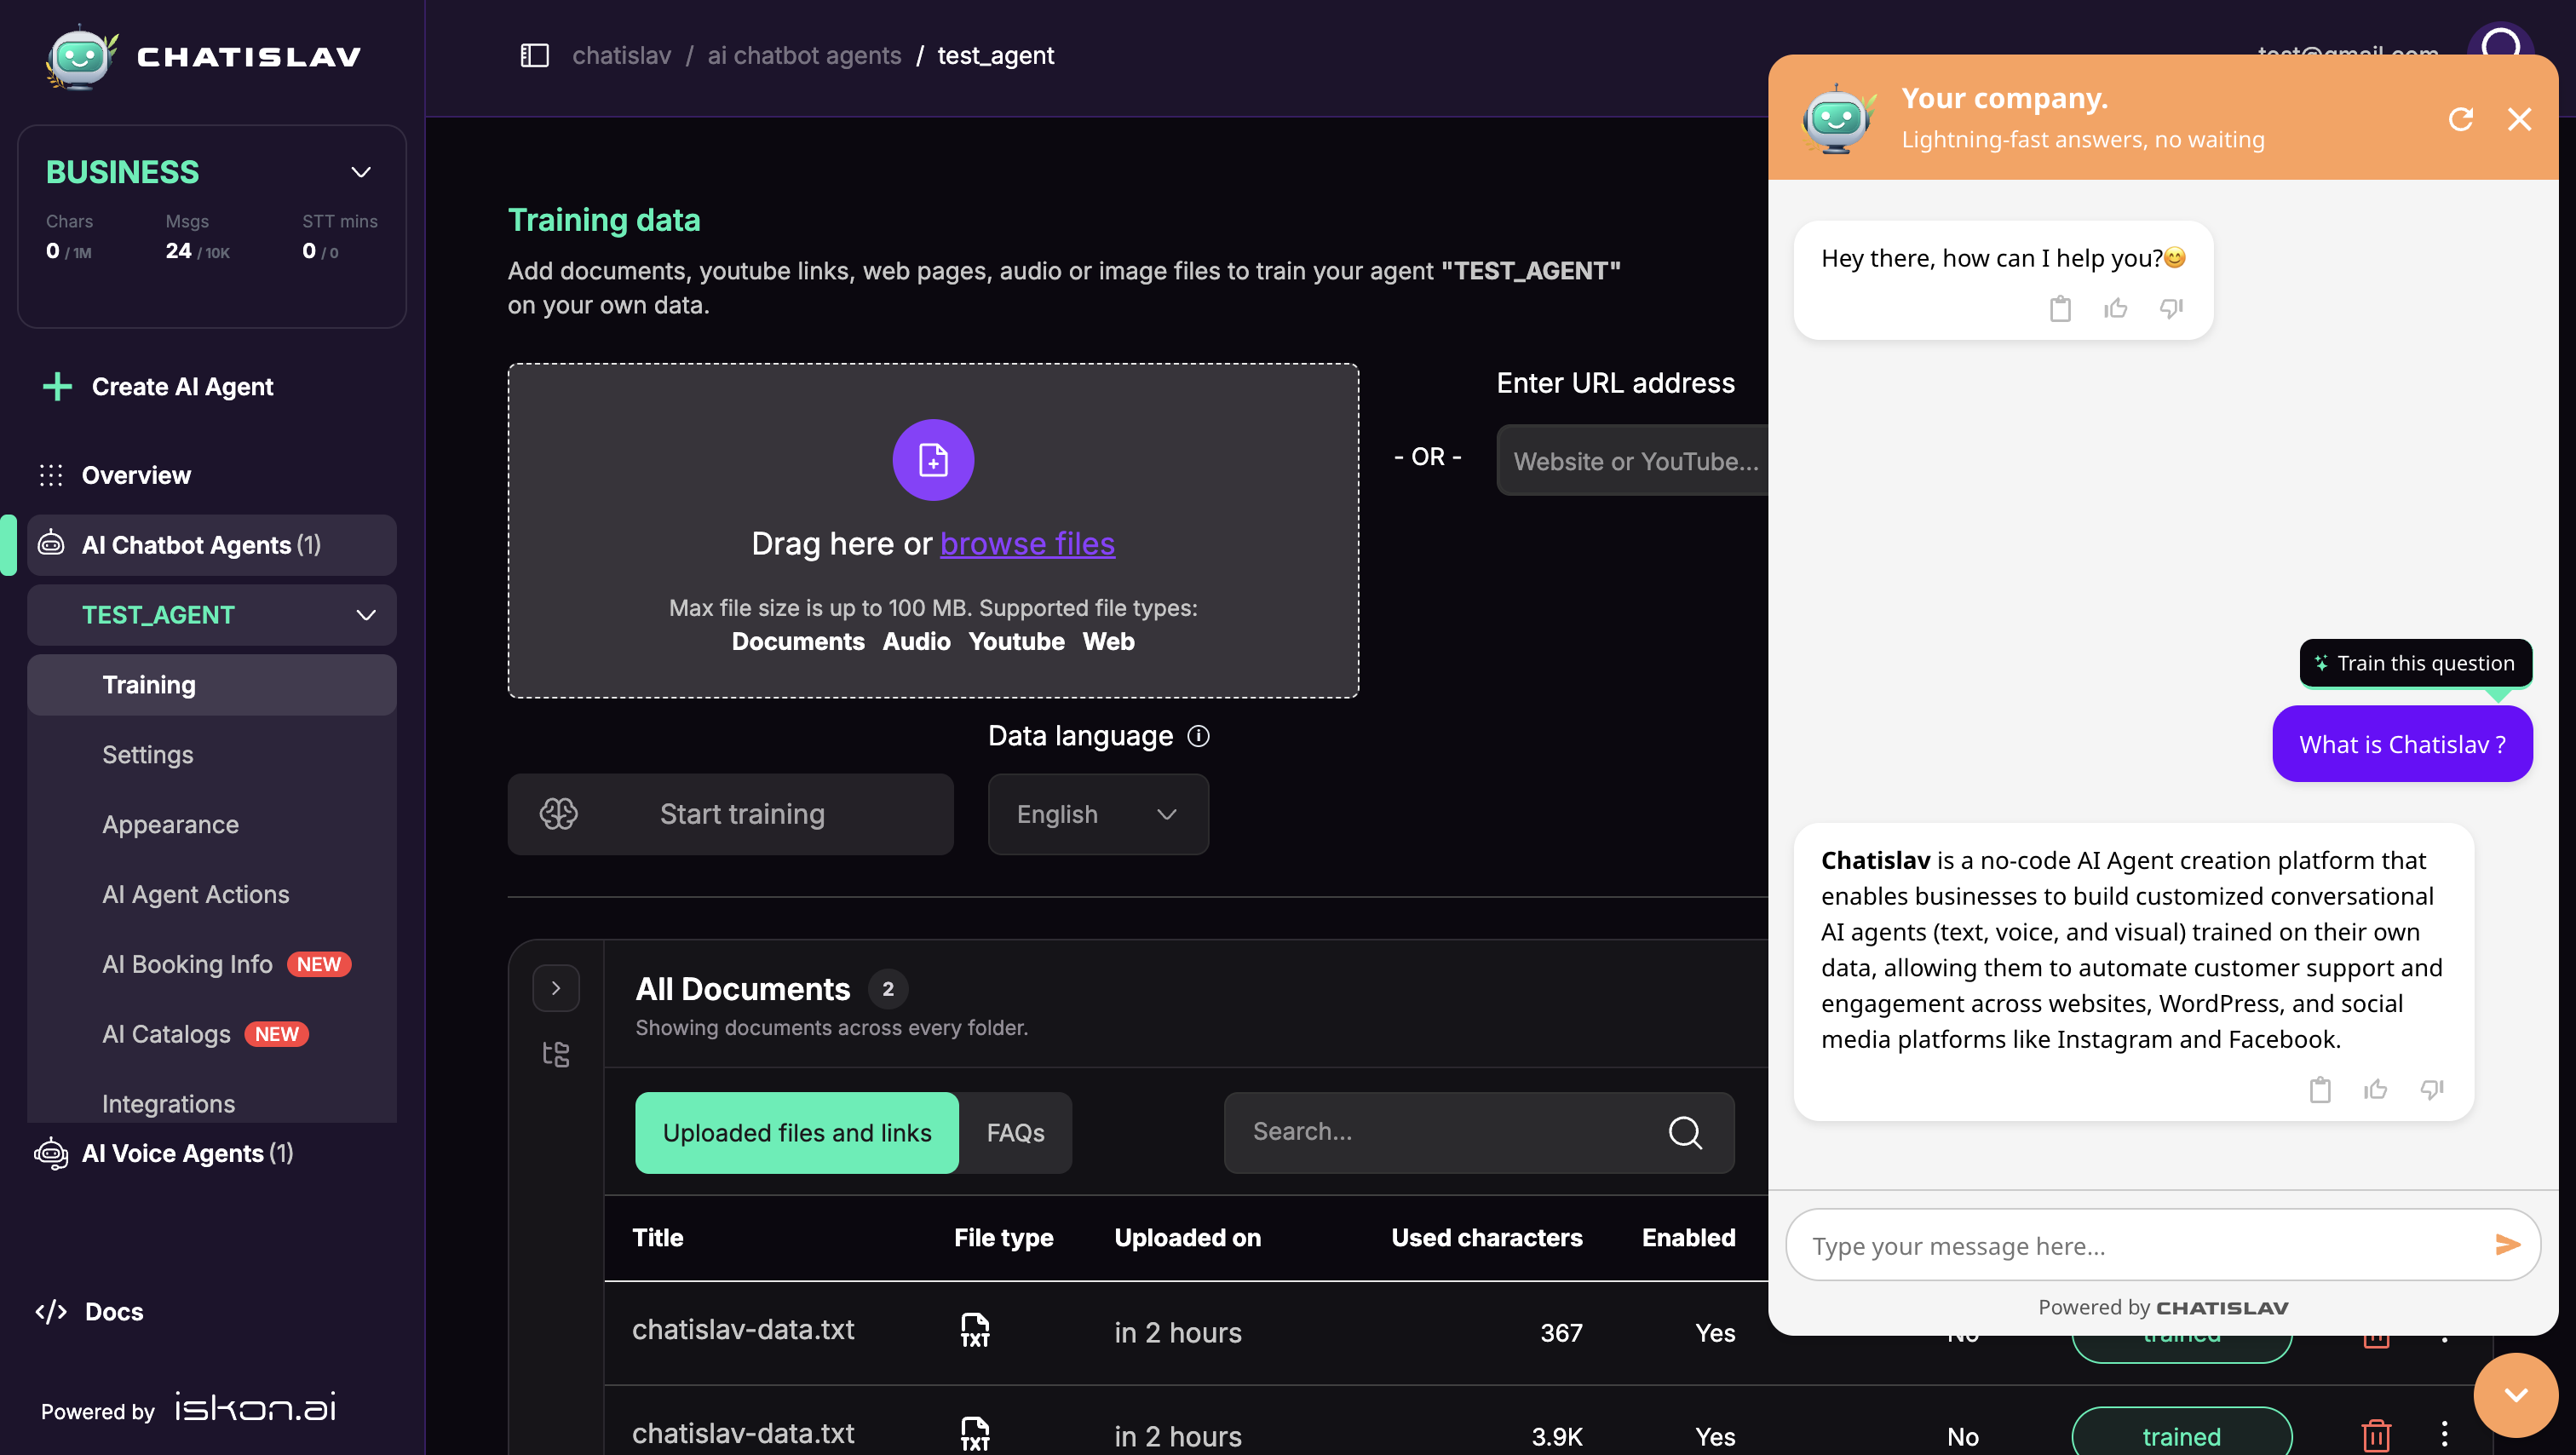
Open the agent's Training page. This page lets you upload documents, audio files, image files, and add website or YouTube URLs.
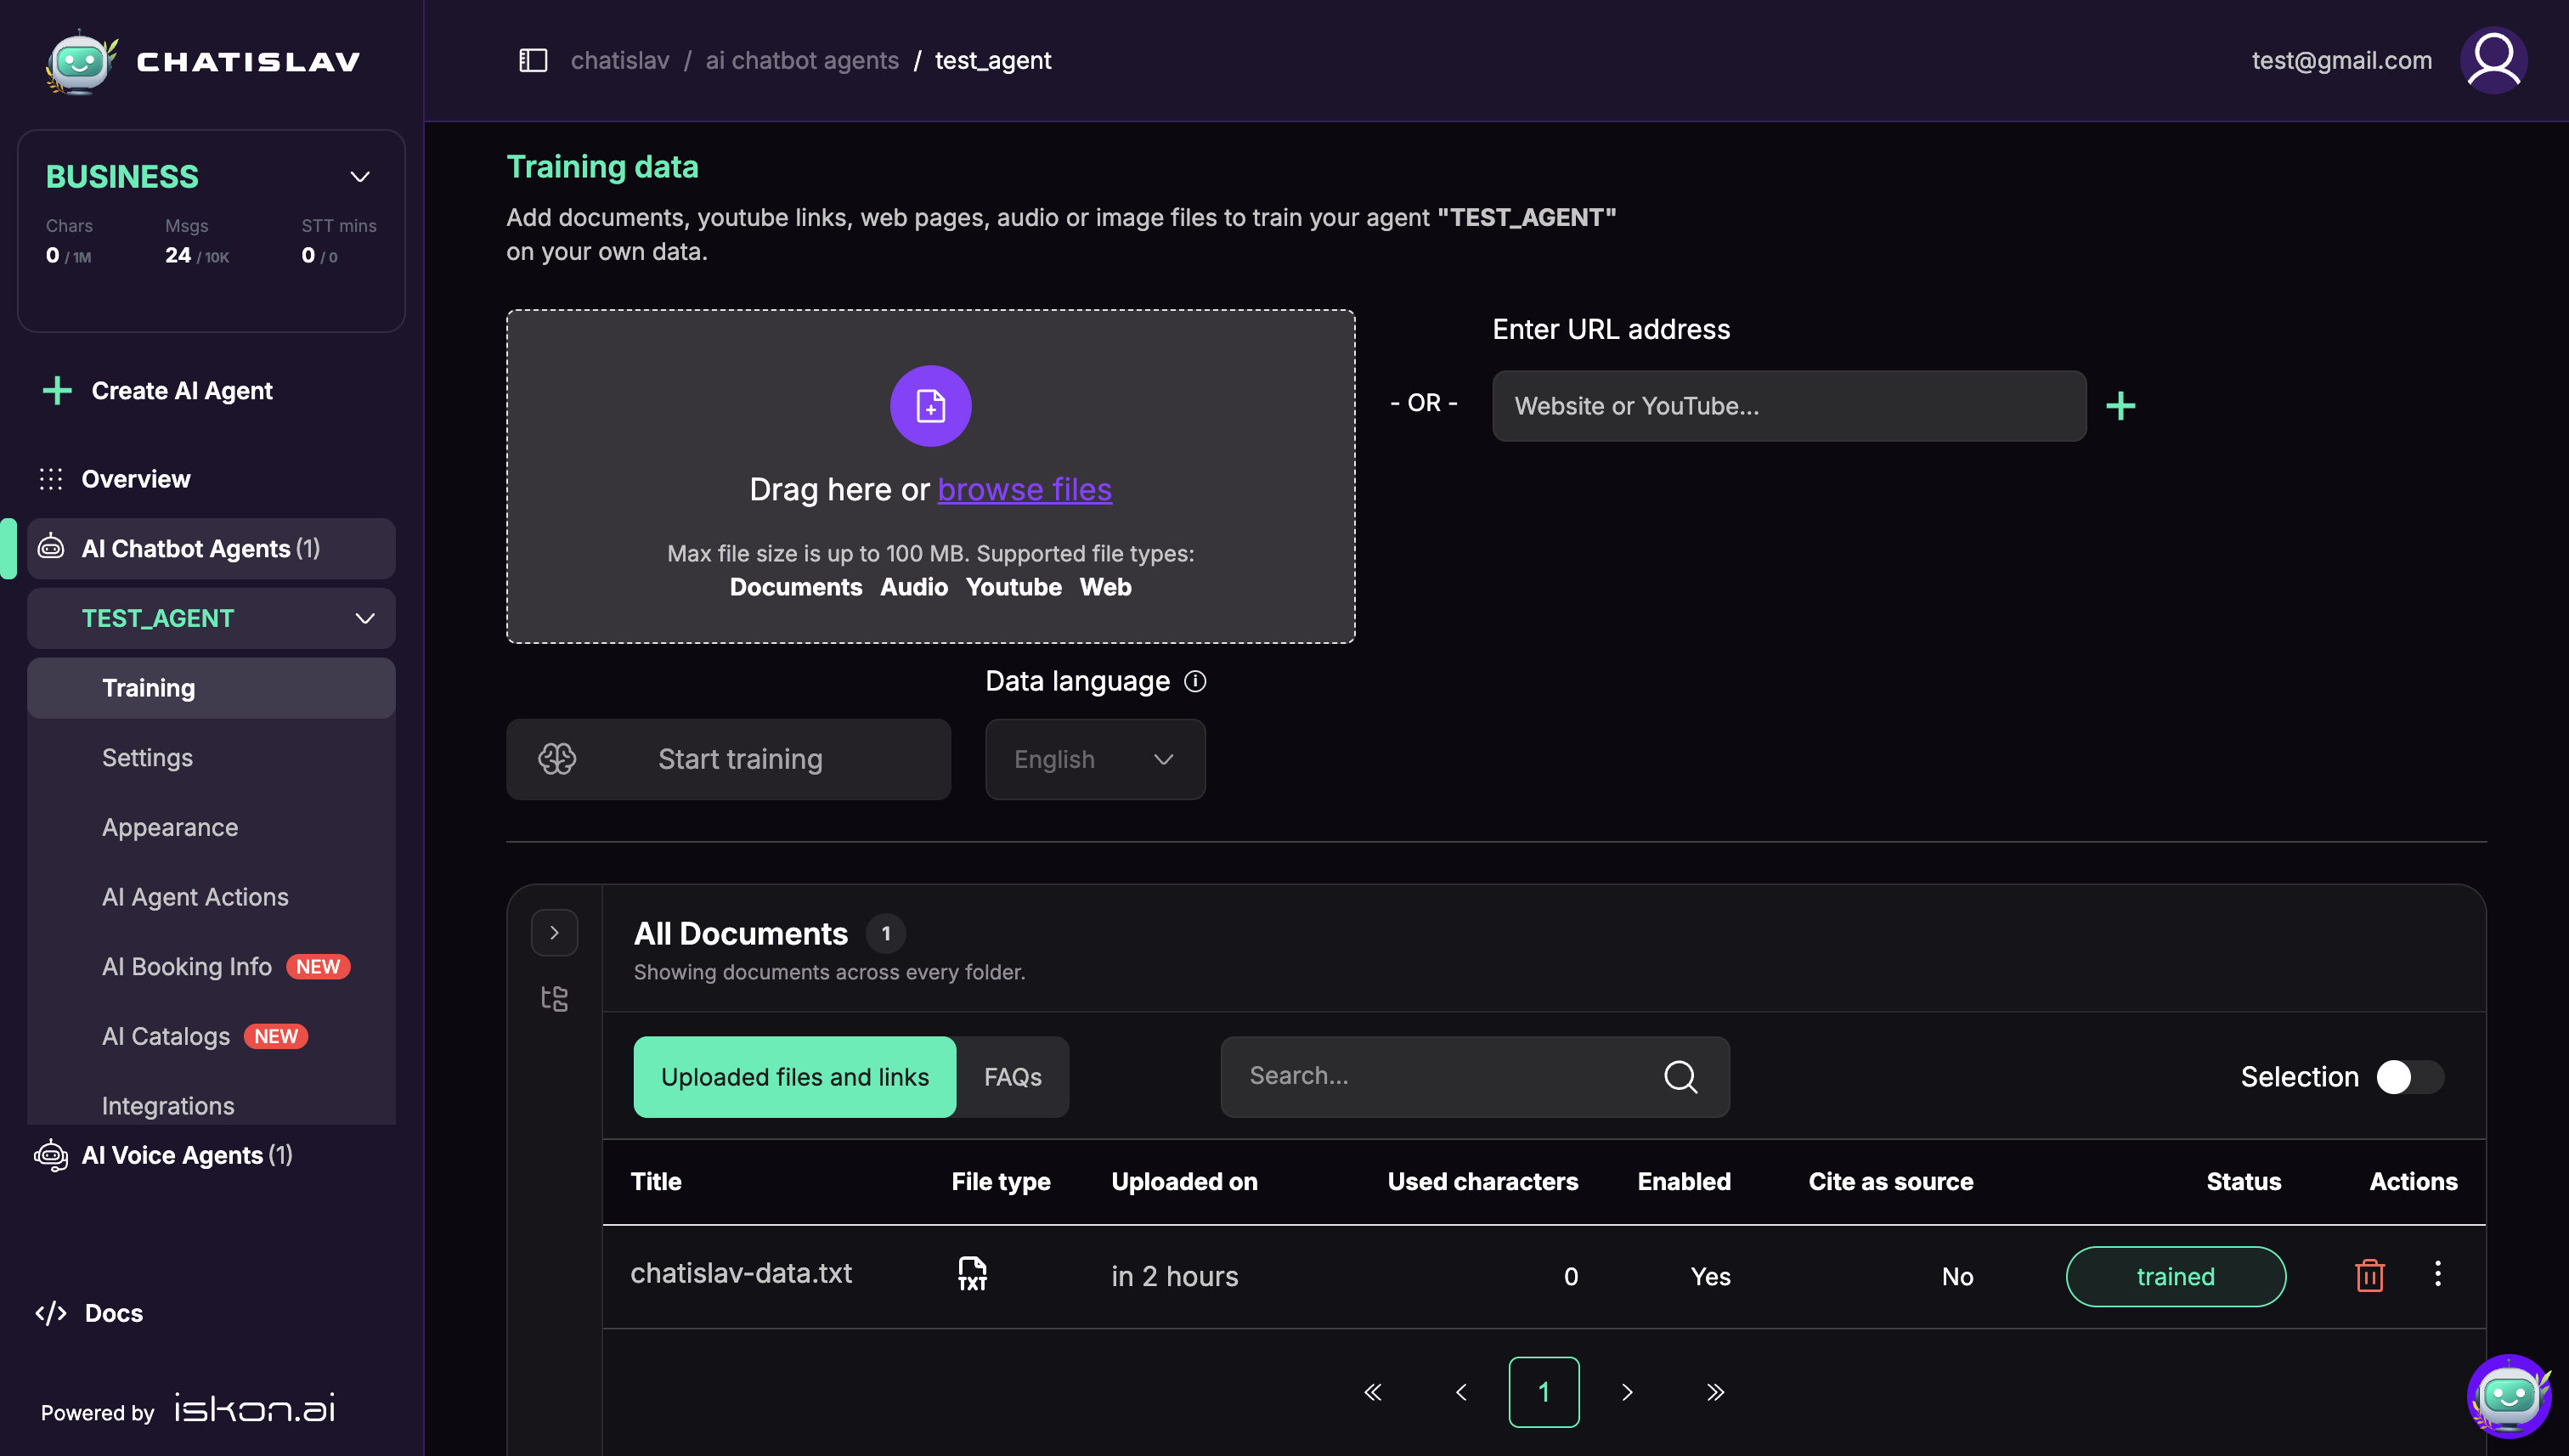
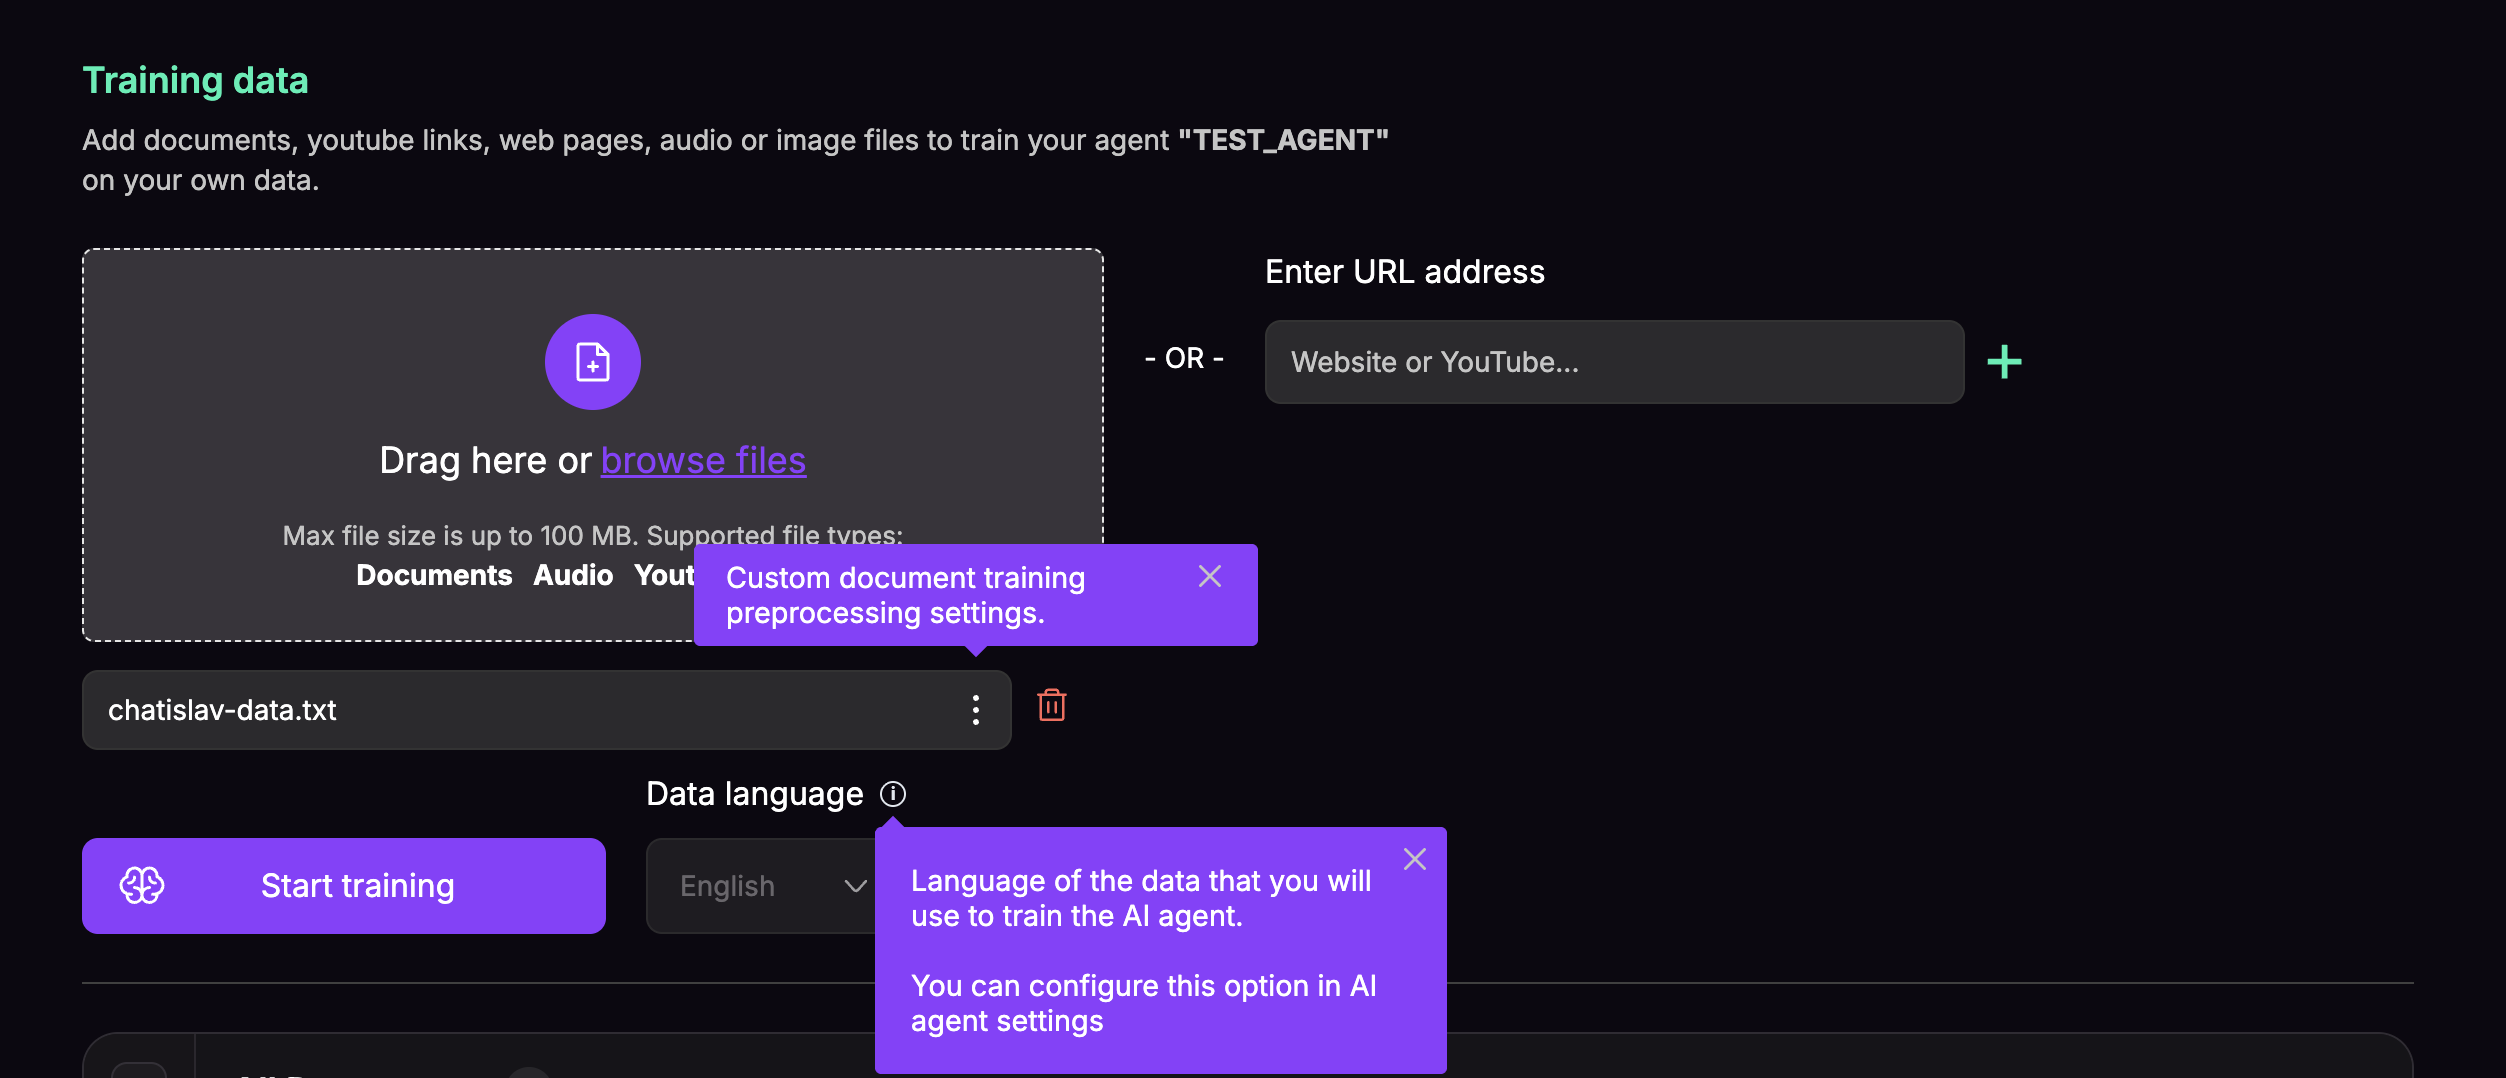
Use the upload area to drag a file into Chatislav or click browse files. You can also paste a website or YouTube URL into the URL field.
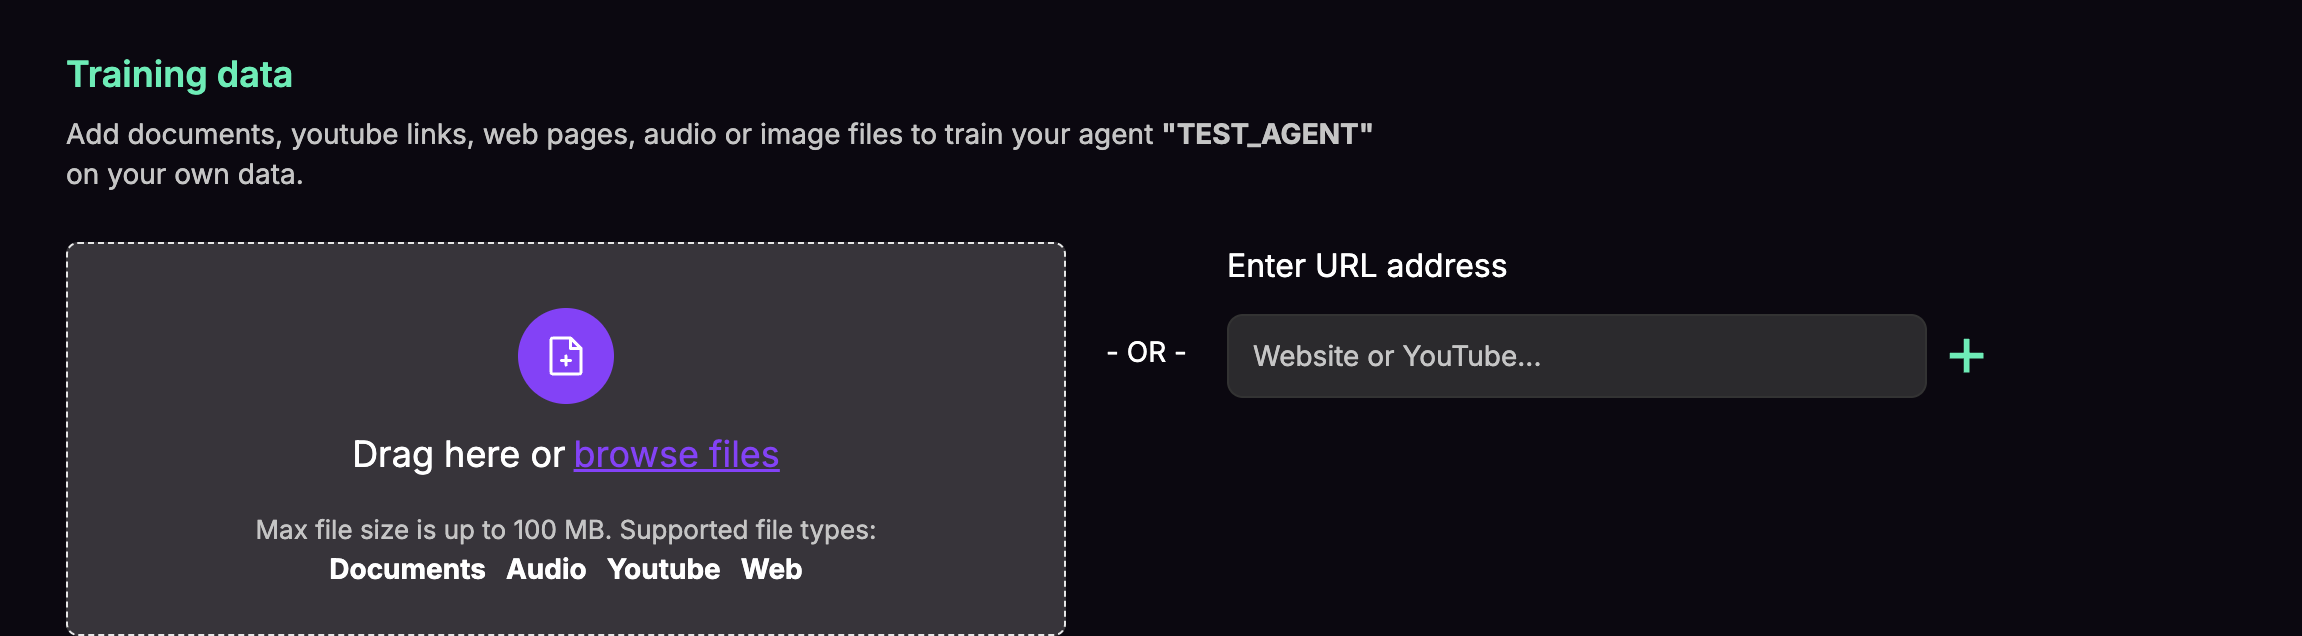
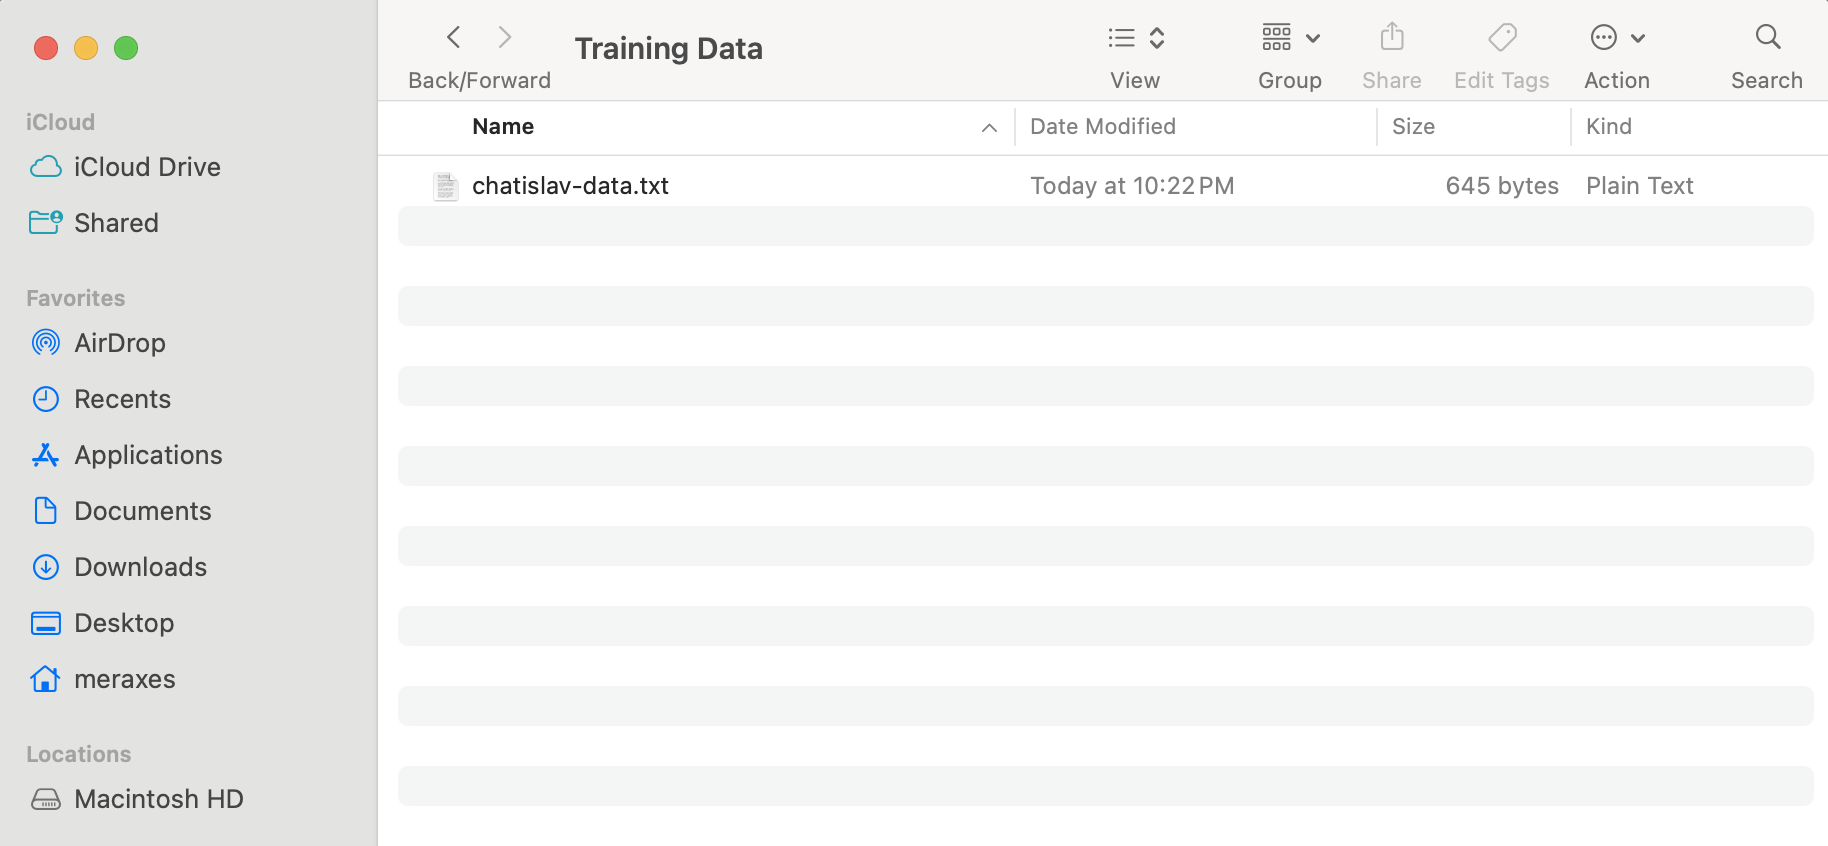
Choose the file you want to use as training data.
After the file is selected, confirm the data language and click Start training.
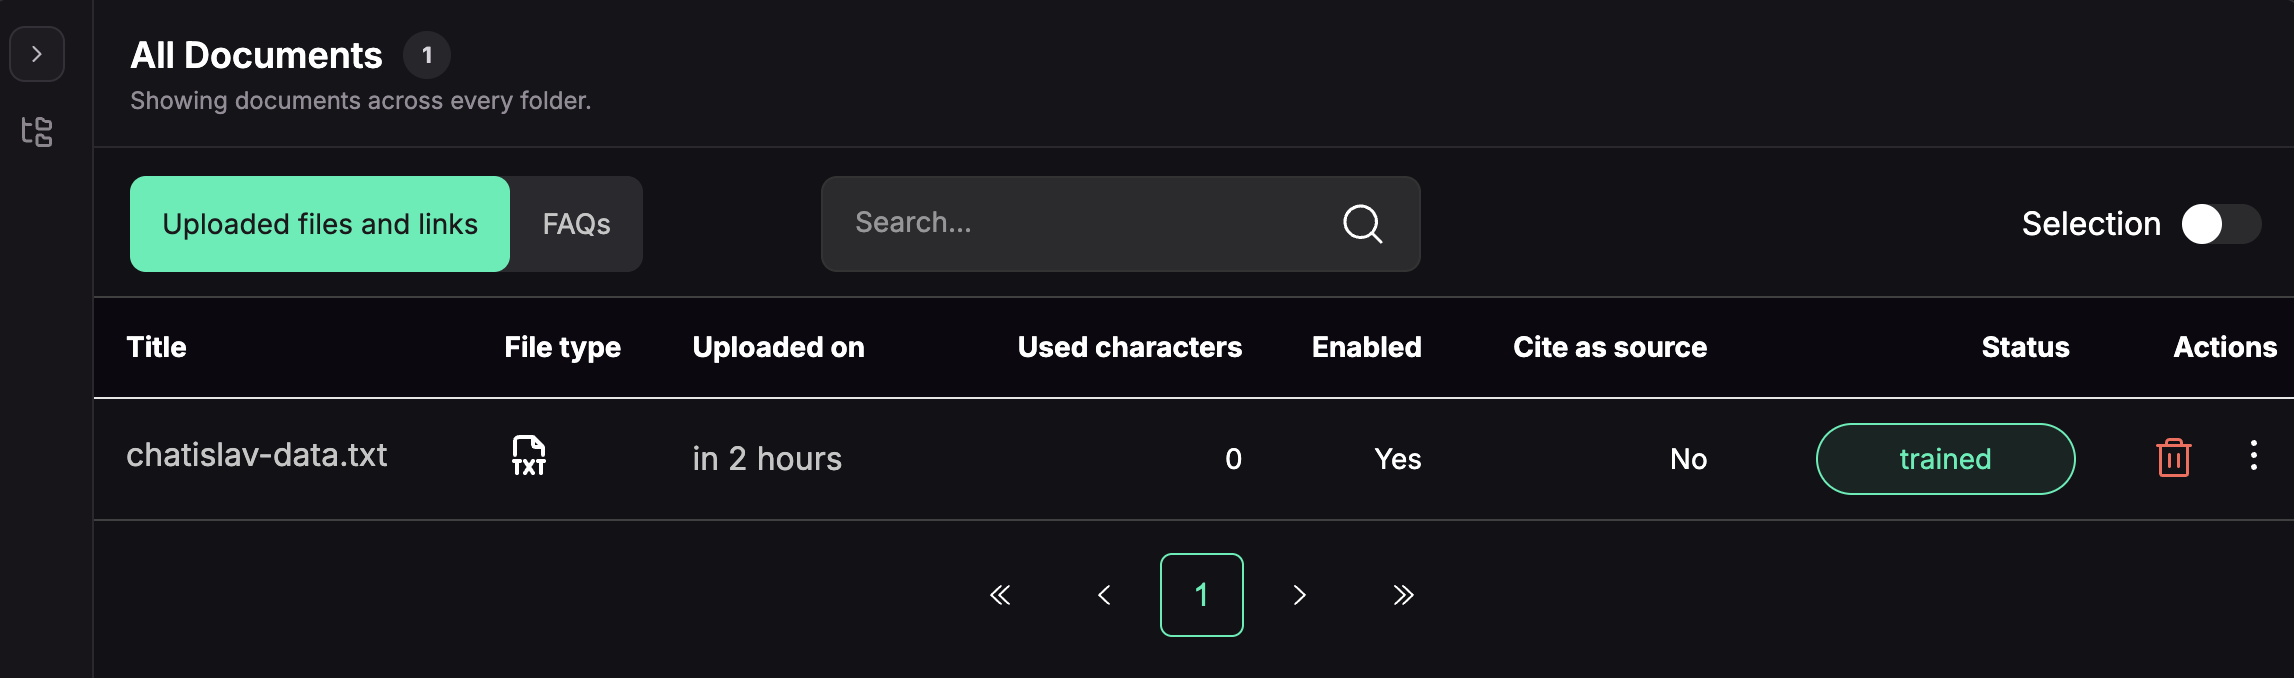
The lower table shows uploaded files and links, their status, whether they are enabled, and whether they can be cited as a source.
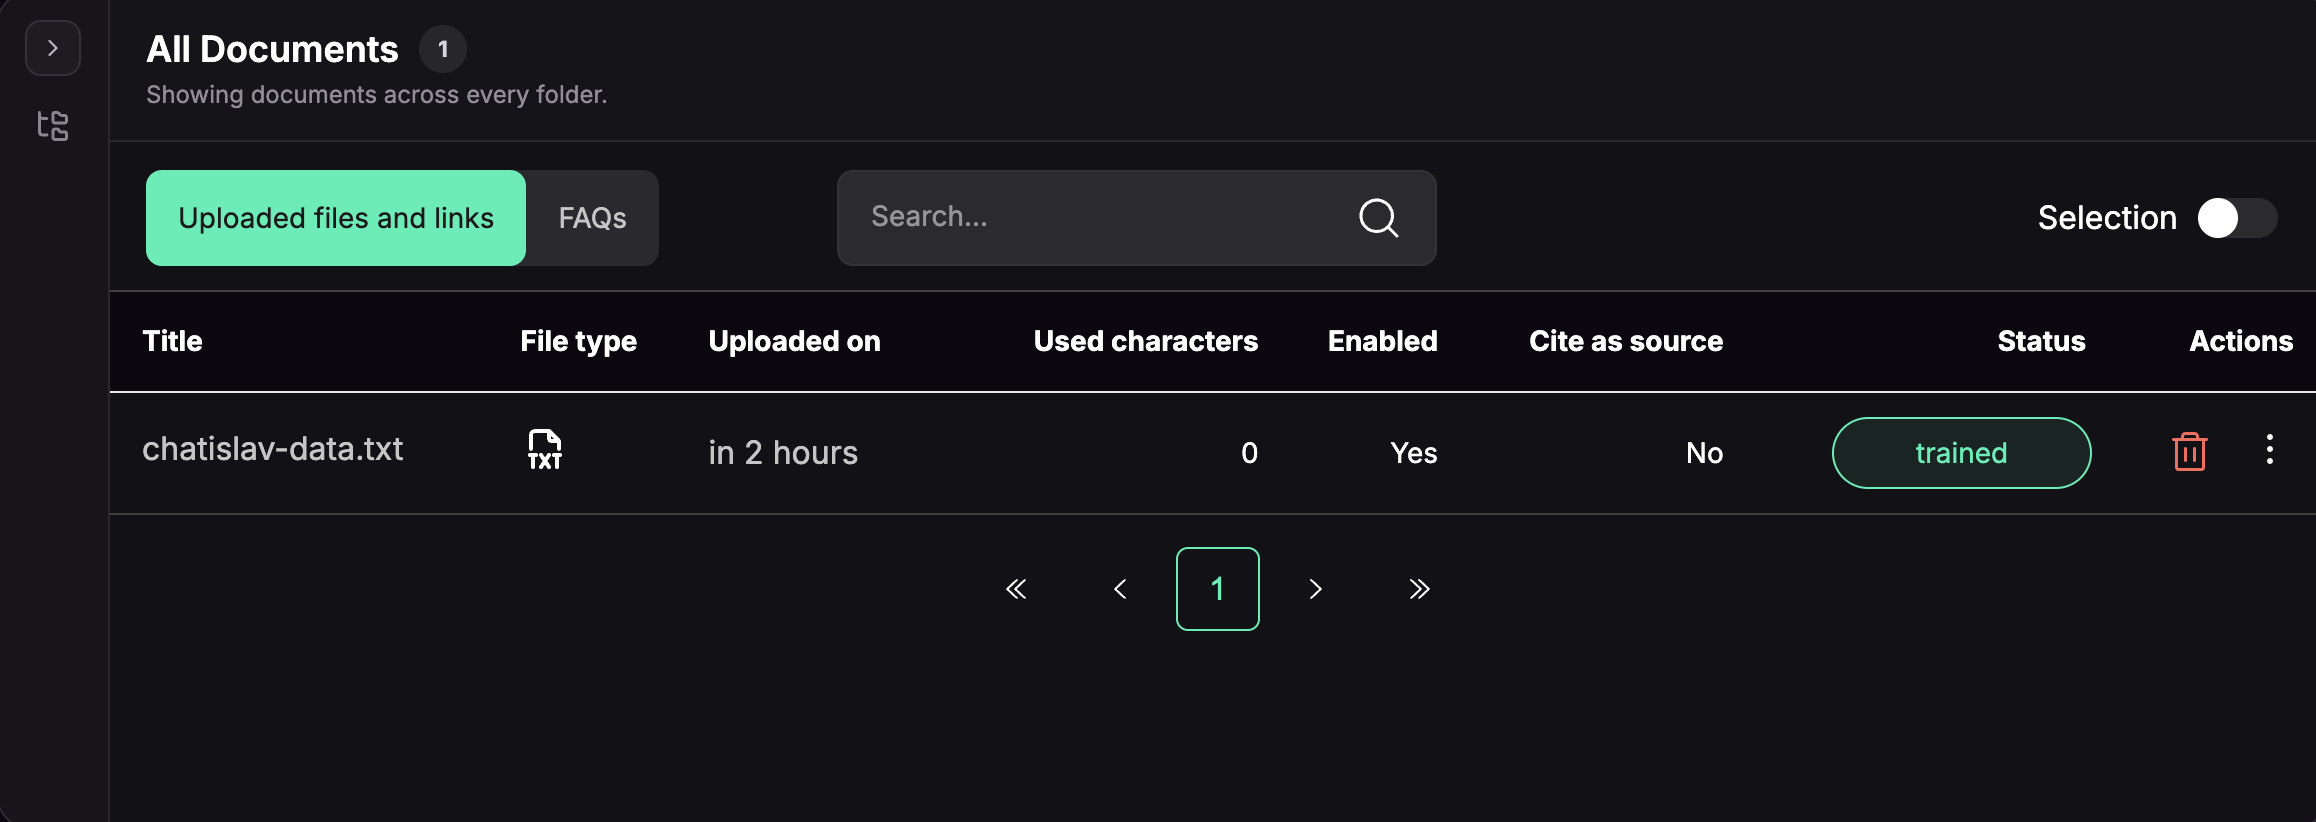
While Chatislav processes the file, its status is in progress.
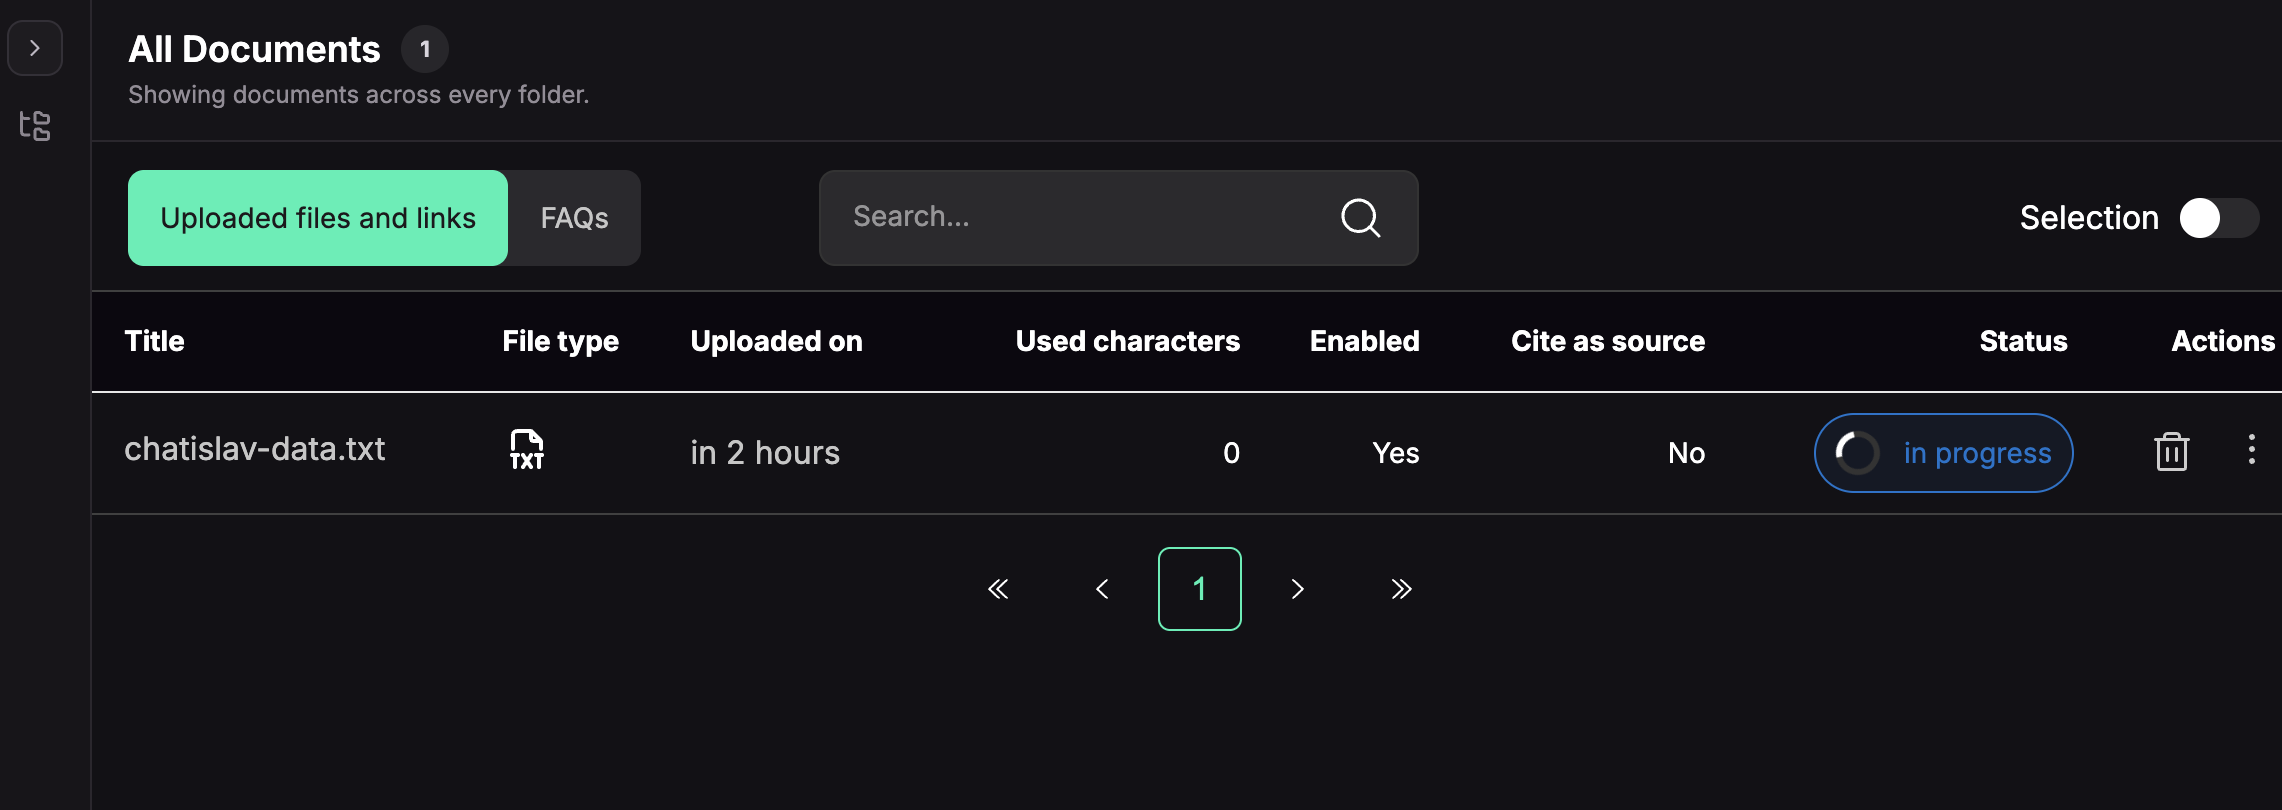
When processing is finished, the status changes to trained.
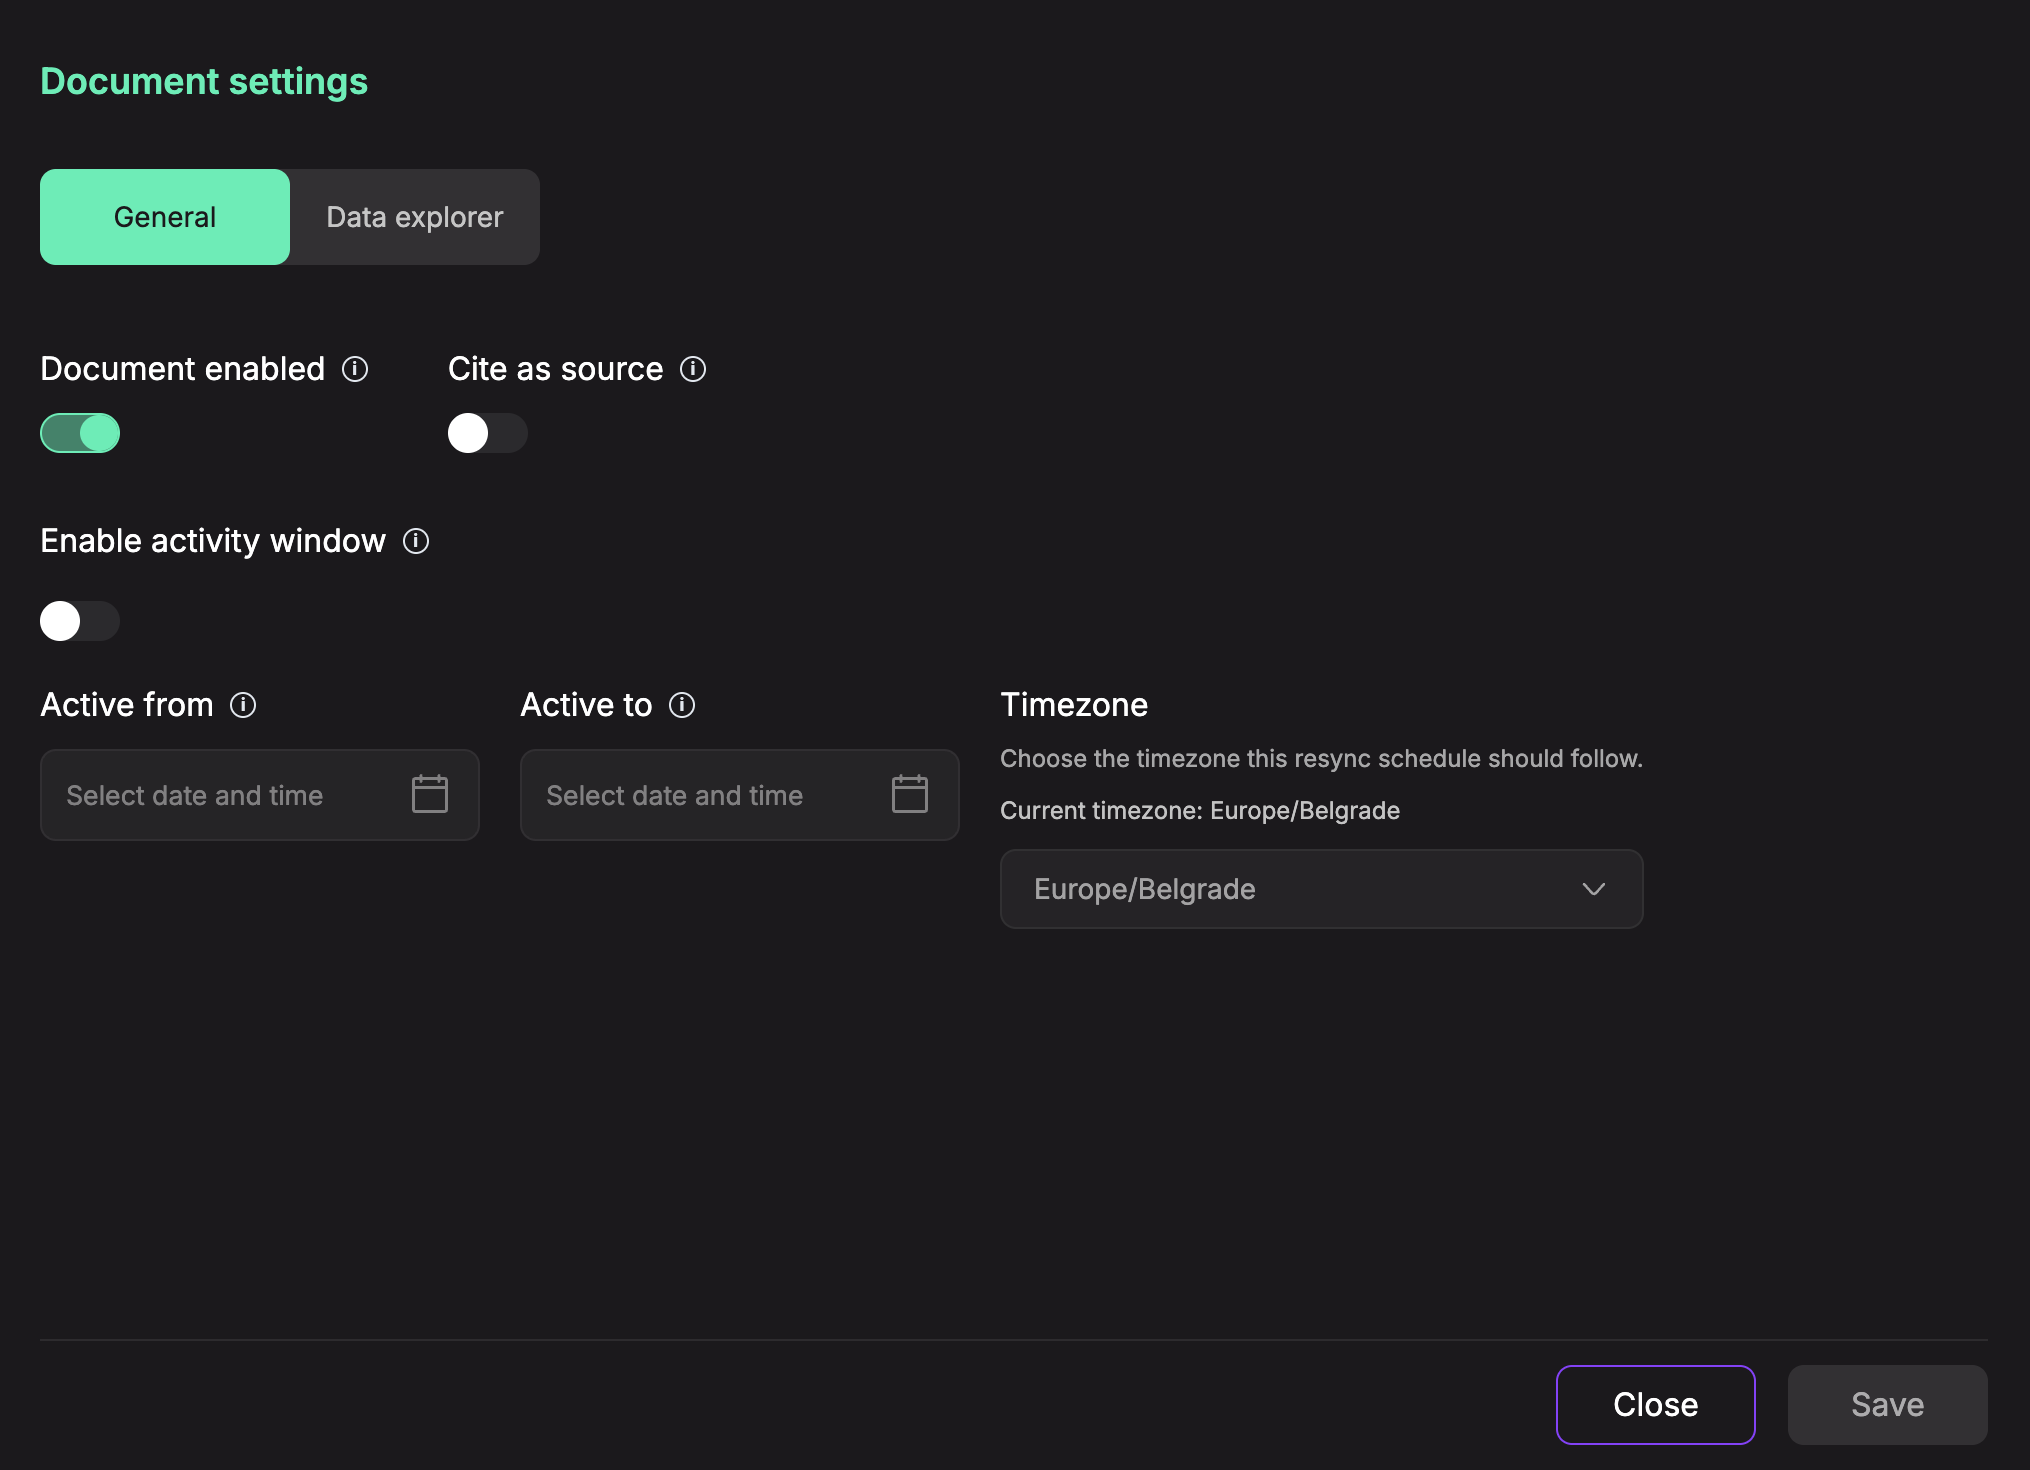
Open a document's settings to enable or disable it, control source citation, or set an activity window.
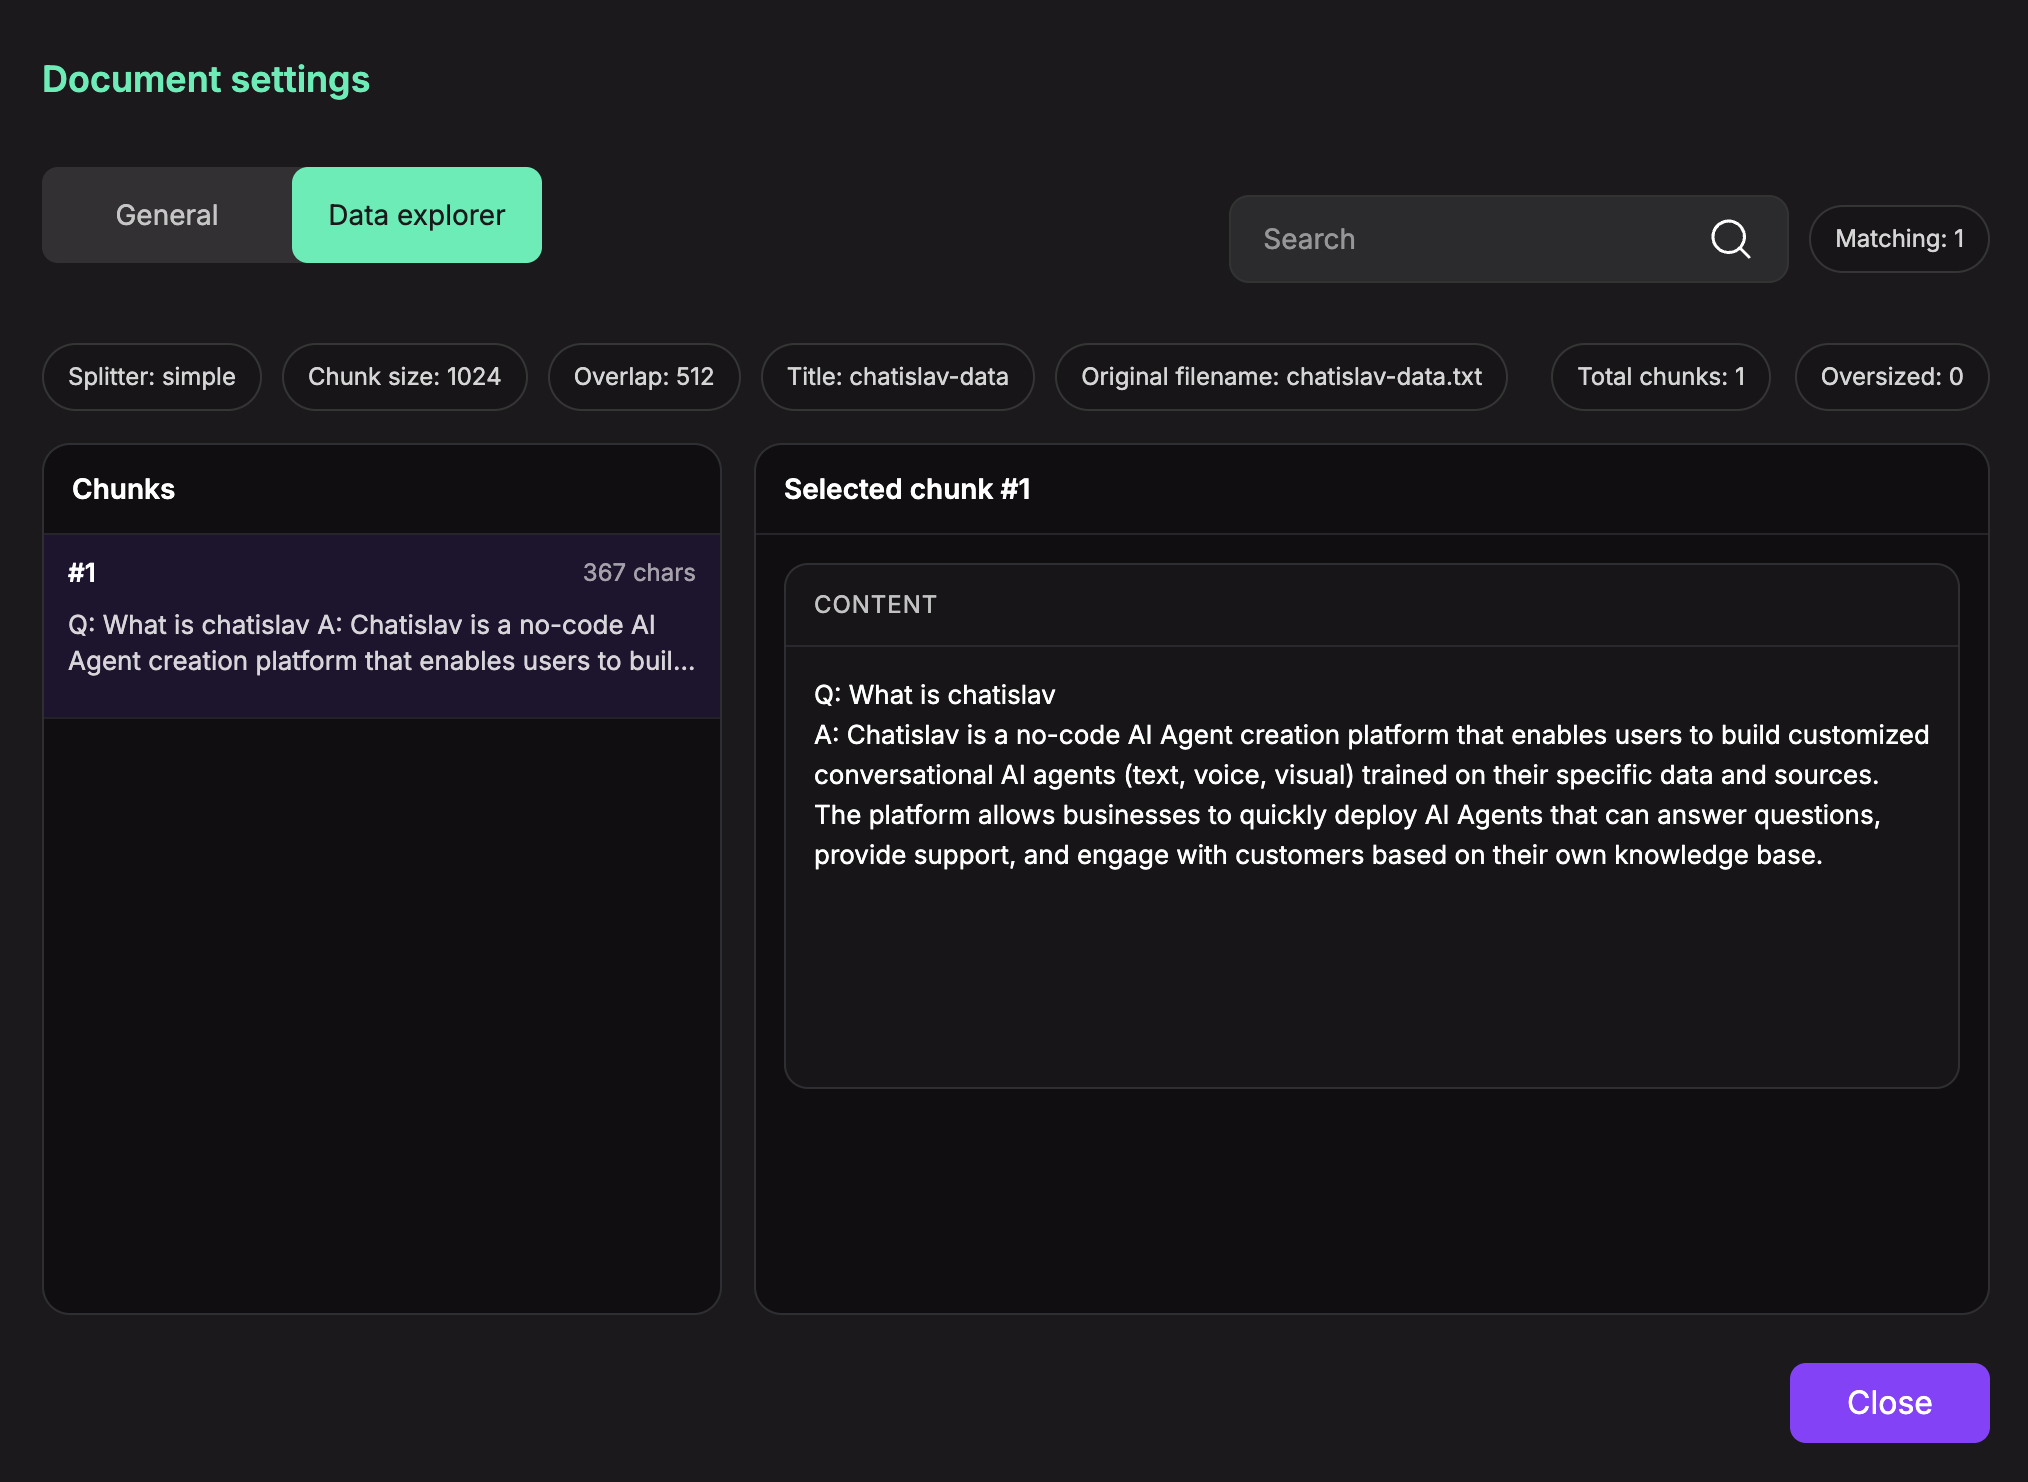
Use Data explorer to inspect how Chatislav split the document into searchable chunks.
Step 4: Customize the Agent Appearance
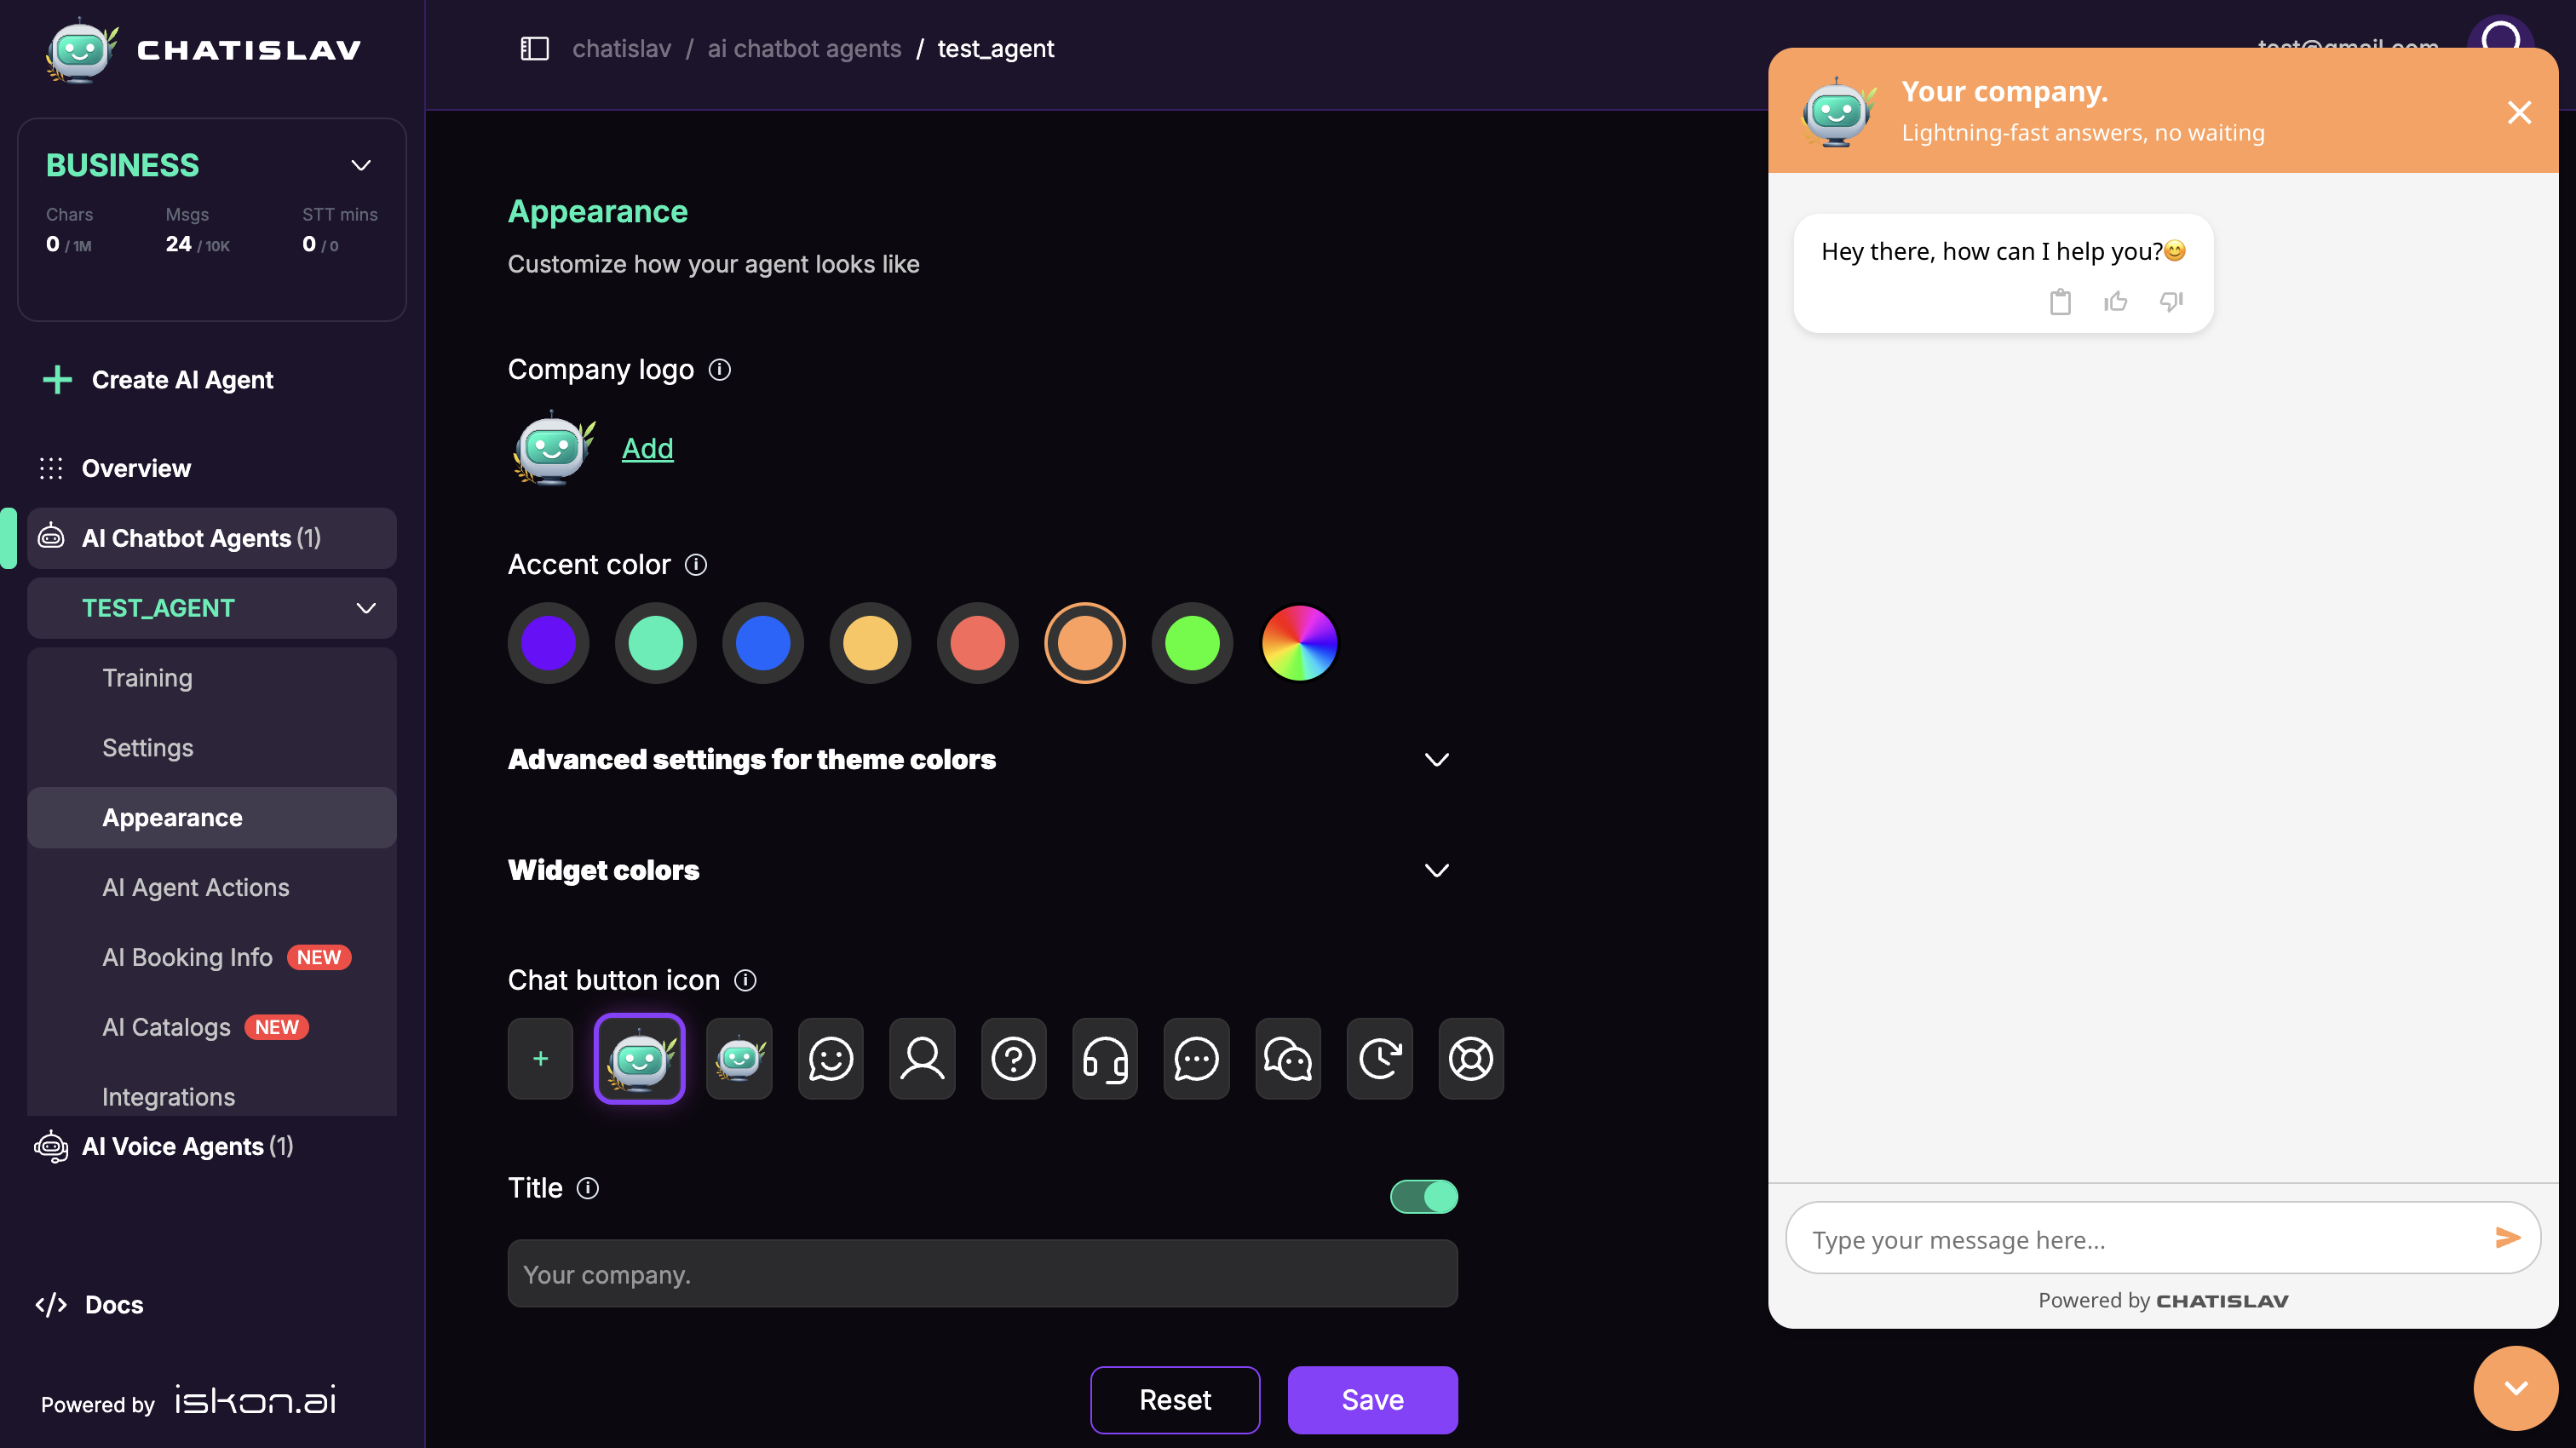
Open Appearance to change the agent logo, accent color, widget icon, title, and other visual settings. Use the preview on the right to check how the chat widget will look before saving.
Step 5: Test and Deploy the Agent
Use the chat widget preview to ask test questions and confirm the agent answers from the training data.
When the agent is ready, open Deploy from the left sidebar. Copy the JavaScript snippet or choose another available integration method.
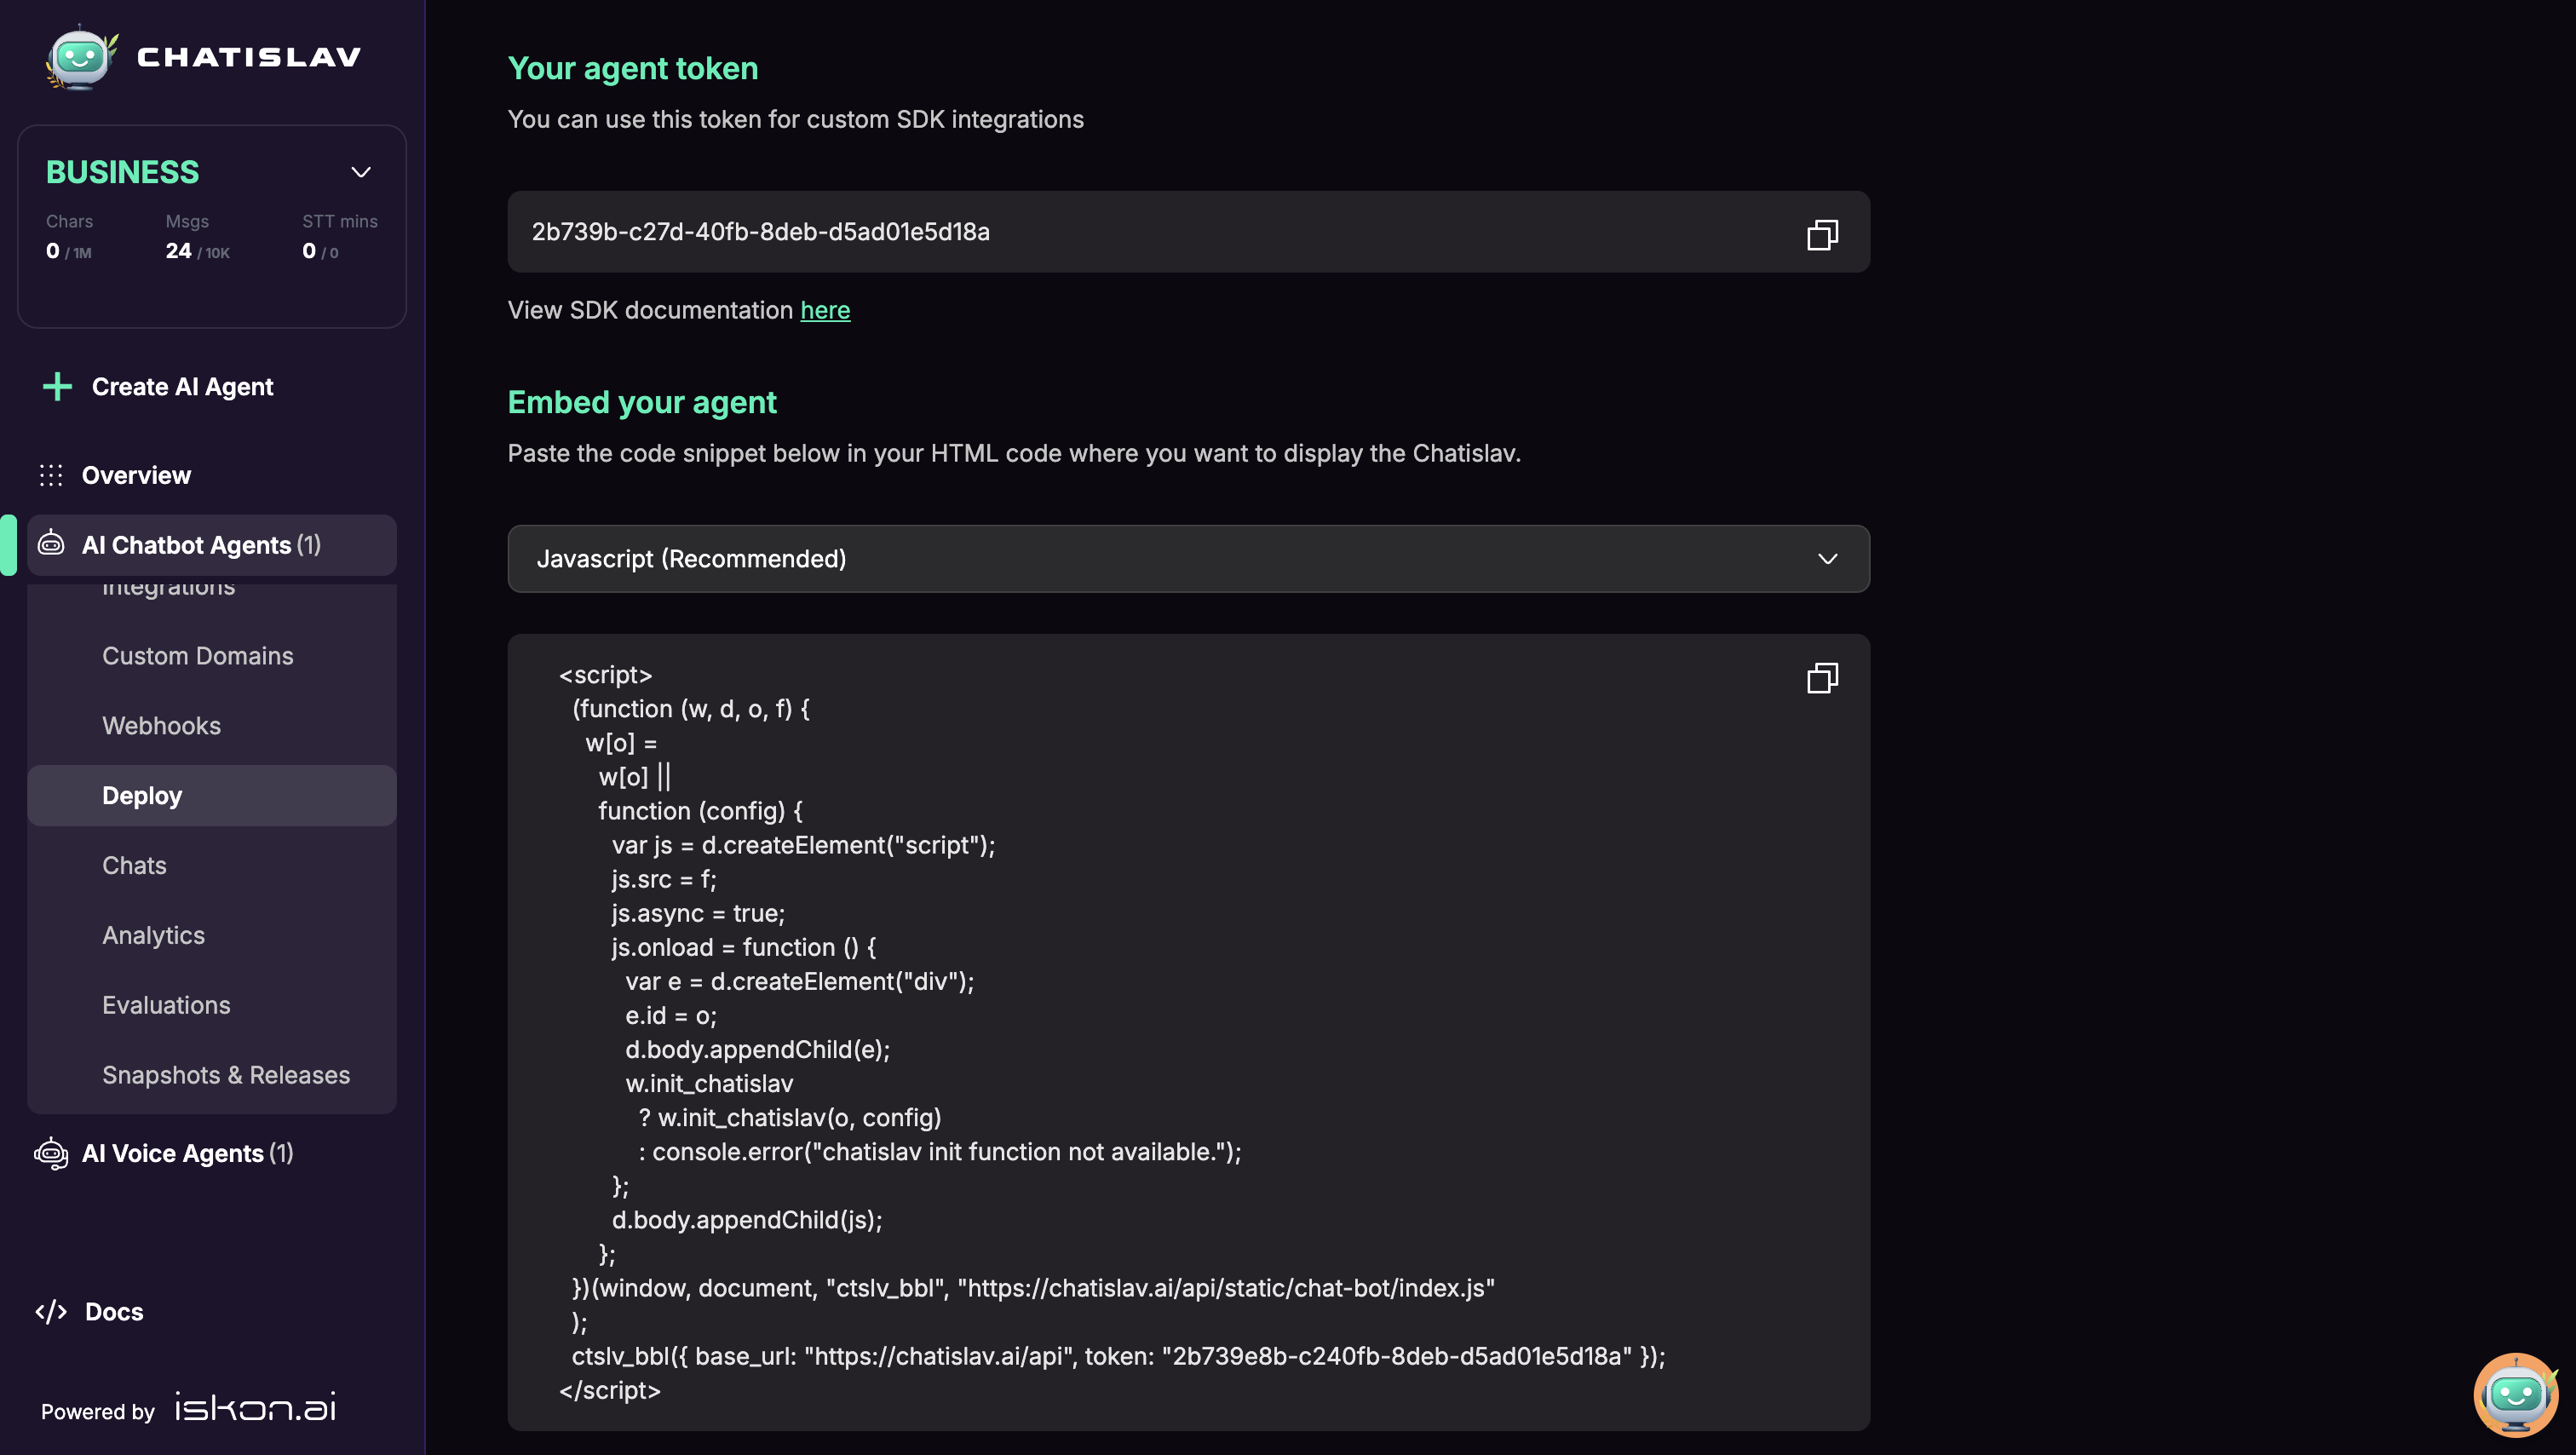
Add the copied code to your website, usually before the closing </body> tag. After publishing the website, open the page as a visitor and confirm that the Chatislav widget appears and answers correctly.