Lead Capture Form Configuration
Lead Capture Form Overview
Lead Capture Forms allow you to collect valuable user information before users start chatting with your AI Agent. This feature helps you gather contact details, understand your audience better, and build your customer database.
What are Form Fields?
Form fields are the individual input elements that make up your lead capture form. Each field collects a specific piece of information from your users, such as:
- Name: User's full name or first name
- Email: Contact email address
- Company: Company name or organization
- Custom fields: Any other information relevant to your business
You can create up to 10 custom form fields and arrange them in any order to create the perfect data collection experience for your users.
Accessing Lead Capture Settings
To configure your lead capture form:
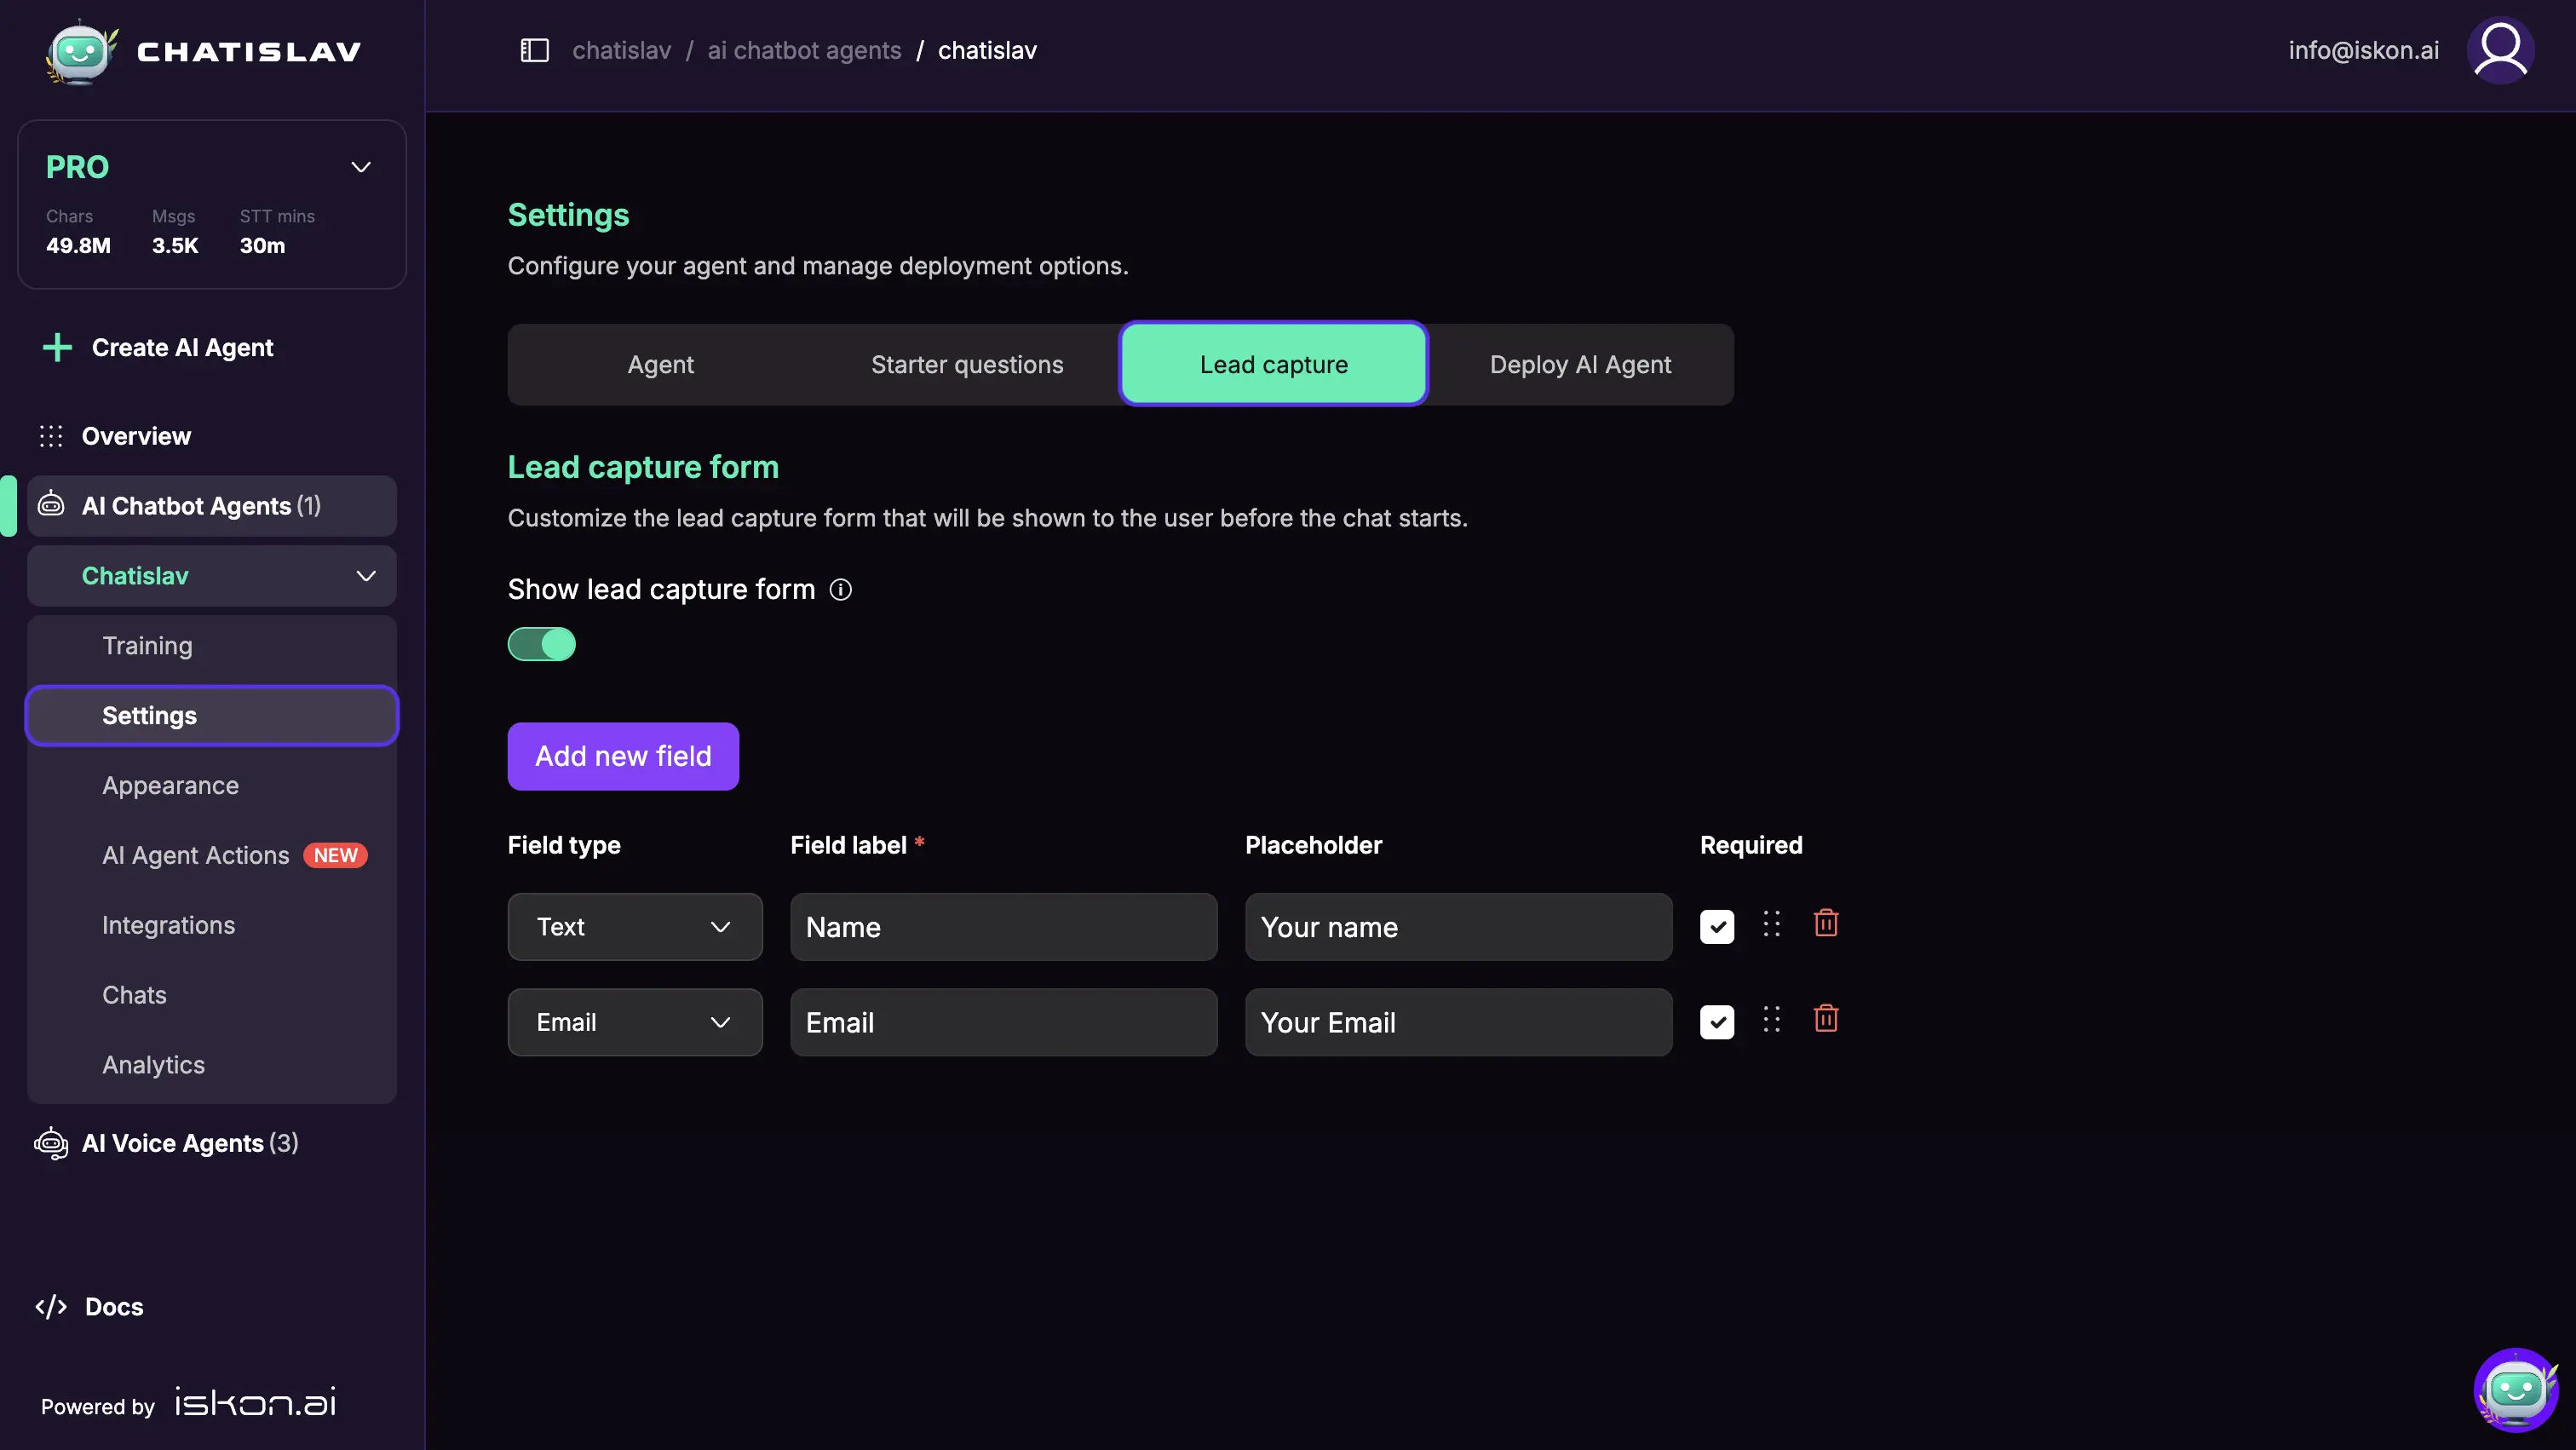
- Navigate to your AI Agent dashboard
- Select the AI Agent you want to configure
- Click on "Settings" in the sidebar
- Select the "Lead capture" tab
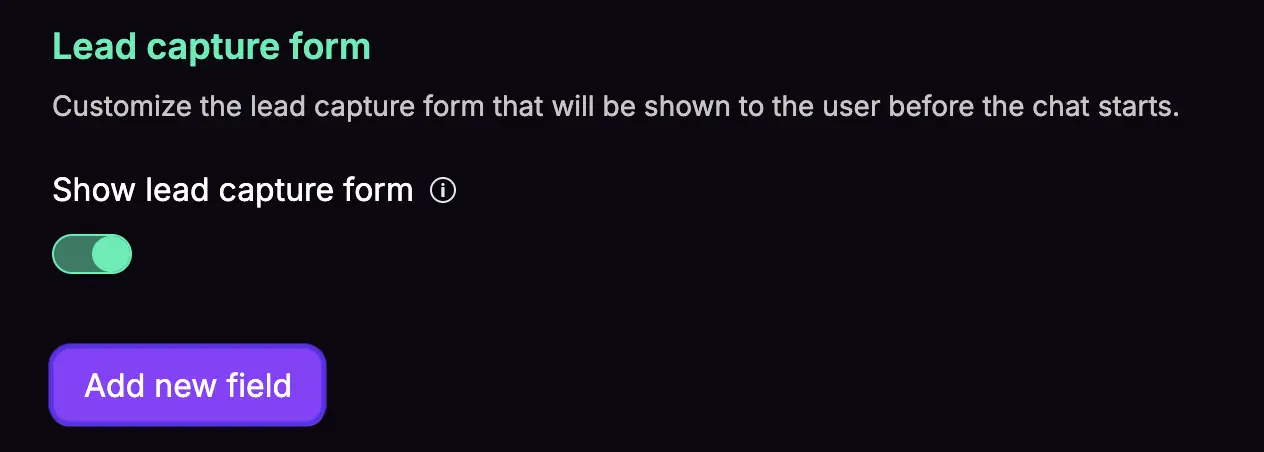
Enabling and Disabling Lead Capture
Show lead capture form

Use this toggle to enable or disable the entire lead capture functionality:
- Enabled: Users will see the form before they can start chatting
- Disabled: Users can chat immediately without filling out any form
When disabled, no user information will be collected through forms, but users can start chatting right away.
Adding New Form Fields
To create a new form field:
- Click the "Add new field" button
- Configure the field properties:
- Field Type: Choose the appropriate input type (text, email, etc.)
- Field Label: The name that appears to users (required)
- Placeholder: Helper text shown inside the field (optional)
- Required: Toggle whether users must fill this field (optional)
- Click Save to apply changes
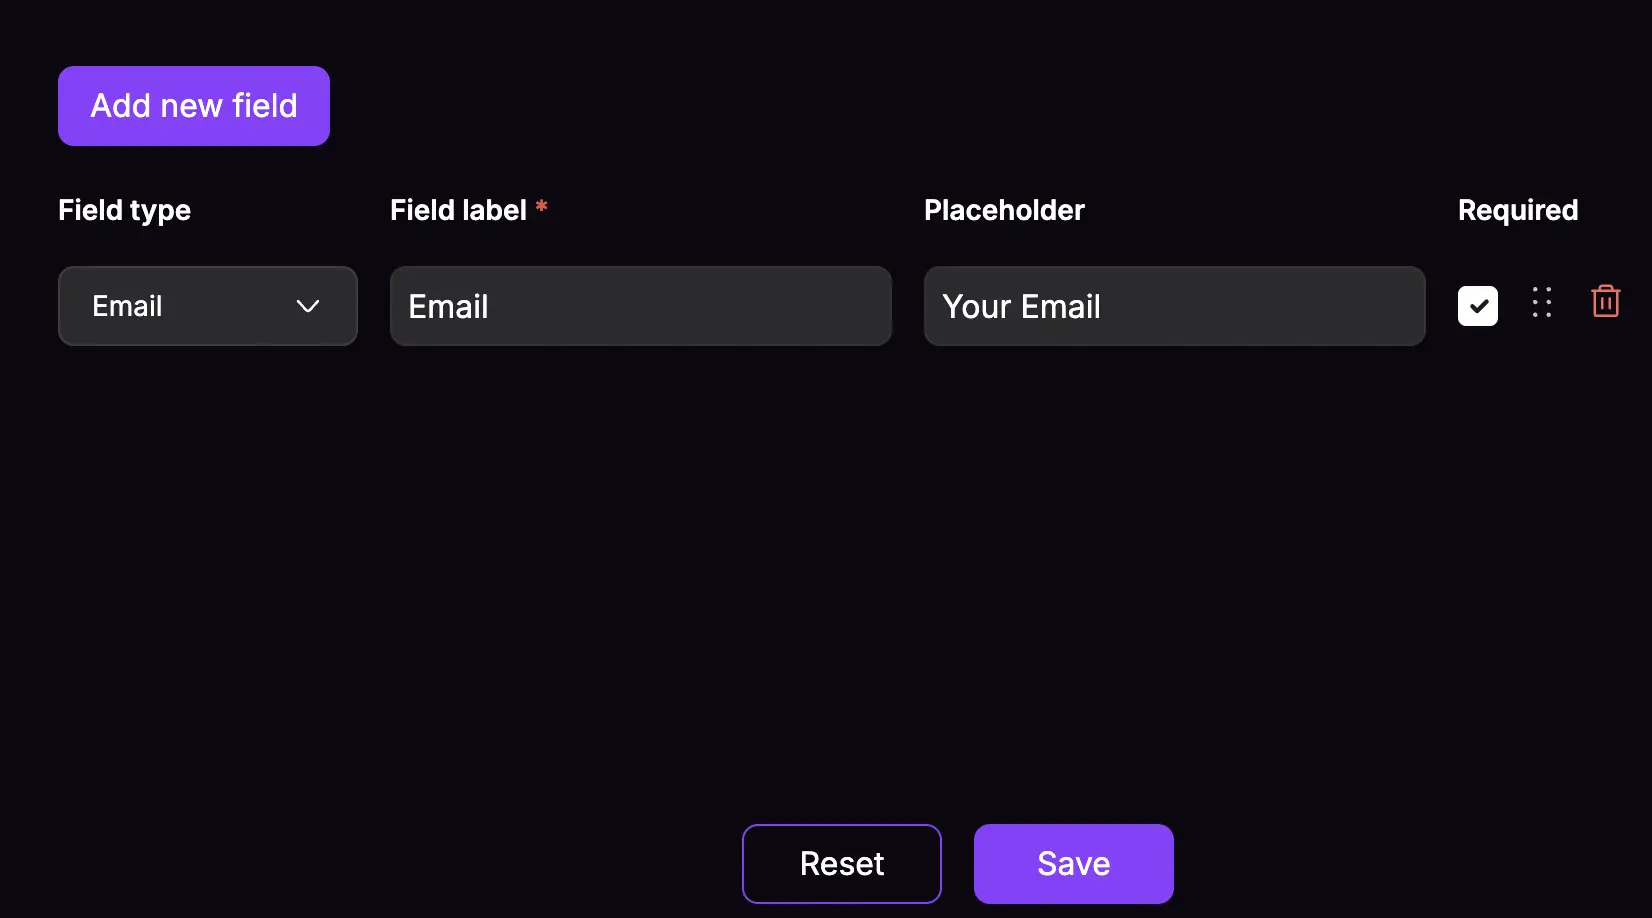
Editing Existing Form Fields
To modify any form field:
- Locate the field you want to edit in the form fields list
- Update the field properties directly:
- Change the Field Type using the dropdown menu
- Modify the Field Label in the text input
- Update the Placeholder text
- Toggle the Required setting as needed
- Click Save to apply changes
Deleting Form Fields
To remove a form field:

- Find the field you want to delete
- Click the delete icon (trash can symbol) on the right side of the field
- Confirm the deletion when prompted
- Click Save to apply changes
⚠️ Note: Deleted fields cannot be recovered, but any previously collected data will still be available in your chat history.
Reordering Form Fields
You can change the order in which fields appear to users:

- Click and hold the drag icon
- Drag the field up or down to your desired position
- Release to place the field in the new location
- The form order will update automatically
- Click Save to apply changes
Tip: Place the most important fields (like name and email) at the top of the form.
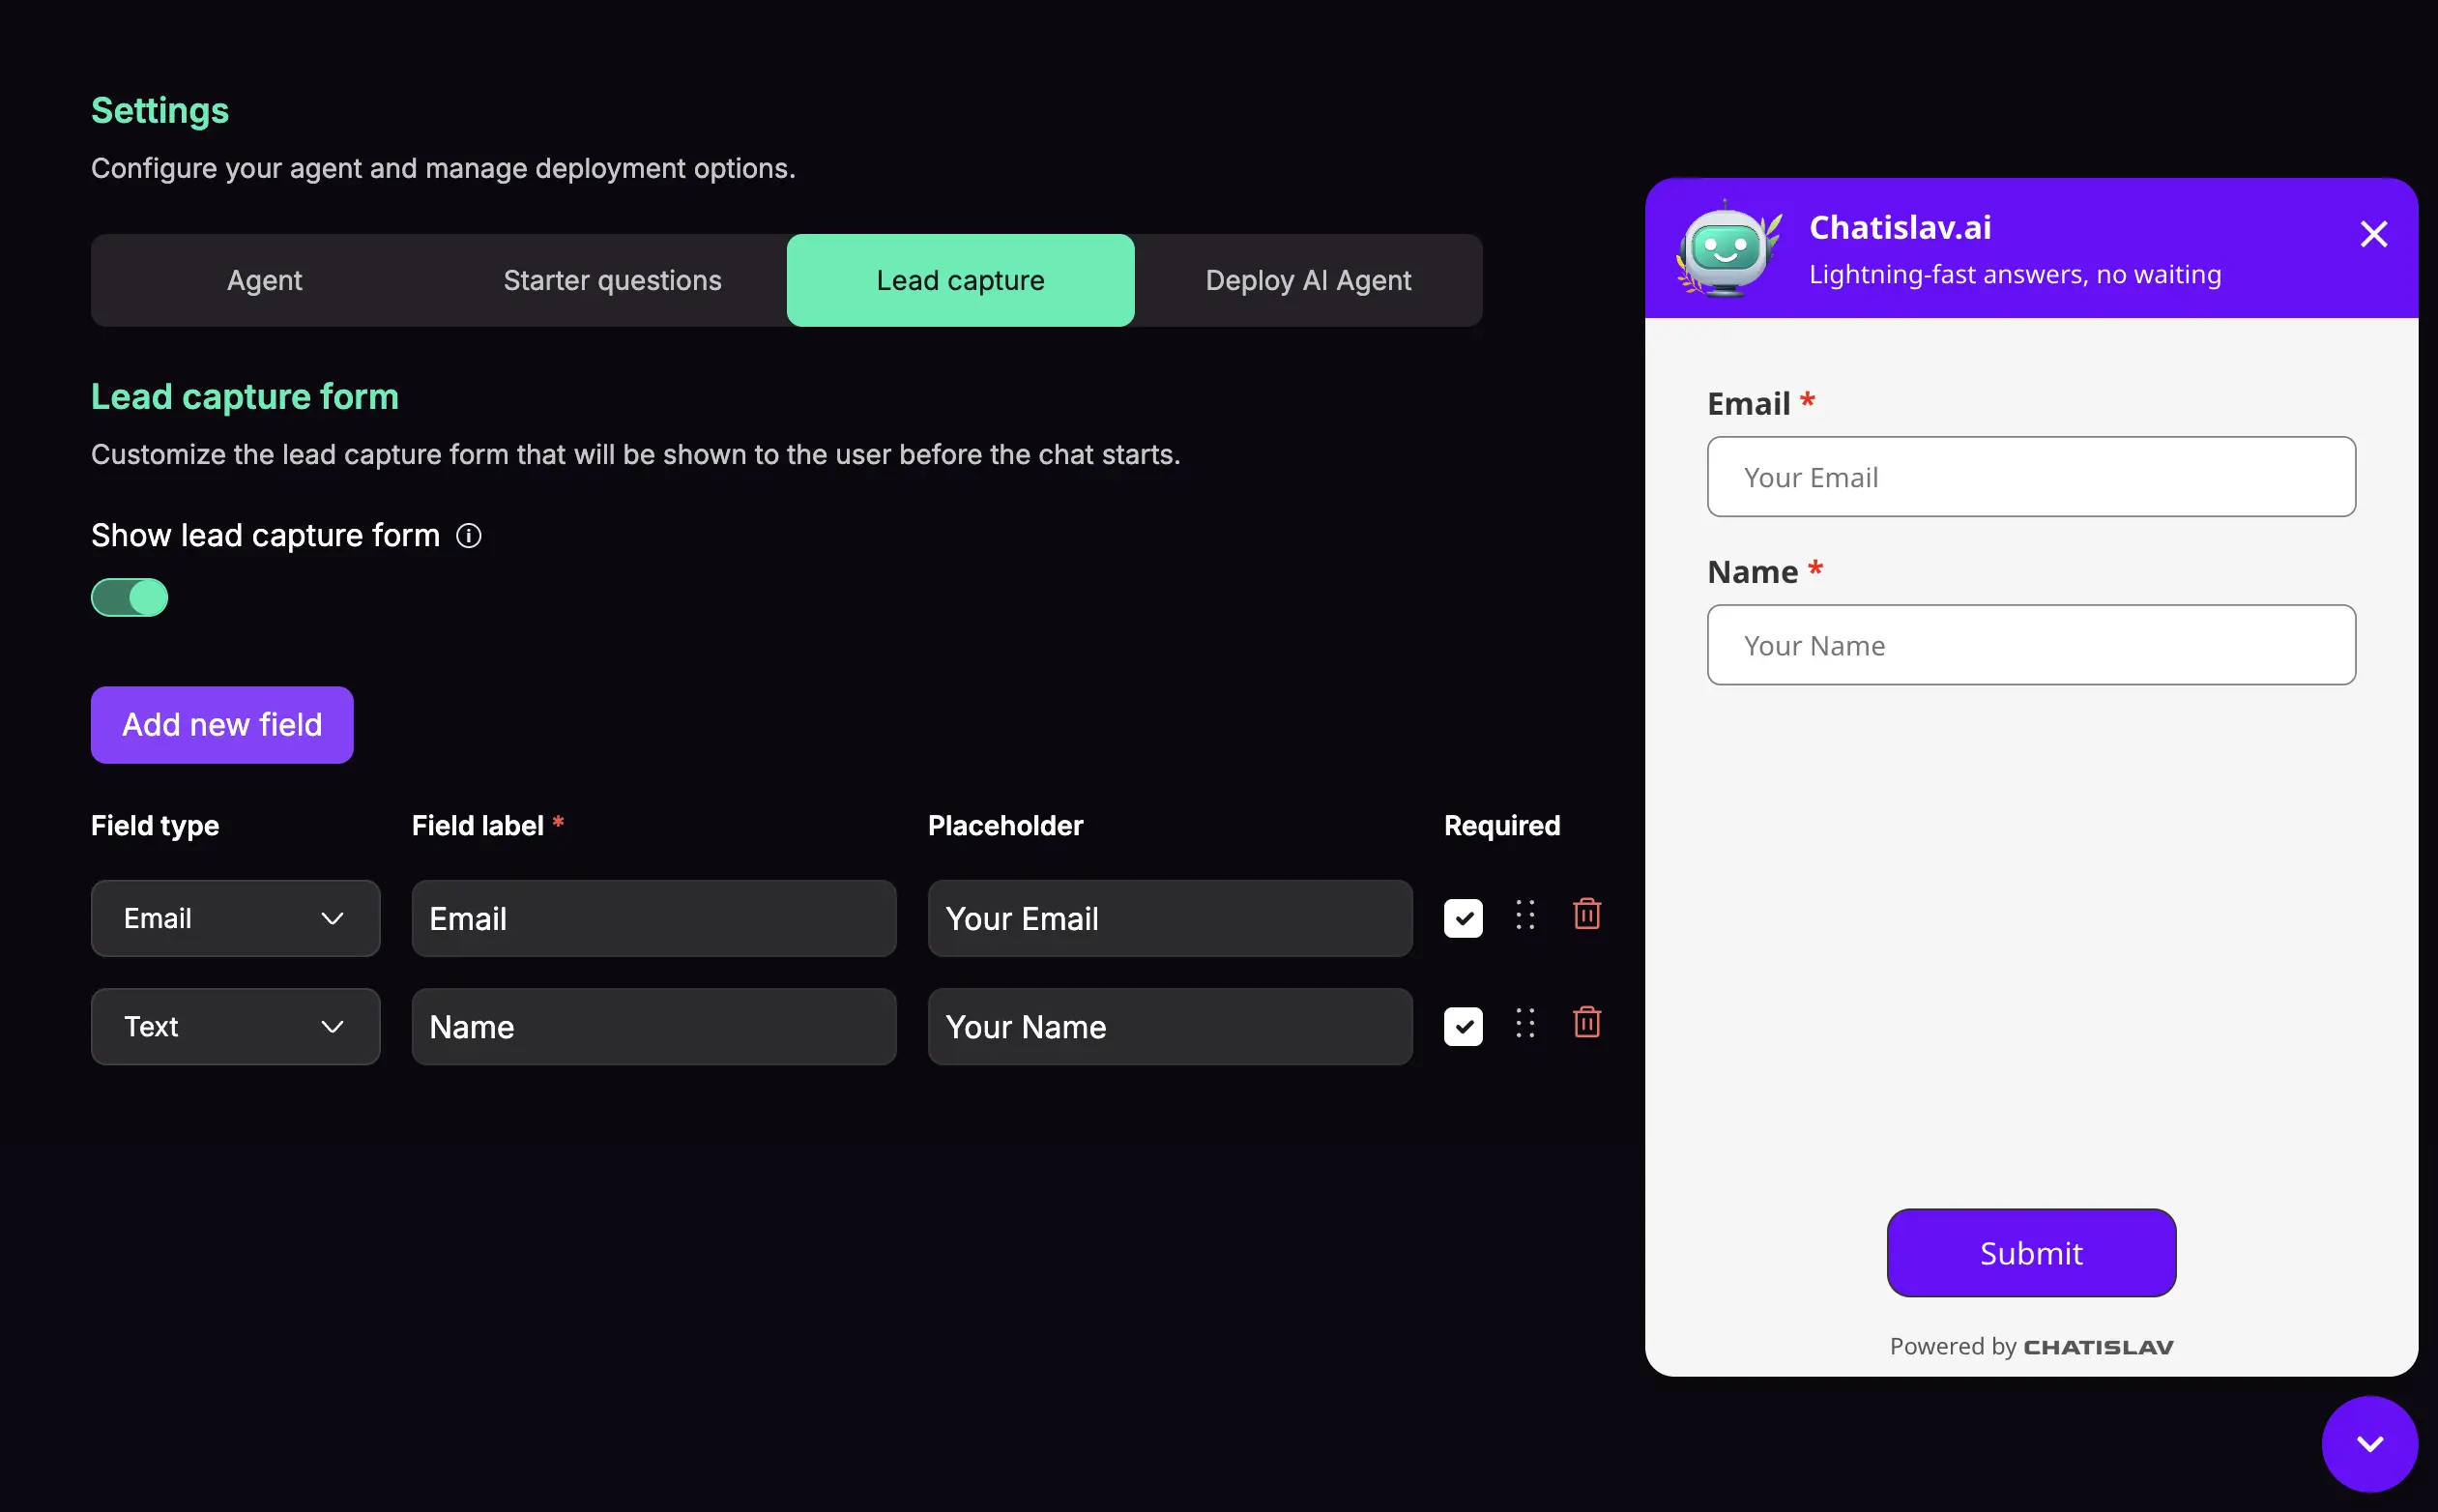
How Lead Capture Appears in Chat
When users visit your website and click on your AI Agent:
- Form appears first: Before the chat interface, users see your lead capture form
- Users fill out fields: They complete the required and optional fields you've configured
- Form submission: After clicking submit, the form disappears
- Chat begins: Users can now start chatting with your AI Agent
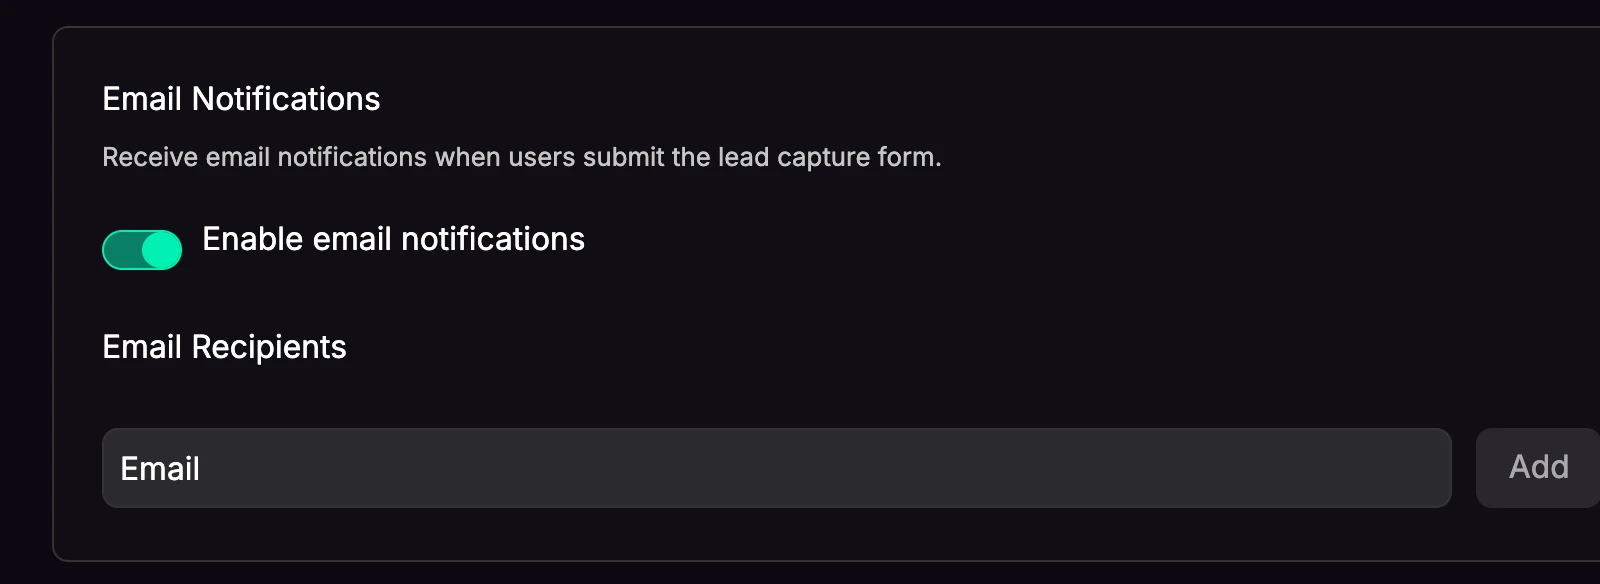
Lead Notifications
Get notified the moment a lead is submitted, so your team can follow up quickly. In the lead settings you can:
- Enable lead notifications — turn notifications on or off.
- Recipient emails — the address(es) that should receive each new lead.
- Include AI summary — optionally attach an AI-generated summary of the conversation along with the submitted details.
Notifications can be delivered by email and/or to a webhook, so leads can flow straight into your CRM or automation tools.
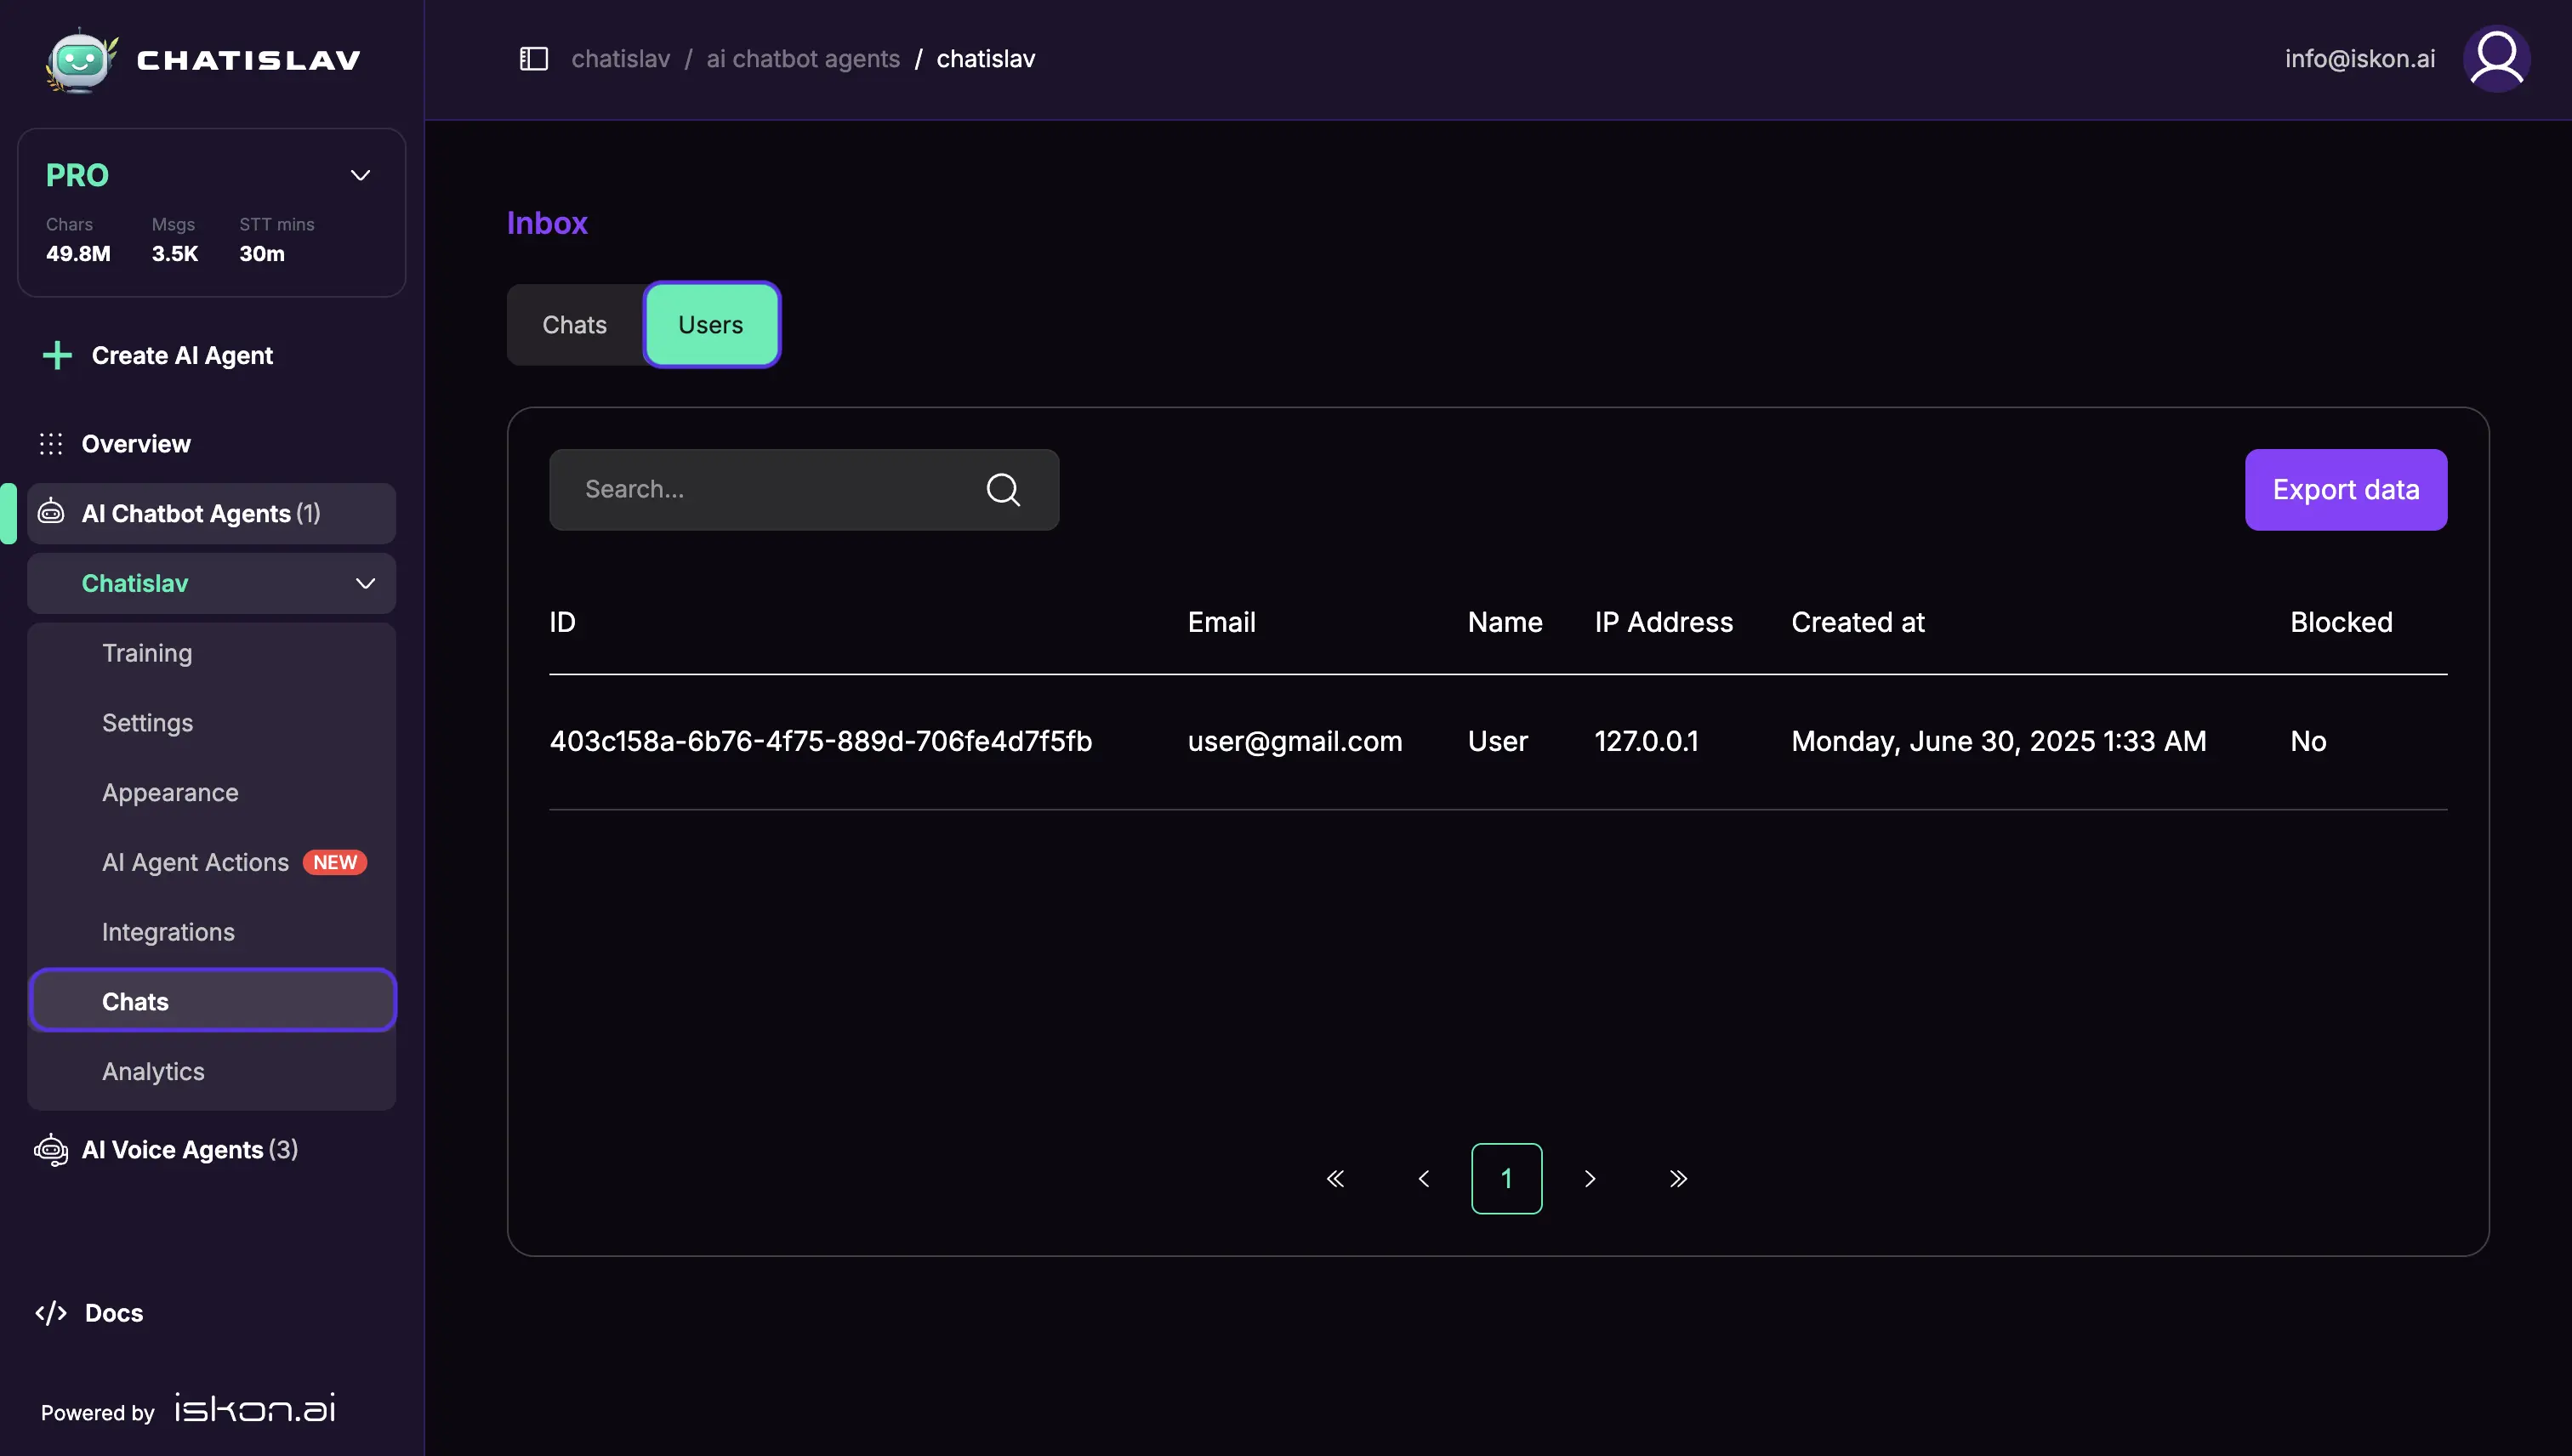
Viewing Captured Leads
All information collected through your lead capture forms is automatically saved and accessible:
To view your captured leads:
- Navigate to "Chats" in your sidebar
- Go to the "Users" section
- Browse collected user data: See all the information gathered from your lead capture forms
- Individual user profiles: Click on any user to view their complete form submission and chat history
Available Field Types
Choose the appropriate field type for the data you want to collect:
- Text: Single-line text input for names, titles, etc.
- Email: Email address with built-in validation
- Number: Numeric input for quantities, budgets, etc.
- Select: Dropdown menu with predefined options
- Checkbox: Single checkbox for agreements or preferences
- Radio: Multiple choice with single selection
- Date: Date picker for appointments or deadlines
Saving and Resetting Changes
Saving Your Configuration
Important: All changes you make to your lead capture form are temporary until you save them.
After making any changes (adding, editing, deleting, or reordering fields):
- Review all your field settings to ensure they're correct
- Click the "Save" button at the bottom of the page
- Wait for the success confirmation message
- Your changes are now applied and the form is live for new users
⚠️ Remember: If you navigate away from the page without clicking "Save", all your changes will be lost.
Resetting Your Form
If you want to undo all unsaved changes and return to your previously saved configuration:
- Click the "Reset" button at the bottom of the page
- Confirm the action when prompted
- All unsaved changes will be discarded immediately
- The form returns to exactly how it was when you last saved