Configure essential settings
AI Agent Settings
Configure your AI agent's behavior, capabilities, and operational parameters through the comprehensive settings panel. These settings control how your agent responds to users, processes information, and integrates with your systems.
- From the side menu, select the agent whose settings you want to customize and click Settings
- Click on Agent tab to get to settings screen
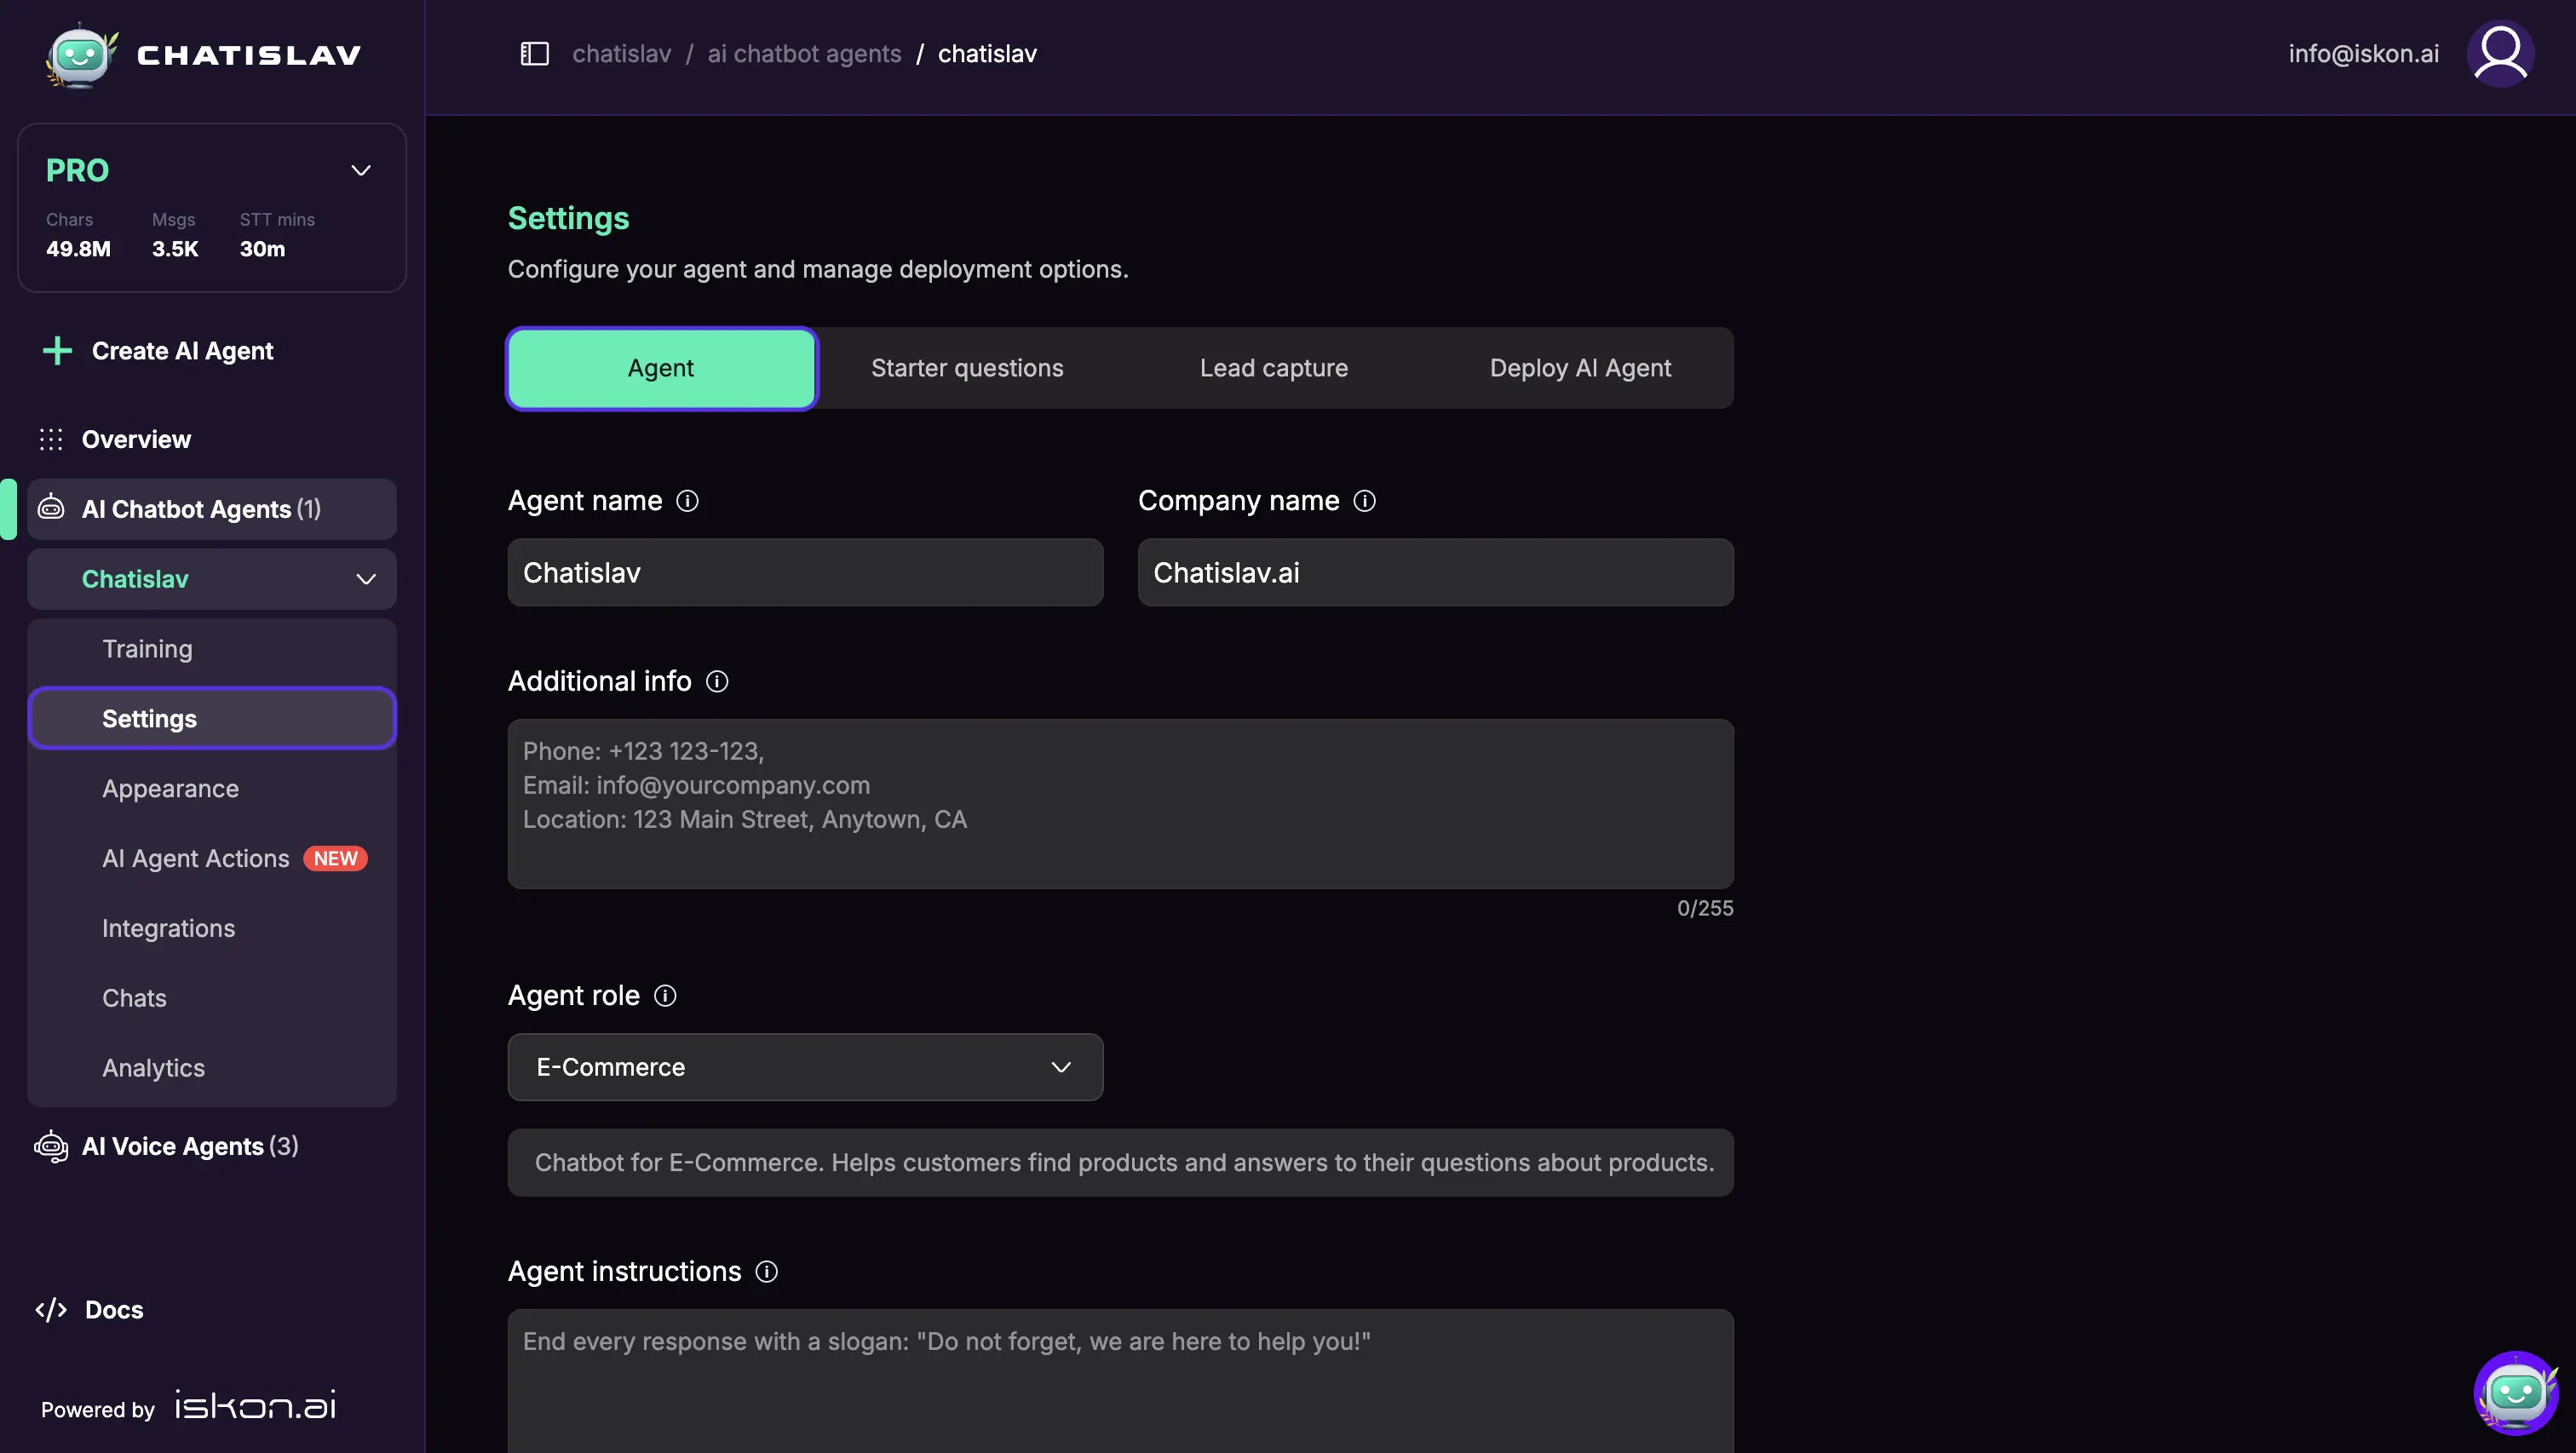
Basic Information
Configure the fundamental details that define your AI agent's identity and context.
Agent Name
Give your AI agent a clear, descriptive name that reflects its purpose and makes it easily identifiable in your dashboard.
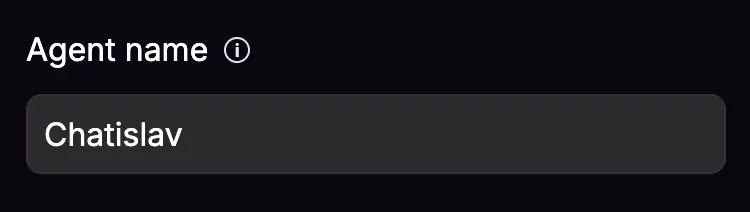
Examples: "Customer Support", "Sales Assistant", "Help Desk"
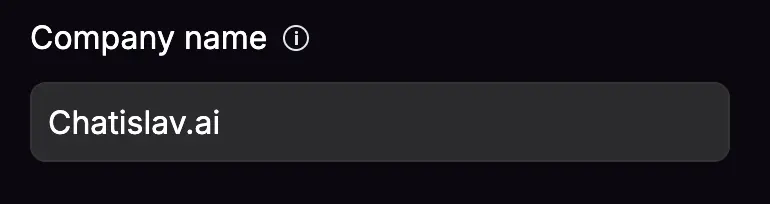
Company Name
Specify your company name to help the AI agent provide contextually appropriate responses that align with your brand.
Description
Provide a brief description of your AI agent's role and capabilities.

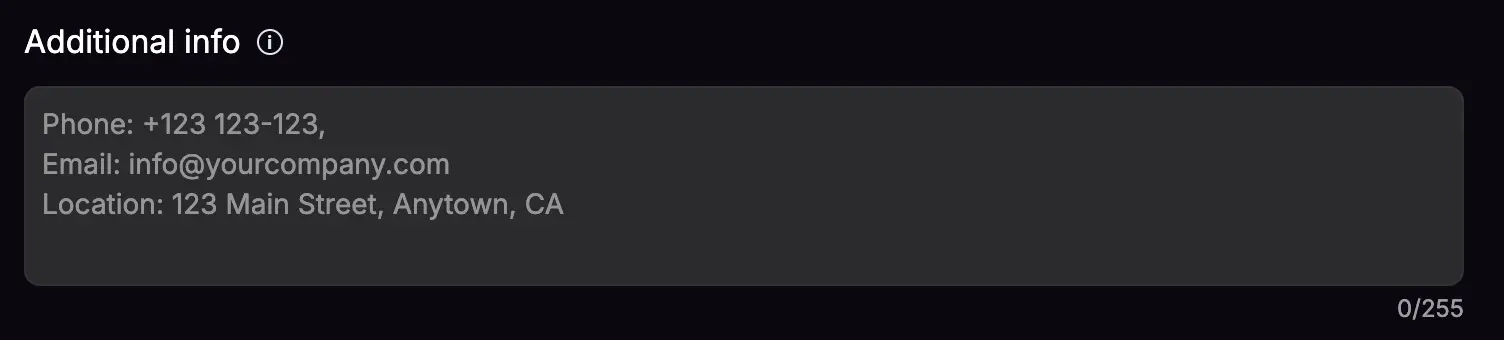
Additional General Info
Add supplementary information about your company, products, or services that the AI agent can reference during conversations to provide more accurate and contextual responses.
AI Model & Behavior
Select and configure the AI models and templates that power your agent's intelligence and response patterns.
Agent Role
Choose a pre-configured template that defines your agent's personality and response style:
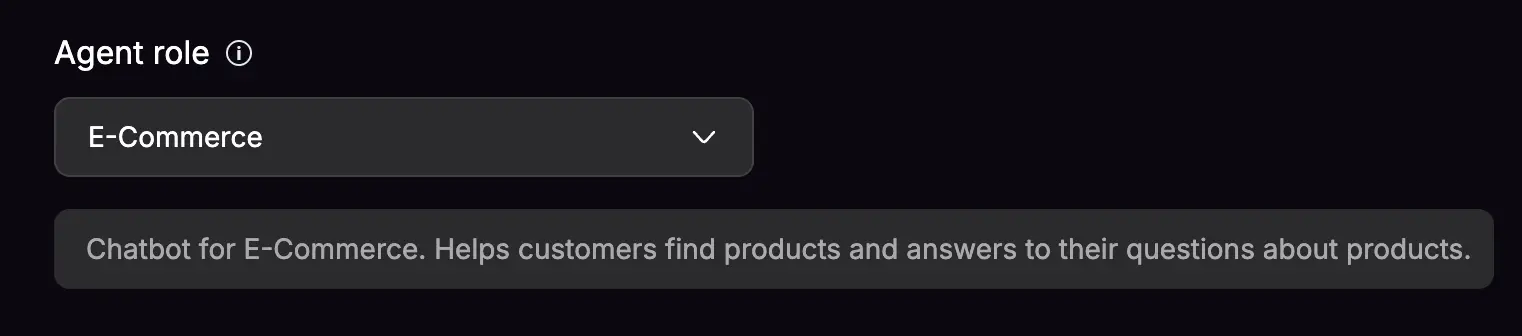
- Customer Support: Helpful, patient, and solution-oriented
- Sales Assistant: Persuasive, informative, and conversion-focused
- General Assistant: Balanced, professional, and versatile
- Technical Support: Detailed, technical, and troubleshooting-focused
Agent Instructions
Define specific behavioral guidelines and response patterns for your AI agent. This powerful feature allows you to customize how your agent handles various situations.
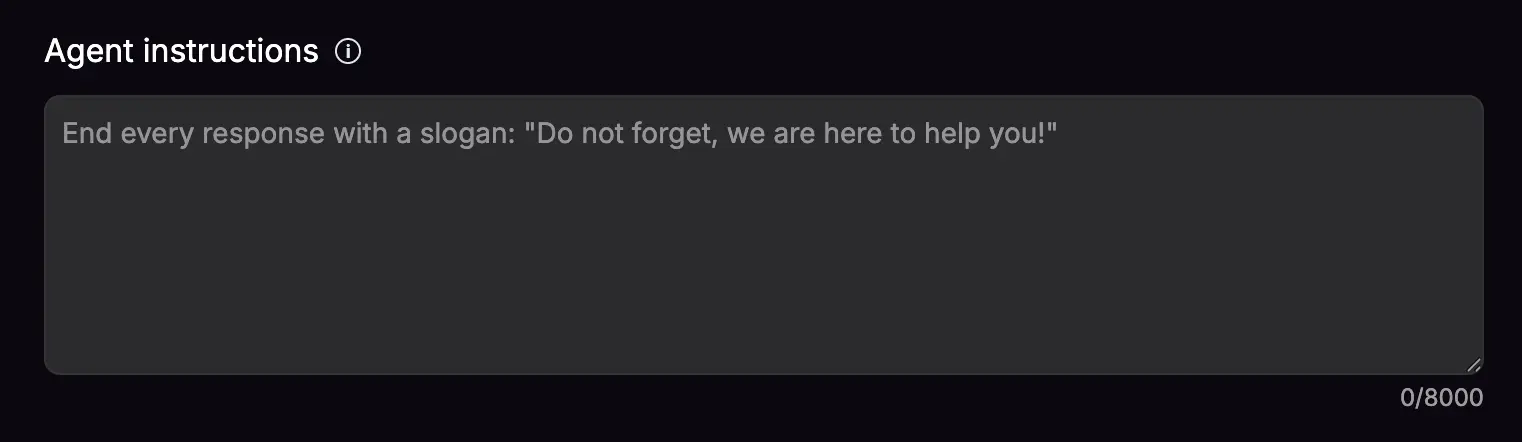
Example Agent Instructions:
Always be friendly and professional. When discussing pricing, redirect users to speak with our sales team. If users ask about technical issues, gather their system information first before providing solutions. End each response with "Is there anything else I can help you with?"
LLM Model
Choose the AI model that powers your agent's responses:
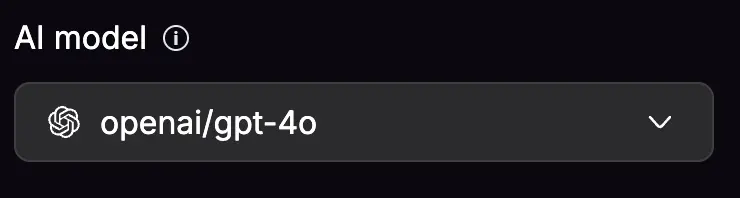
Available Models:
- GPT-4: Premium model with advanced reasoning capabilities
- GPT-3.5: Balanced performance and speed
- Claude: Excellent for detailed, nuanced responses
- Iskon Prodigy: Our proprietary model optimized for efficiency
Response Length
Control the verbosity of your agent's responses:
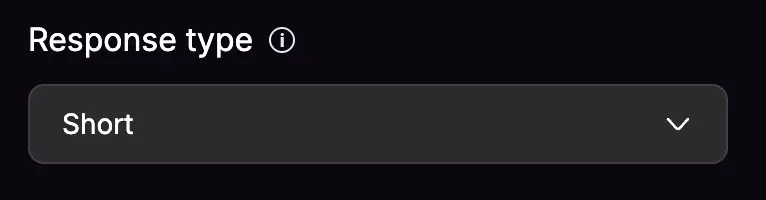
- Short: Concise, direct answers
- Medium: Balanced detail and brevity
- Long: Comprehensive, detailed responses
LLM Temperature
Adjust your agent's creativity and response variability:

- 0 (Deterministic): Consistent, predictable responses
- 0.5 (Balanced): Good mix of consistency and creativity
- 1 (Creative): More varied, creative responses
Language & Localization
Configure how your AI agent handles different languages for both user interactions and data processing.
Language (Multilingual Support)
Select the primary language for your AI agent's responses:
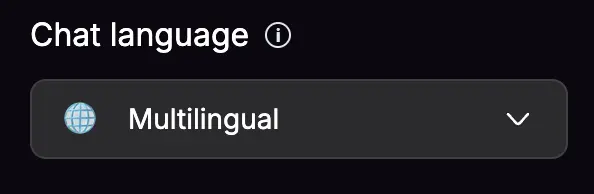
- Multilingual: Automatically detects and responds in the user's language
- Specific Languages: English, Spanish, French, German, and more
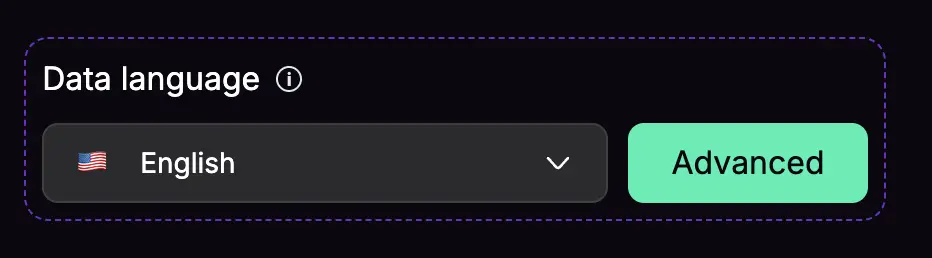
Data Language
Language of the data that you will use to train the AI agent.
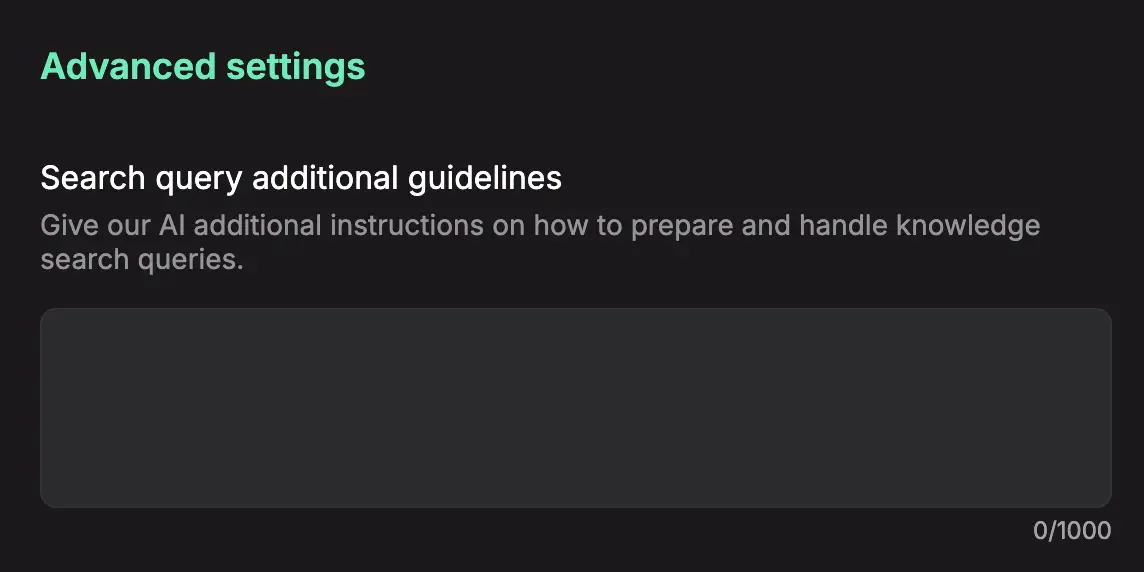
Condense Question Instructions (Advanced)
Give our AI additional instructions on how to prepare and handle knowledge search queries.
Example:
When users ask follow-up questions, always consider the full conversation context. Prioritize the most recent user intent while maintaining awareness of previous topics discussed.
Communication & Support
Configure email features and support escalation settings to enhance communication and monitoring.
Support Emails
These are the emails that AI agent will suggest to the user if unable to answer the question.
Send Email Transcript
Send conversation transcripts to users via email at conversation end or upon user request.

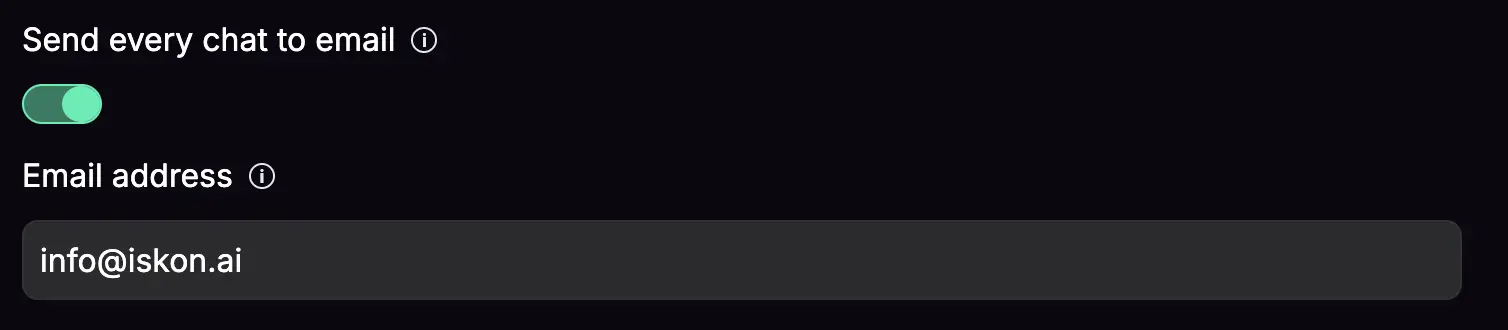
Send Every Chat to Email
Forward all conversations to a designated email address for monitoring, quality control, training, and compliance purposes.
AI Conversation Summary
Automatically generate and deliver AI-powered summaries of your conversations via email or webhook. Configure delivery methods, trigger types, summary fields, and scheduling options.

User Interaction & Experience
Enhance user engagement and gather valuable feedback through interactive features.
Chat Feedback Query
Enable users to rate agent responses with thumbs up/down buttons to collect feedback for continuous improvement.

Suggest Follow-up Questions
Automatically suggest relevant follow-up questions that appear after agent responses to encourage continued engagement.

Image Upload (Vision & Catalog Image Search)
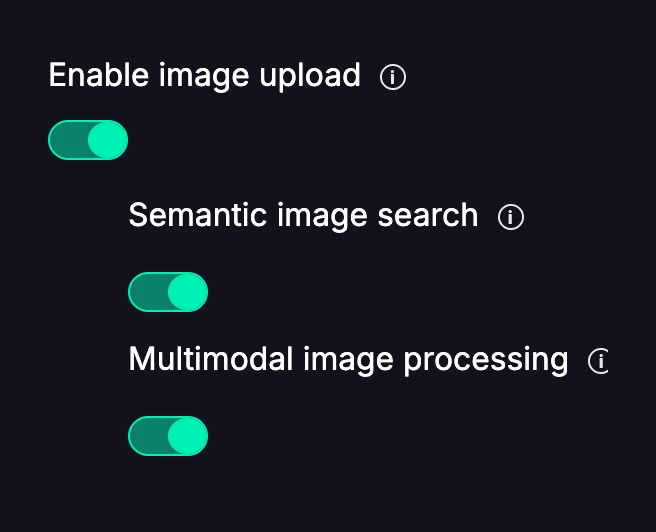
Allow users to upload images in the chat. When Enable image upload is on, two independent capabilities become available:
- Multimodal image processing (vision) — the agent looks at the uploaded image and can describe it or answer questions about it.
- Semantic image search — the uploaded image is matched against your AI Catalog to find visually similar products.
Each can be turned on independently, depending on whether you want the agent to understand images, search your catalog by image, or both.
Safety & Guardrails
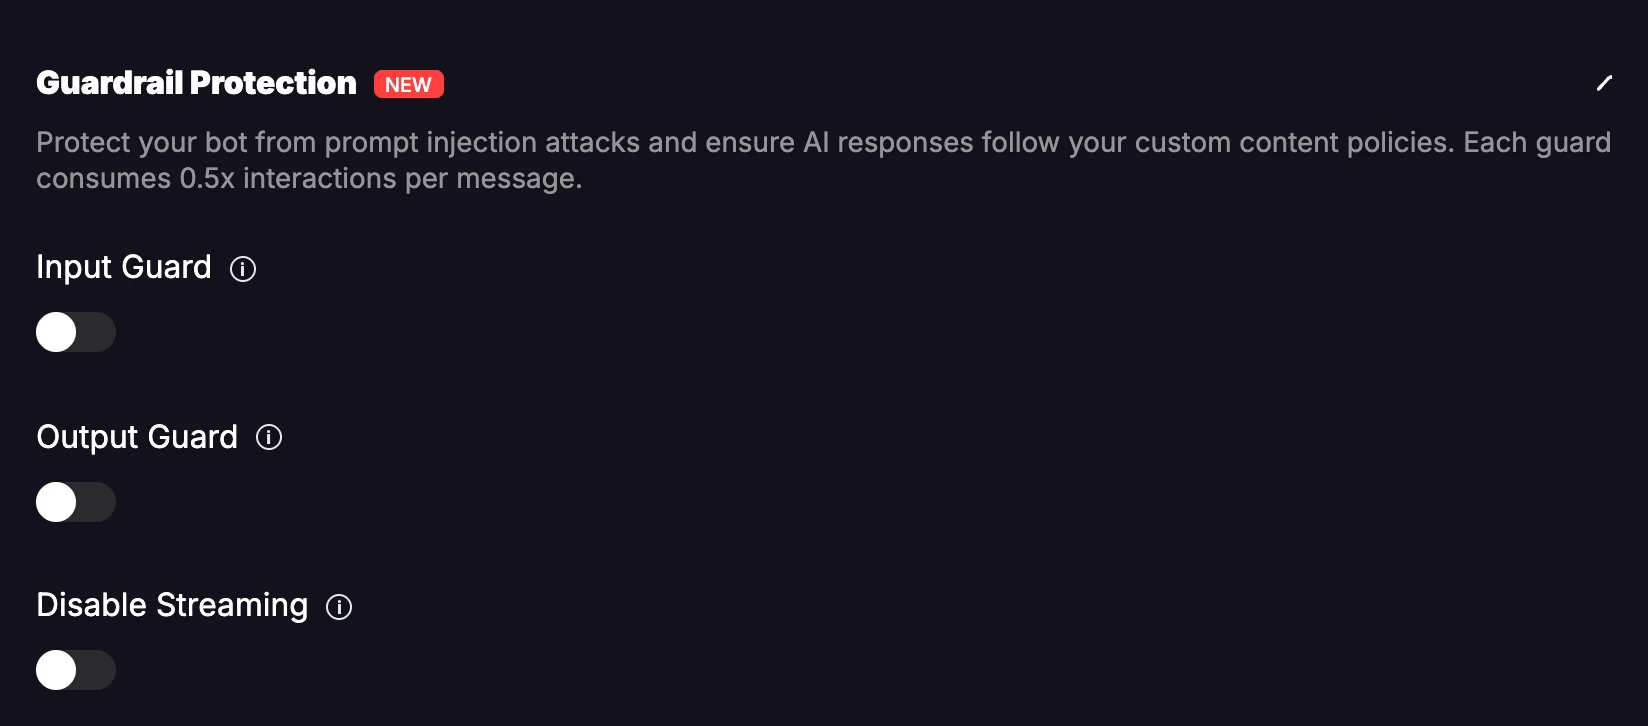
Guardrails let you screen messages to protect your agent from prompt injection and off-topic or unsafe content.
Input Guard
When enabled, incoming user messages are checked before the agent processes them. Configure:
- Input Guard Prompt — instructions describing what to allow or block.
- Rejection Message — what the user sees when a message is blocked.
Output Guard
When enabled, the agent's responses are checked before they are shown to the user. Configure the Output Guard Prompt to describe what the agent should not say.
Disable Streaming
When guardrails are active, you can disable response streaming so the full response is checked before being delivered to the user.
Rate Limiting & Access Control
Manage who can access your AI agent and configure security settings to protect against abuse.
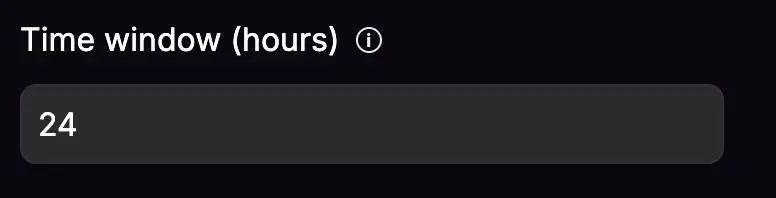
Messages Per User
Set the maximum number of messages a user can send within the specified time window.

Messages Per User Window (Hours)
Define the time period (in hours) for rate limiting calculations.
Message Limit
Set an absolute limit on the total number of messages per conversation. When enabled, conversations will automatically end after reaching this limit.
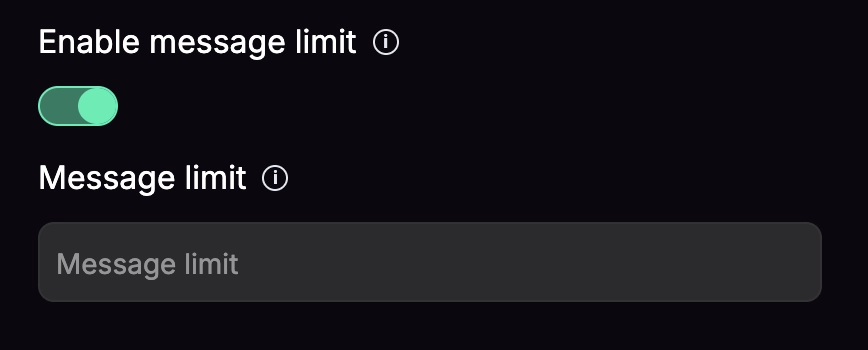
- Enable: Toggle to activate message limit per conversation
- Limit Value: Maximum number of messages allowed in a single conversation
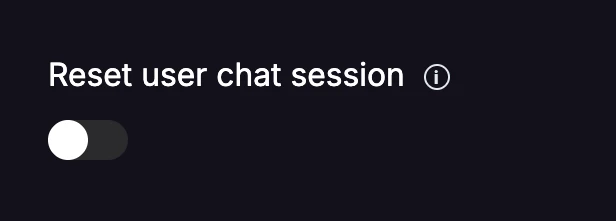
Reset User Chat Session
Automatically start a fresh conversation when a user returns after a period of inactivity. When enabled, set the number of minutes since the last message after which the next message begins a new session.
Allowed Origins
Specify which websites can embed and use your AI agent:
- All websites (*): Suitable for public agents
- Specific domains: Better security for internal use
- Examples:
https://yourwebsite.com,https://app.yourcompany.com
Block Masked IP
Prevent access from users hiding behind VPNs or proxy services:

- Enabled: Blocks anonymous traffic
- Disabled: Allows all traffic
Pricing & Business
Configure business-related settings for cost tracking and human handoff management.
Human Price Per Hour

Set the hourly rate for human agent time to track costs for escalated conversations and internal reporting.
Saving and Managing Changes
Once you're satisfied with your settings:
- Review all settings
- Click Save to apply changes
- Use Reset if you need to revert to previous settings
Validation
The system validates all inputs before saving including character limits, email format validation, and model availability verification.
Remember:
Always test your agent after making settings changes to ensure the behavior matches your expectations. Start with conservative settings and gradually adjust based on performance and user feedback.