WhatsApp Integration
Connect your Chatislav AI agent to WhatsApp so customers can chat with your assistant through a WhatsApp Business number. The integration uses Meta's official WhatsApp Business Cloud API and embedded signup flow, so there is no manual webhook or token setup in the panel.
Before You Start (Requirements)
Before you begin, make sure you have:
- A WhatsApp phone number that will be connected to your agent
- A Meta Business Account with access to WhatsApp Business settings
- Permission to create or select a WhatsApp Business Account
- A Chatislav account with a configured AI agent
- Plan access: WhatsApp integration must be included in your Chatislav plan. In the current plan configuration, WhatsApp is included on Basic and on plans with all integrations enabled.
Important notes:
- The phone number you connect to Chatislav via the WhatsApp Business API can no longer be used in the regular WhatsApp or WhatsApp Business apps.
- If the number is already in use in WhatsApp / WhatsApp Business:
- Open the WhatsApp / WhatsApp Business app
- Go to Settings -> Account
- Choose Delete my account and wait until Meta releases the number
- If you previously used this number with the WhatsApp Business API / Meta Developer:
- In your WhatsApp Business account, turn off Two-step verification under Settings -> Two-step verification -> Turn off
- It is recommended to have an approved display name for your WhatsApp Business profile before integrating.
- You do not need to create a Meta Developer app or configure webhooks manually. Chatislav handles this through Meta OAuth and embedded signup.
Step 1: Open the WhatsApp Integration
- Log in to your Chatislav dashboard.
- Select the AI agent you want to connect to WhatsApp.
- In the left sidebar, click "Integrations".
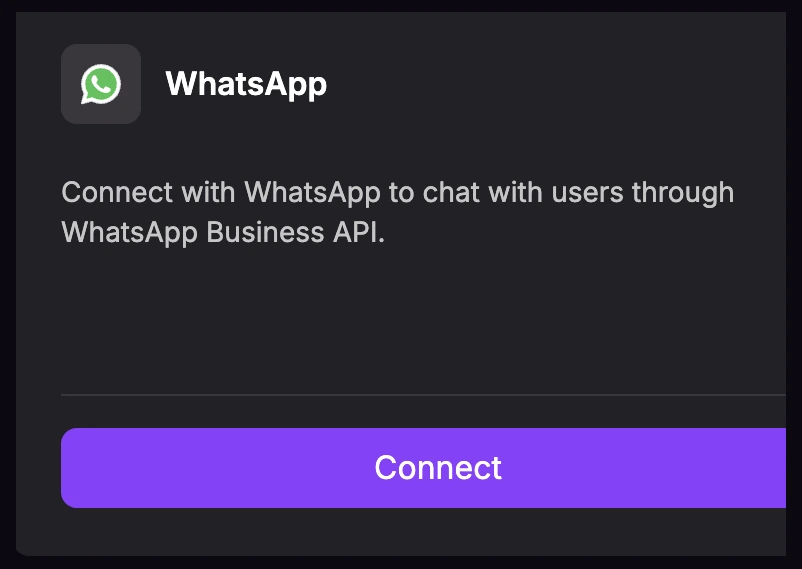
- In the integrations list, find the "WhatsApp" card.
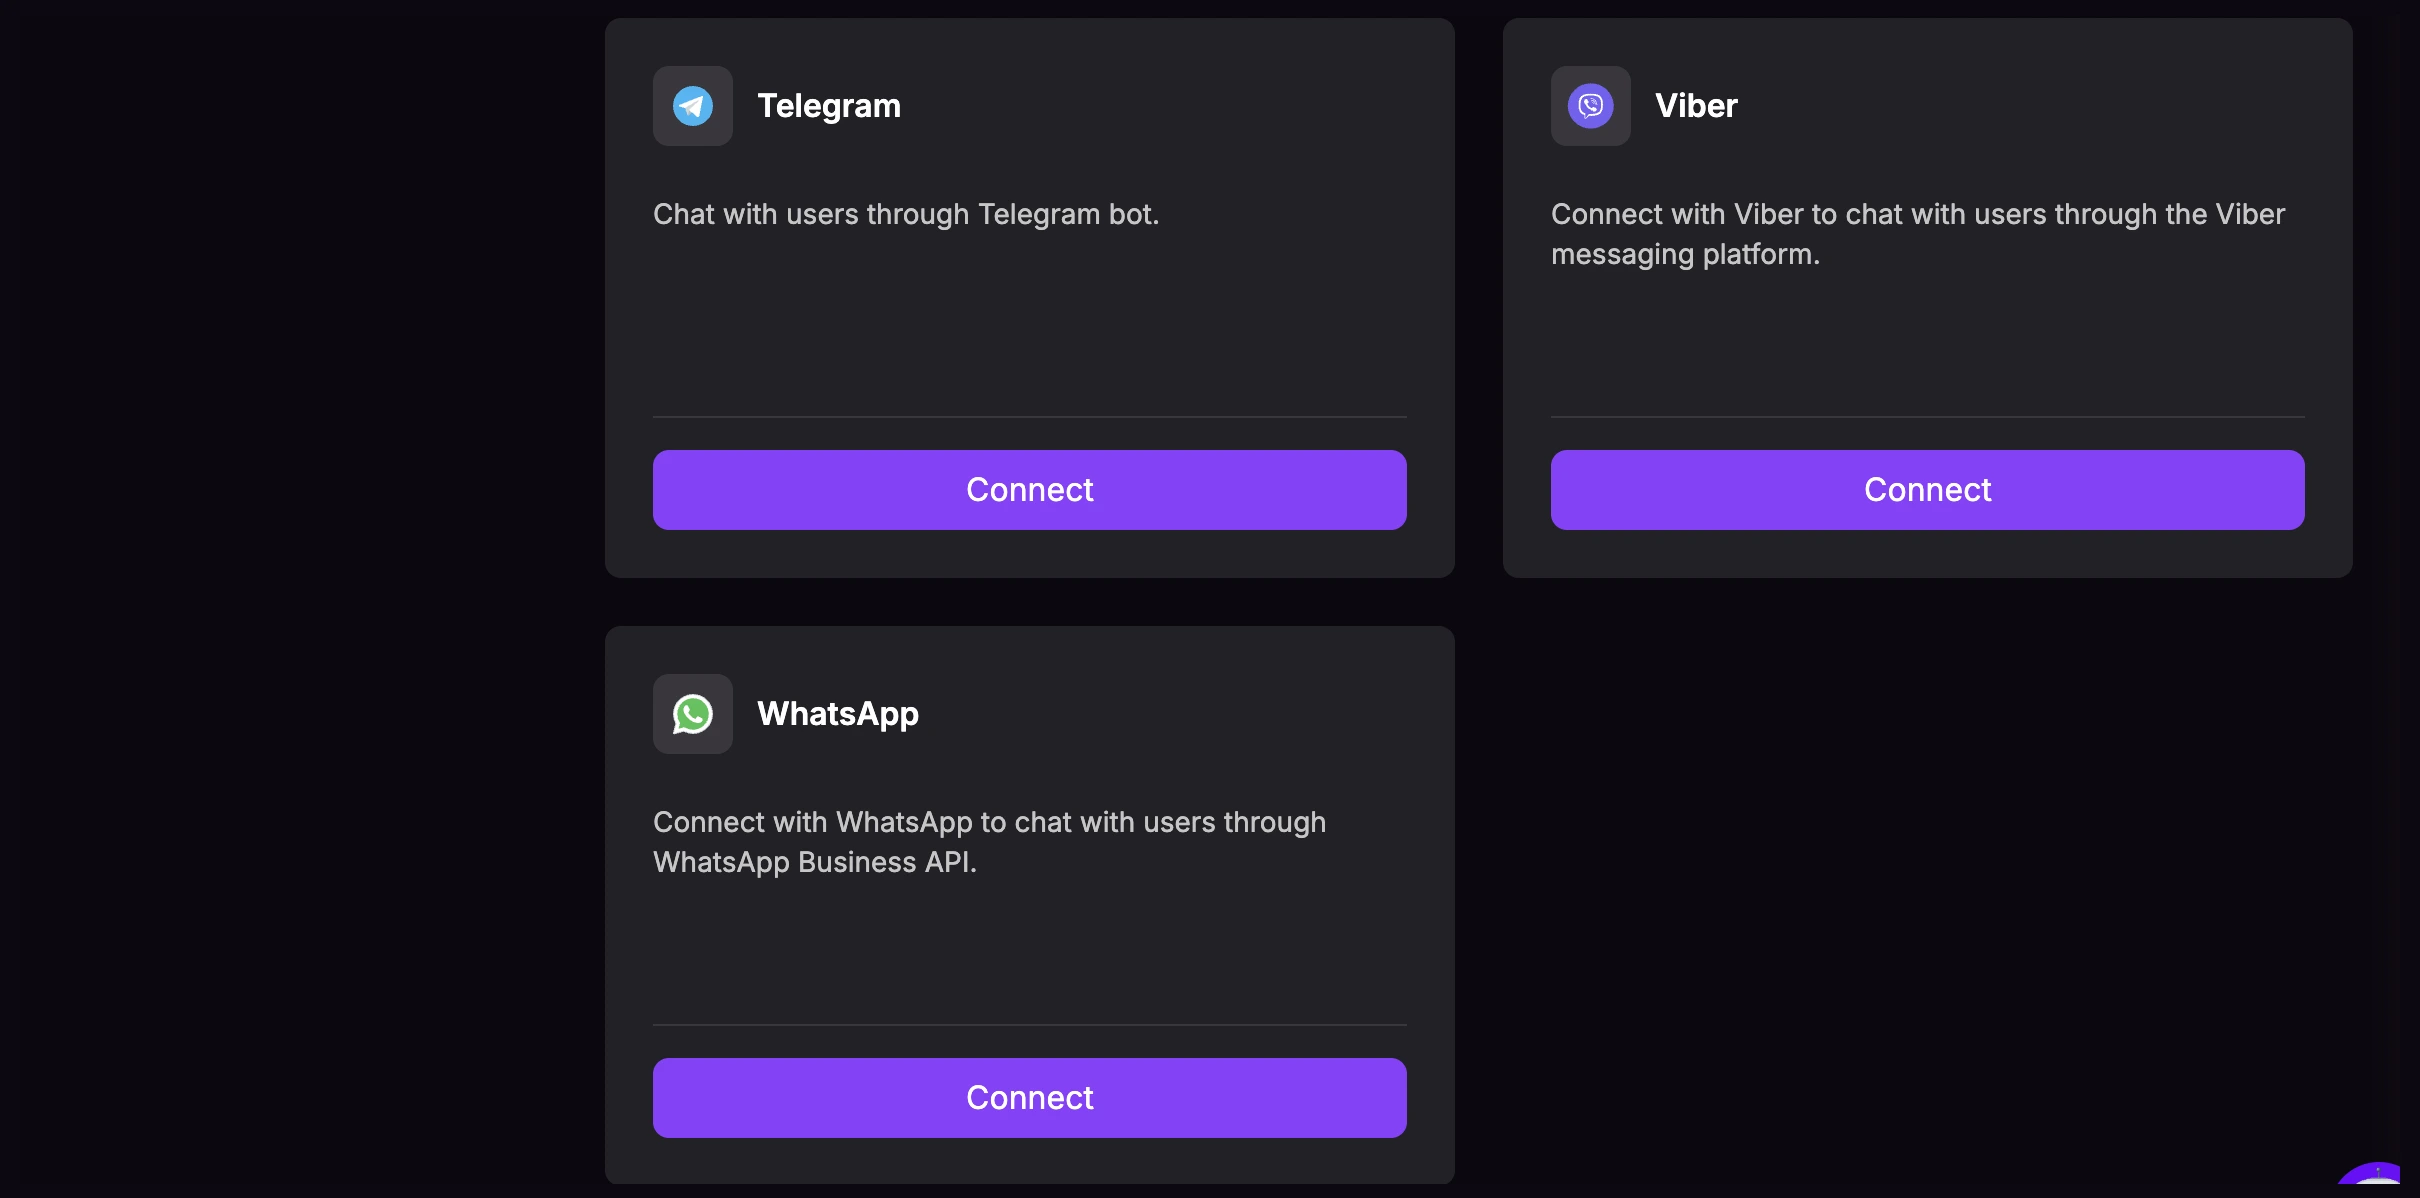
- Click "Connect" on the WhatsApp card.
Step 2: Connect WhatsApp with Meta Embedded Signup
- The WhatsApp Business Setup modal opens in Chatislav.
- Review the setup requirements: connect to Meta Business Manager, create or select a WhatsApp Business Account, and add or verify a business phone number.
- Click "Connect" in the setup modal.
- Meta's embedded signup flow opens through Facebook.
- Log in with the Meta / Facebook account that has access to the business you want to use.
- Choose or create the Meta Business Account and WhatsApp Business Account.
- Add or select the WhatsApp phone number, then complete Meta's verification step.
- Review the requested permissions and finish the Meta flow.
- You will be redirected back to Chatislav. The WhatsApp card will show "Connected".
Step 3: Manage Connected Phone Numbers
After WhatsApp is connected, use the manage modal to control which phone numbers are active for this agent.
- Click "Manage Numbers" on the WhatsApp integration card.
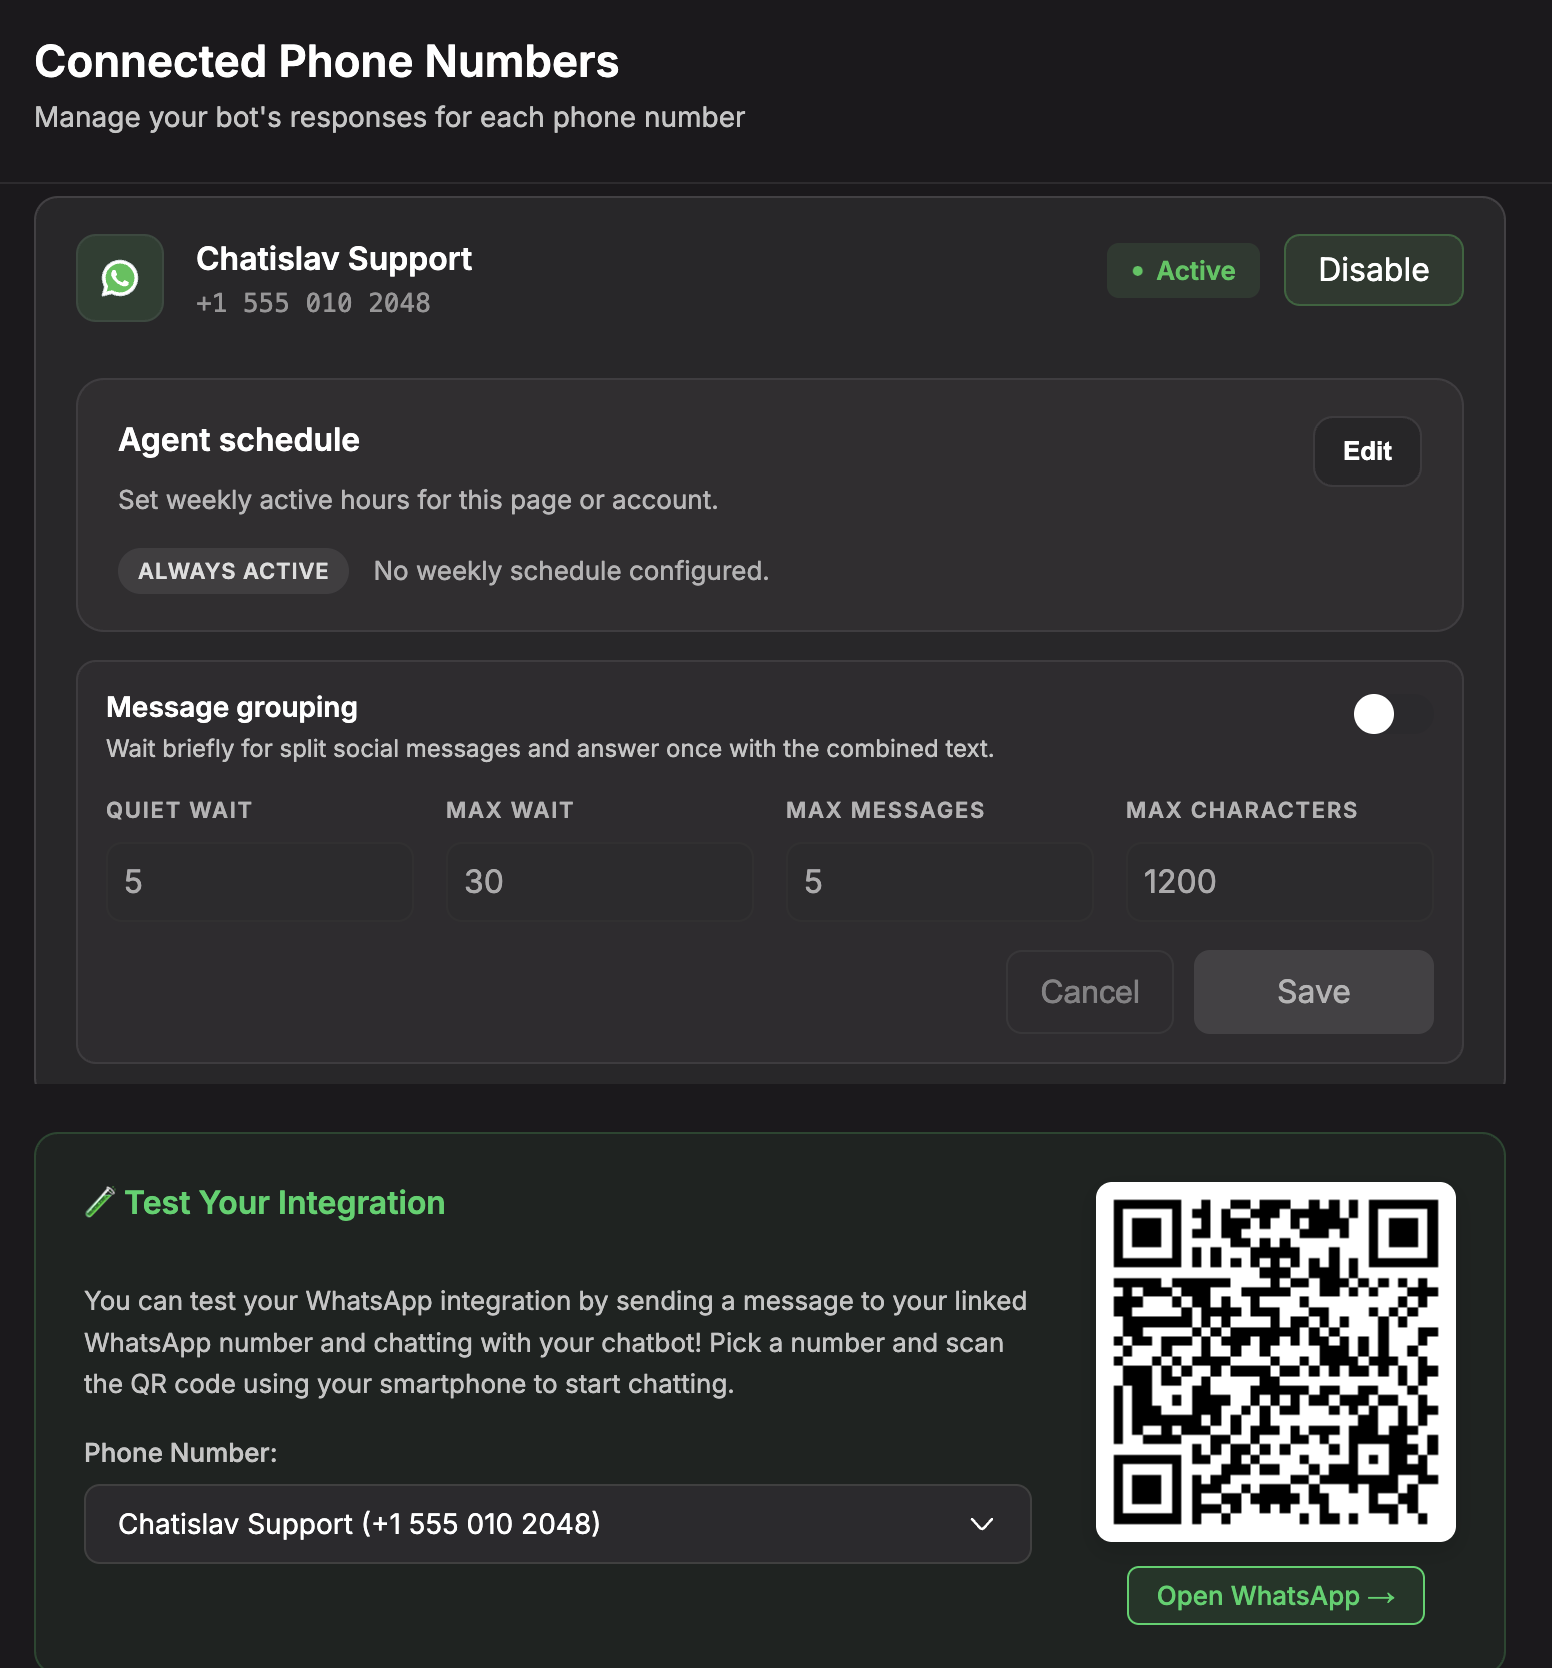
- The Connected Phone Numbers modal opens.
-
For each phone number you will see:
- Display name
- Phone number
- Status: Active / Inactive
- Enable / Disable button
- Agent schedule
- Message grouping
-
To enable a number for this AI agent, click "Enable". New messages to that number are routed to your agent.
-
To disable a number temporarily, click "Disable". New messages to that number are no longer handled by the agent.
Step 4: Configure Phone Number Settings
The Connected Phone Numbers modal also includes phone-level settings:
- Agent schedule - set weekly active hours for a WhatsApp number. Outside scheduled hours, the AI agent stays silent for that number.
- Message grouping - wait briefly for customers who send several short messages in a row, then answer once using the combined message.
- Image limit message - customize the reply shown when a user sends more than one image in a single message.
- Test Your Integration - choose a connected phone number, scan the QR code, or click "Open WhatsApp" to start a test conversation.
Use these settings when you want WhatsApp behavior to match your team's working hours, response style, image-handling policy, or test process.
Step 5: Add More WhatsApp Numbers Later
- Open the WhatsApp integration card and click "Manage Numbers".
- Click "Connect New Number".
- You will be redirected to the Meta embedded signup flow again.
- Select the WhatsApp Business Account and any new phone number you want to connect.
- Complete the flow and return to Chatislav.
Review the selected numbers carefully during the Meta flow. Changes in the selected WhatsApp numbers can add new numbers or remove numbers that are no longer selected.
Step 6: Test the WhatsApp Integration
- Open "Manage Numbers".
- In Test Your Integration, select the phone number you want to test.
- Scan the QR code with your smartphone or click "Open WhatsApp".
- Send a test message, such as "Hi".
- Your Chatislav AI agent should reply automatically within a few seconds.
Make sure that:
- Messages are delivered without errors
- The responses are relevant and use the agent's knowledge
- The conversation feels natural in the WhatsApp format
- The correct phone number is active in the manage modal
Human Handoff (Take Over Conversations)
When you want a human agent to take over an ongoing WhatsApp conversation, you can pause the AI and respond manually, then hand control back to the bot when you are done.
- In the left sidebar, go to "Chats".
- Open the conversation you want to take over.
- At the top of the conversation, enable the "Hand off to human" toggle.
- When enabled, the AI agent stops replying.
- Any replies you send from the dashboard are delivered as human messages.
- When you are finished, click the same toggle again to return control to the AI agent.
Billing & Limits (Meta)
- Meta usually provides a free monthly tier for the WhatsApp Business Cloud API.
- To send more messages, you may need to add a payment method in your Meta billing settings.
- Message billing is handled by Meta, not by Chatislav. Chatislav uses your existing WhatsApp Business API account.
Troubleshooting
Cannot connect the number
Check that:
- The phone number is no longer active in the regular WhatsApp / WhatsApp Business app.
- Two-step verification is turned off in the WhatsApp Business account if the number was previously used with the API.
- You are using the correct Meta Business Account and have the necessary permissions.
- The number can receive the verification SMS or call from Meta.
Messages are not arriving in Chatislav
Check that:
- The WhatsApp integration card shows "Connected".
- The correct number is listed under Manage Numbers.
- The phone number status is Active.
- You are sending test messages to that exact number.
Agent is not responding to messages
Check that:
- The integration is connected to the correct AI agent.
- The phone number is Active in Manage Numbers.
- The agent responds normally in the web widget or testing environment.
- The knowledge base is trained and enabled.
- Human handoff is not currently active for that conversation.
Security & Permissions
- Chatislav uses Meta OAuth and embedded signup; you never copy tokens manually.
- Chatislav requests the permissions needed to manage the selected WhatsApp Business Account and send or receive WhatsApp Business messages.
- Chatislav stores the access needed for the connected WhatsApp Business Account and refreshes it before expiry.
- Only users with the right permissions in Chatislav can manage integrations.
After completing these steps, your Chatislav agent is ready to respond to messages sent to the connected WhatsApp number. Users can now talk to your AI assistant directly through WhatsApp.